
You don't need a full car detailing kit to figure out how to get milk out of car seats. But the answer changes depending on whether the milk just spilled, already dried, or soaked deep into the foam padding.
The good news is that milk isn't a permanent nightmare. It's just tricky because it contains protein, fat, and sugar, and each of those behaves differently on upholstery. Per manufacturer care guidelines and upholstery cleaning standards, the protein in milk begins bonding to fabric fibers as soon as it dries, sometimes within 15 to 20 minutes.
That's why your first move matters more than which cleaner you own.
Is It Fresh, Dried, or Soaked? Start Here
Before you grab anything, look at the seat. The right process depends entirely on the state of the spill. Think of this as a quick triage step.
Here's what each state looks like:
| State | What you'll see | What you need |
|---|---|---|
| Fresh | Wet milk, still liquid or just barely damp | Paper towels, cold water, extraction |
| Dried | White crusty residue, slight sheen or chalky film | Vacuum, enzyme cleaner, dwell time |
| Soaked | Damp foam, deep stain, sour smell already forming | Wet-dry vacuum, repeated extraction, long drying |
Milk behaves like a slow-motion disaster. While it's wet, it's easy to push out. Once it dries, the protein sets like glue.
If it reaches the foam padding, it starts breaking down and the odor gets worse by the hour. That smell isn't the milk itself. It's bacteria feeding on the residue.
So your first job is simple: figure out which category you're in. If it's fresh, the emergency steps below will handle it in minutes. If it's dried, you'll need a longer treatment.
If it's soaked, move to the deep-cleaning protocol.
Image source: Web (Bing) / cardecorates.com (Web image (fair-use with source credit))
Quick Answer: The Only Method That Works Every Time
Blot up all the wet milk. Flush the area with cold water. Apply an enzymatic cleaner and let it sit for 15 minutes.
Extract the moisture with a wet-dry vacuum or towels. Let the seat dry completely. Never rub, never use hot water, and never add heat until the stain is gone.
That's the full process in one breath. Everything else is about scale and patience.
Fresh Milk Spill: Your Emergency Response Checklist
If the milk is still wet, act fast. You have a small window before the protein bonds to the fabric. Here's the sequence, step by step.
Step 1: Stop the spread
Grab a stack of paper towels or a clean dry cloth. Press down gently on the spill and let the towel soak it up. Work from the outside edges toward the center so the milk doesn't spread wider.
Don't press hard. The goal is to lift, not push.
Step 2: Blot, never rub
This is the rule that saves seats. Rubbing grinds the milk into the fibers and spreads it deeper into the foam. Blotting pulls it out.
Take your time and replace towels as they soak through.
Step 3: Flush with cold water
Once you've blotted up what you can, pour a small amount of cold water directly onto the stained area. Just enough to dampen it thoroughly. This dilutes the milk residue and keeps it from setting.
Use cold water only. Hot water cooks the protein, and the stain becomes nearly permanent.
Step 4: Extract the moisture
If you own a wet-dry vacuum, this is the moment to use it. Run the nozzle over the damp area and pull out as much liquid as possible. No shop vacuum?
Press dry towels down and switch them out until no more moisture transfers.
Step 5: Air dry and reassess
Let the seat dry completely before deciding if it needs another pass. Wet upholstery hides stains well. Once dry, a faint white residue may appear.
That's leftover milk solids, and it means you need one more treatment.
Dried Milk Residue: The Blot, Treat, and Extract Method
If you found the spill after it dried, don't panic. Dried milk is harder to remove, but it's still manageable. The key is rehydrating the residue before you try to pull it out.
Start with a vacuum
Take a vacuum with a brush attachment and go over the area. This removes loose dried flakes and surface dirt that would otherwise turn into mud when you add liquid. It also opens up the fabric fibers so the cleaner can reach deeper.
If you're unsure which attachment works best, this is a good place to check your vacuum's owner manual.
Choose your cleaner
You have two solid options here:
| Cleaner | How it works | Best for |
|---|---|---|
| DIY vinegar solution (1 part white vinegar, 1 part cold water) | Cuts through residue, neutralizes odors | Light stains, fresh-ish milk, fabric seats |
| Enzymatic cleaner | Breaks down the protein and fat at a molecular level | Old stains, sour smells, any seat material |
Enzymatic cleaners are the heavy artillery. They use biological enzymes to break down the organic compounds in milk. That means they don't just mask the stain, they actually digest it.
If the smell has started, this is your best bet.
Apply and wait
Spray the cleaner generously onto the stained area. Don't drown it, but make sure the fabric is thoroughly damp. Let it sit for 10 to 15 minutes.
This dwell time matters. The cleaner needs time to break down the residue before you extract it.
Agitate gently
Use a soft-bristle brush to work the cleaner into the fabric. Use small circular motions. You're not scrubbing the stain out, you're helping the solution reach the fibers.
Light pressure is all you need.
Extract and rinse
Use your wet-dry vacuum to pull out the solution. Then rinse the area with cold water and extract again. That second extraction flushes out the dissolved milk and cleaner residue.
Skipping it leaves behind sticky residue that attracts dirt.
Milk Soaked Into Seat Foam: The Deep-Cleaning Protocol
This is the worst scenario. If milk pooled on the seat for a while or you found the spill hours later, it's almost certainly soaked into the foam padding. Surface cleaning won't help.
The foam acts like a sponge, and the milk is already down there. The sour smell will keep coming back until you address it.
When to do this
If the seat feels heavy or damp, or if you notice the odor before you even get close, it's soaked through. This happens fast with thick seat foam. A 200ml spill can penetrate deep padding in under an hour.
The extraction process
This requires a wet-dry vacuum. No way around it. A regular household vacuum won't pull liquid from foam.
If you don't own one, you can rent a small upholstery extractor from most hardware stores or grocery stores. Per IICRC upholstery cleaning guidance, the flushing and extraction method is the only reliable way to remove deep-set spills.
Here's the protocol:
- Pre-treat the area with an enzymatic cleaner. Spray it on and let it sit for 15 minutes so it can start breaking down the milk proteins.
- Flush with cold water. Pour a small amount of cold water over the area. Just enough to rehydrate everything. This helps mobilize the residue.
- Extract slowly. Run the wet-dry vacuum nozzle over the area. Move slowly so the suction has time to pull liquid from the foam. You'll notice the water coming out milky. That's the residue leaving the seat.
- Repeat the cycle. Flush again with cold water, extract again. Keep going until the extracted water runs clear. This usually takes three to four cycles.
- Apply a fresh enzyme treatment. After the final flush, spray the area with a little more cleaner and work it in. This leaves active enzymes in the foam to neutralize whatever remains.
Drying is the hard part
Foam holds moisture for a long time. Plan for 12 to 24 hours of drying time. Leave the windows cracked or park in the sun if possible.
You can speed things up with a small fan or a dehumidifier. Do not use a hairdryer or heat gun. The heat will set the remaining proteins and trap the odor forever.
Extra caution for child car seats
If the milk spilled into a child car seat rather than the vehicle's own seat, the rules change. Many portable car seats have harness straps and padding that must not be submerged or machine-washed. The manufacturer's instructions override everything in this article.
Check the manual before you do anything. The NHTSA also provides general guidance on keeping your child's car seat clean and safe, which is worth a read.
What Type of Seat Are You Cleaning? Fabric vs. Leather vs. Child Car Seat
The seat material changes your cleaning method. Fabric soaks milk in fast. Leather repels it at first but hides residue in seams.
Child car seats need special rules.
| Seat type | Absorption | Best cleaner | Extra risk |
|---|---|---|---|
| Cloth/fabric | High | Enzyme cleaner | Sour odors, deep foam |
| Leather/leatherette | Low | pH-neutral leather soap | Cracking, watermarks |
| Child car seat | Medium | Manufacturer-approved only | Damaged harness webbing |
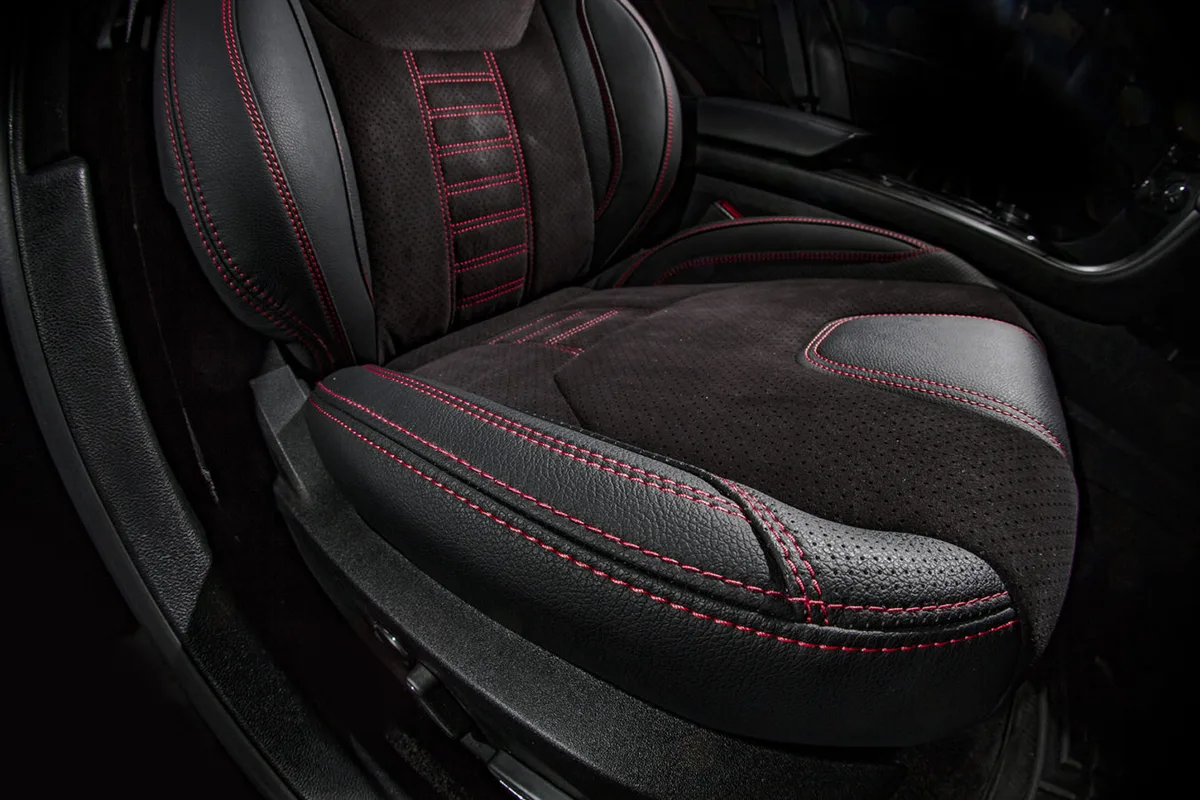
Image source: Web (Bing) / dalas-auto.com (Web image (fair-use with source credit))
For cloth seats, the cold-water flush method works best. For leather, switch to a dedicated leather cleaner. Never use vinegar on leather.
It strips the protective finish. If you're thinking about adding a layer of protection, check whether a seat cover can cause damage to the leather underneath before you install one.
A quick note on child car seats
Child car seats are safety devices. Water, soap, and aftermarket chemicals can weaken the harness or foam. Always read the manual first.
The NHTSA also provides official guidance on keeping car seats clean without compromising safety. After any deep cleaning, make sure you're following proper installation basics before putting the seat back in the car.
The Cleaner Decision: DIY Vinegar Solution vs. Enzymatic Cleaner
Vinegar solution is your fresh-spill friend. Mix one part white vinegar with one part cold water. It cuts milk fat and neutralizes light odors.
Use it on recent spills and surface residue.
Enzymatic cleaner is the protein assassin. It breaks down the biological compounds that make milk sticky and sour. Use it for dried milk, old stains, or a lingering smell.
Many pet stain removers work the same way, so check your cabinet.
If the milk is already dry, skip vinegar and go straight to the enzymatic cleaner. If the seat is leather, use a cleaner labeled safe for leather. Test any product on a hidden spot first.
The Toolbox: What You Actually Need and What You Can Skip
You don't need a detailing bay. These household basics handle most spills.
- Paper towels or microfiber cloths
- Cold water in a spray bottle
- White vinegar or enzymatic cleaner
- Soft-bristle brush
- Wet-dry vacuum
Skip bleach and ammonia. Both damage fabric and foam. Skip steam cleaners too, since heat sets milk protein.
A regular home vacuum won't pull liquid out. Check what a standard household vacuum can actually handle before you rely on it.
The Extraction Step: Why You Must Never Rub or Squeeze
Rubbing is the single biggest mistake. It grinds milk into the foam and spreads the stain outward. Squeezing does the same thing.
It pushes liquid deeper instead of lifting it.
Blotting pulls milk up into a towel. Extraction does the same thing with suction. That's why a wet-dry vacuum is so effective.
Move the nozzle slowly over the area. Let it sit a few seconds per spot so it can pull liquid out of the foam.
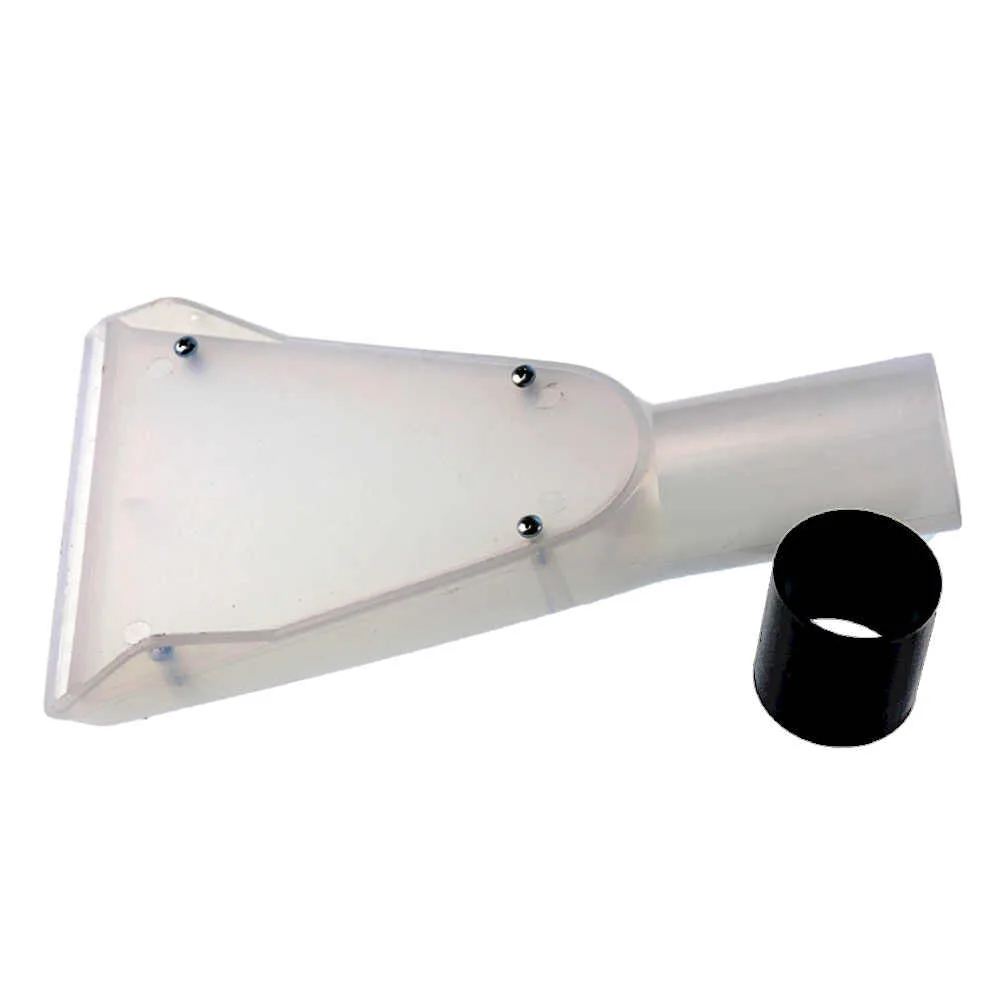
Image source: Web (Bing) / mdcarcare.com.au (Web image (fair-use with source credit))
For cramped areas around car seat bases, a handheld vacuum with a narrow nozzle helps you reach the spots a big nozzle can't touch.
Drying and Deodorizing: Killing the Sour Milk Smell for Good
Cleaning removes the milk, but drying kills the odor. Milk residue left damp grows bacteria, and bacteria make the sour smell. Your goal is a completely dry seat.
Sprinkle baking soda over the damp area. Leave it overnight or up to 24 hours. Baking soda draws moisture and odor out of the foam.
Vacuum it up the next morning.
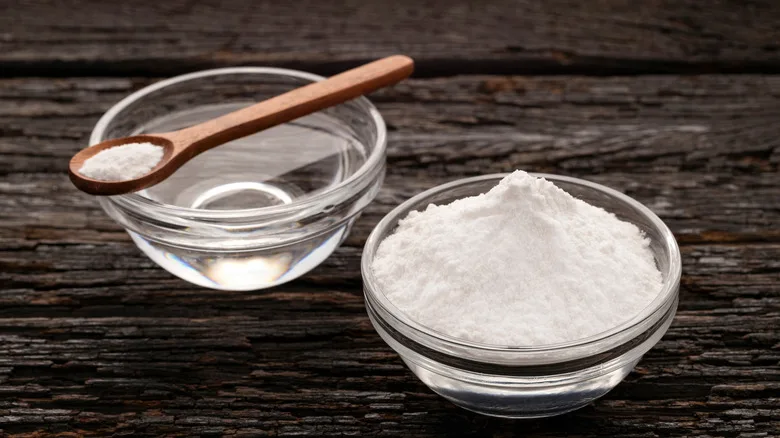
Image source: Web (Bing) / slashgear.com (Web image (fair-use with source credit))
Airflow is key. Open the windows or point a fan at the seat. Drying can take 12 to 24 hours, longer in humid weather.
Never use a hairdryer or the seat heater. Heat bakes in any remaining protein and traps the odor. If the smell lingers, repeat the enzyme treatment once more.
If your seat cover comes off, popping the cover off for a separate wash helps the foam dry faster and removes trapped residue.
Mistakes That Make It Worse: Common Pitfalls to Avoid
- Rubbing the spill. Rubbing pushes milk deeper into the foam and spreads it across a wider area. Always blot.
- Using hot water or steam. Heat sets milk protein into fabric. Once that happens, the stain becomes nearly permanent.
- Skipping the rinse pass. If you leave cleaner residue in the seat, it traps dirt and makes the area look worse.
- Oversaturating leather. Soaking a leather seat can damage the foam backing and cause cracking. Use minimal moisture.
- Drying too fast. Hairdryers and seat heaters bake leftover residue into the fibers. Air drying is the only safe route.
- Ignoring the foam. A clean surface with sour-smelling foam means the milk is still there. Deep extraction is non-negotiable.
Per NHTSA guidance, child car seats add another layer of caution. Never use aftermarket cleaners unless the manufacturer explicitly approves them.
When to Call a Professional vs. Keep Going DIY
DIY handles most fresh and dried spills. You only need a professional when the milk has soaked deep into foam, the odor returns after a full dry, or the seat is leather with stubborn staining.
| Situation | DIY or Pro? |
|---|---|
| Fresh spill on cloth | DIY |
| Dried surface stain | DIY |
| Sour smell after drying | Pro |
| Leather seat with watermark | Pro |
| Milk soaked through to foam | Pro |
A professional interior detailer uses hot water extraction and industrial-grade enzyme treatments. That equipment reaches deeper than any shop vacuum you can buy. Expect to pay $50 to $150 for a single seat, depending on your region.
Long-Term Prevention: Protecting Seats From the Next Spill
The easiest fix is a waterproof seat cover. Check whether the cover fits your car seat model before you buy, and look for one that repels liquid without trapping heat.
Other smart habits:
- Keep a small towel or stack of paper towels in the door pocket.
- Use spill-proof cups with lids for kids in the back seat.
- Install a car seat protector underneath a child car seat to catch drips.
- Remove and wash car seat covers regularly so spills don't settle in.
- Vacuum under car seats weekly to keep crumbs from mixing with moisture.
Frequently Asked Questions
Can I use baking soda to get milk smell out of car seats?
Yes, but only after you've cleaned the area. Sprinkle a thin layer of baking soda over the damp seat and leave it for 12 to 24 hours. Vacuum it up thoroughly.
Baking soda absorbs lingering moisture and odors, but it won't break down milk protein by itself.
What happens if milk dries in a car seat?
The protein bonds to the fabric and foam, which makes the stain harder to remove. You'll also notice a sour smell within a day or two as bacteria feed on the residue. Rehydrate the area with cold water first, then use an enzymatic cleaner.
Is hot water good for removing milk stains from car seats?
Never. Hot water cooks the milk protein and sets the stain permanently. Use cold or lukewarm water for every step, including rinsing.
The same rule applies to steam cleaners and hairdryers.
How long does it take for a car seat to dry after milk spill?
Plan for 12 to 24 hours under normal conditions. Humid climates can push drying time past 24 hours. Use fans or open windows to speed things up.
Avoid any heat source that could set leftover residue.

Leave a Reply