
All right, let's get into this. You're staring at an infant car seat, the base is sitting on the kitchen counter, and you're wondering if you can just skip it. Maybe you're traveling, maybe you're in a taxi, or maybe you just hate hauling that heavy base around.
The honest answer to "are baseless car seats safe" is yes, but only if you install the seat correctly every single time. That "if" is doing a lot of heavy lifting.
Here's the thing that surprises most parents: the base isn't actually the safety mechanism. Your vehicle's seatbelt does the real work. Federal safety standards under FMVSS 213 require all infant car seats to pass crash testing both with and without the base.
That means manufacturers have to prove the seatbelt-only install is just as safe as the base install before they can sell it. Understand that, and you're already ahead of most parents who assume the base is mandatory.
Quick Answer
Yes, baseless car seats are safe. They pass the same federal crash tests as base-installed seats. The vehicle seatbelt is the actual restraint system.
The base is just a convenience dock. Baseless installations fail when the seatbelt isn't locked tight enough. Follow the manual exactly and check for looseness every time.
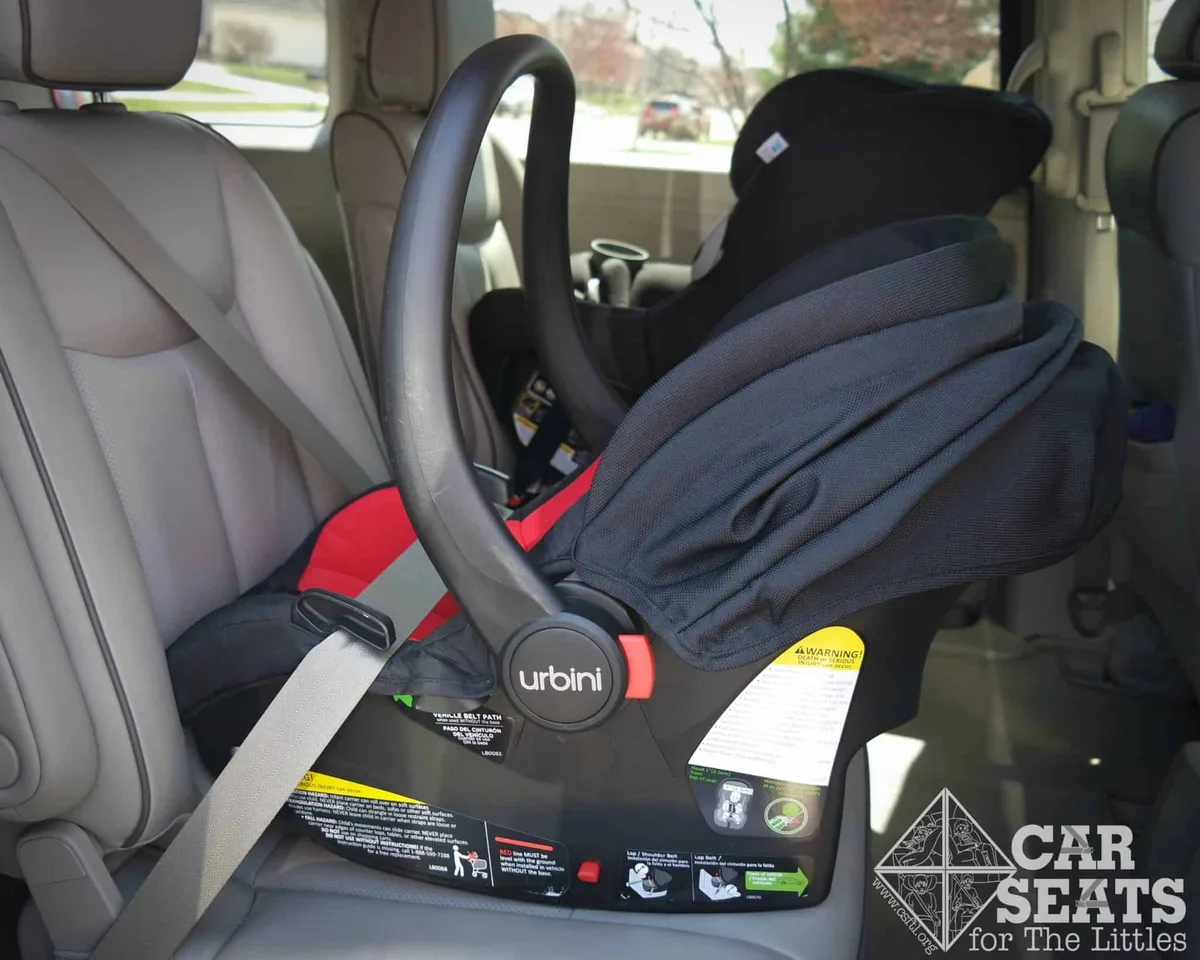
Image source: Web (Bing) / csftl.org (Web image (fair-use with source credit))
How Car Seat Bases Actually Work
Let's clear up a widespread misunderstanding. A car seat base is not a structural safety component. It's a convenience tool.
Think of it as a docking station that saves you from re-threading the seatbelt every single time you put the seat in the car.
The base clicks into your vehicle using either the LATCH system or the seatbelt. Then the infant seat clicks onto the base. That's it.
The base holds the seat at the correct angle and position, so you don't have to think about it. But here's the key point: when the base isn't there, the vehicle's seatbelt takes over that job directly, threading through the seat's own belt path.
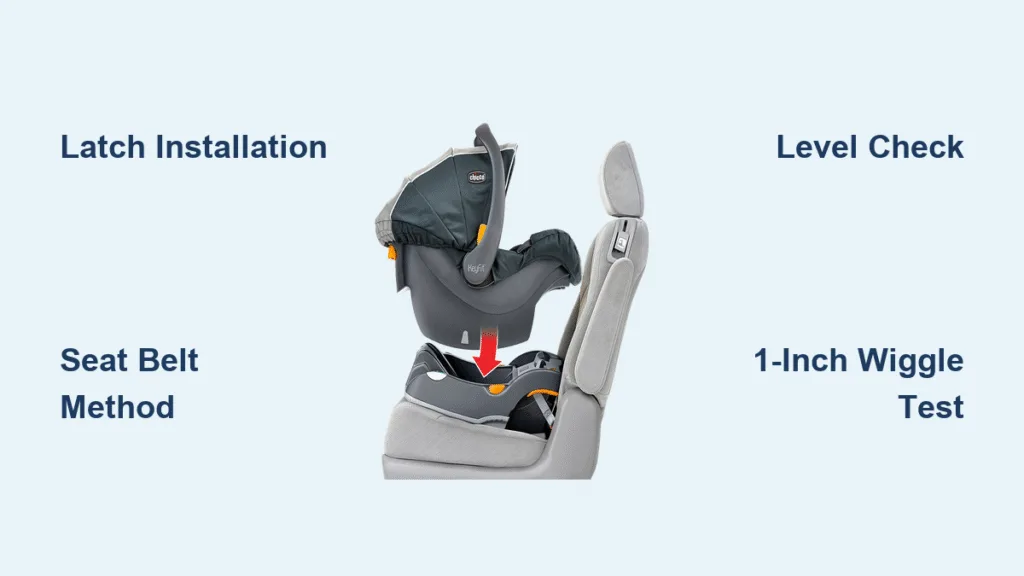
Image source: Bing (Web (fair-use with source credit))
The crash energy doesn't care whether it goes through a base or through the seatbelt directly. It's still your vehicle's seatbelt that anchors the seat to the car. The base just changes how that connection happens.
In a 30 mph crash, a rear-facing infant seat experiences forces roughly equivalent to a 30-foot fall. Both installation methods must absorb that same energy.
Manufacturers design the belt paths on infant seats to work without the base. They test them. They crash-test them.
The manual that came with your seat has a specific section for "installation without the base" because it's a legitimate, approved method. If it weren't safe, they wouldn't include instructions for it. They'd be legally liable otherwise.
This matters most when you're choosing between lugging a base through an airport or installing directly in a rental car. The seatbelt-only method isn't a hack or a loophole. It's an engineered feature that's been tested and approved.
The trick is knowing how to do it right, which we'll cover step by step shortly. If you're new to the whole process, our complete walkthrough on how to install a car seat is a solid place to start.
The Real Difference: Base Install vs. Seatbelt-Only Install
So if both methods are safe, why does every parent panic about going baseless? The answer comes down to human error, not engineering failure. A base reduces the chances of making a mistake by giving you a solid click to confirm the seat is locked in.
Without that audible feedback, you have to rely on your own checks.
| Factor | Base Install | Baseless Install |
|---|---|---|
| Install time | 10–30 seconds | 60–90 seconds |
| Risk of loose install | Lower | Higher |
| Portability | Heavy, bulky | Light, compact |
| Multi-vehicle use | Needs extra bases | Works in any car |
| Cost | $150–$300 extra per base | Free |
The numbers tell the story. A base install takes seconds because you just click the seat in. A baseless install requires threading the seatbelt through the correct path, locking the retractor, and testing the tightness.
That's more steps, and more steps mean more chances to make a mistake.
Car seat technicians see it all the time. A parent installs the seat without a base, thinks it's secure, and the seat moves more than one inch at the belt path. That's the threshold.
Anything beyond one inch of movement at the belt path means the seat isn't tight enough to protect your child in a crash.
Here's the reality check. According to aggregate reviews and child passenger safety technician reports, most installation errors happen with baseless setups. Not because the method is flawed, but because people rush.
They don't read the manual. They don't put their full weight into tightening the seatbelt. They skip the final tug test.
Crash test results from FMVSS 213 compliance testing show both methods perform identically when installed correctly. The seatbelt absorbs the impact forces the same way. The base doesn't add any structural reinforcement.
It just makes the process easier and more foolproof.
So the real difference isn't safety. It's error tolerance. The base forgives sloppy installation because it locks in place.
The baseless method demands precision every time. If you're someone who installs the seat once and leaves it, baseless is fine. If you're moving the seat between cars weekly, the base might be worth the money for peace of mind alone.
That said, if you're juggling multiple kids, a convertible seat might serve you better long-term anyway.
Step-by-Step: How to Install a Car Seat Without a Base
This is where the rubber meets the road. Getting a baseless installation right takes patience, but it's absolutely doable. Here's the exact process that certified child passenger safety technicians teach.
Step 1: Check the Recline Angle
Most infant seats need a 30 to 45 degree recline for newborns. Too upright, and a baby's head can flop forward, blocking the airway. Too reclined, and the seat doesn't perform as designed in a crash.
Check the built-in angle indicator on the side of the seat.
Step 2: Route the Seatbelt Through the Correct Belt Path
This is the most common source of confusion. There are two paths on most infant seats. The European belt path routes the belt around the back of the seat and down through the sides.
The American path routes the belt across the front of the seat, behind the baby's feet. Use the path outlined in your manual.
Step 3: Buckle the Seatbelt
Pull the seatbelt across and latch it. Make sure the belt isn't twisted anywhere along its length. A twisted belt can't tighten properly and won't hold the seat securely in a crash.
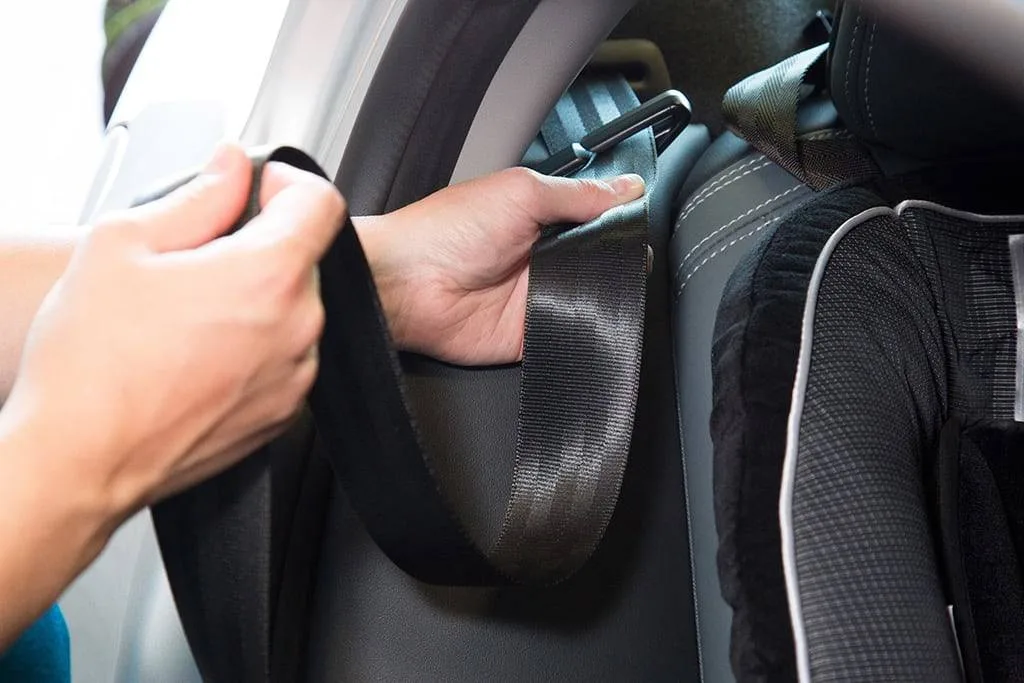
Image source: Web (Bing) / cars.com (Web image (fair-use with source credit))
Step 4: Lock the Seatbelt
Here's where vehicles differ. Some seatbelts have a switchable retractor. You pull the belt all the way out and it clicks into locking mode.
Others need a locking clip to hold the belt tension. Check your vehicle manual and car seat manual to know which one you need. The locking clip secures the belt at the belt path so it can't loosen.
Step 5: Tighten the Seatbelt
Press down firmly on the car seat with your knee or full body weight. Pull the seatbelt webbing tight to remove all slack. You want the seat to feel like it's part of the vehicle, not resting on top of it.
Step 6: Do the Tug Test
Grab the seat at the belt path. Give it a firm tug. If it moves more than one inch, it's not tight enough.
Unbuckle, re-route, and start again. This check is non-negotiable. The National Highway Traffic Safety Administration publishes detailed guidance on this procedure, and their site is worth bookmarking for reference.
Step 7: Check the Harness
The harness straps should be snug against your child's body. You shouldn't be able to pinch any slack between two fingers at the shoulder. The chest clip should sit at armpit level.
A loose harness is just as dangerous as a loose installation.
Getting the angle right matters extra when you're using a seat without a base. If your vehicle seat is particularly sloped, you might need a tightly rolled towel or pool noodle under the seat's foot to achieve the correct recline. Manufacturers include this guidance in their manuals, and many parents miss it.
The same logic applies when you're dealing with other car seat accessories, so it's worth checking whether your seat covers mess with harness fit.
The Biggest Mistakes Parents Make With Baseless Installations
Even careful parents mess this up. It's not about intelligence. It's about not knowing what to look for.
Here are the five most common errors, straight from the notes of certified technicians.
Mistake 1: The Invisible Loose Install
The seat feels tight when you push on it with your hand. But when you actually grab the belt path and tug, it moves three inches. The fix is simple.
Always press down with your full body weight before tightening. That extra pressure compresses the vehicle seat foam and gets the belt genuinely tight.
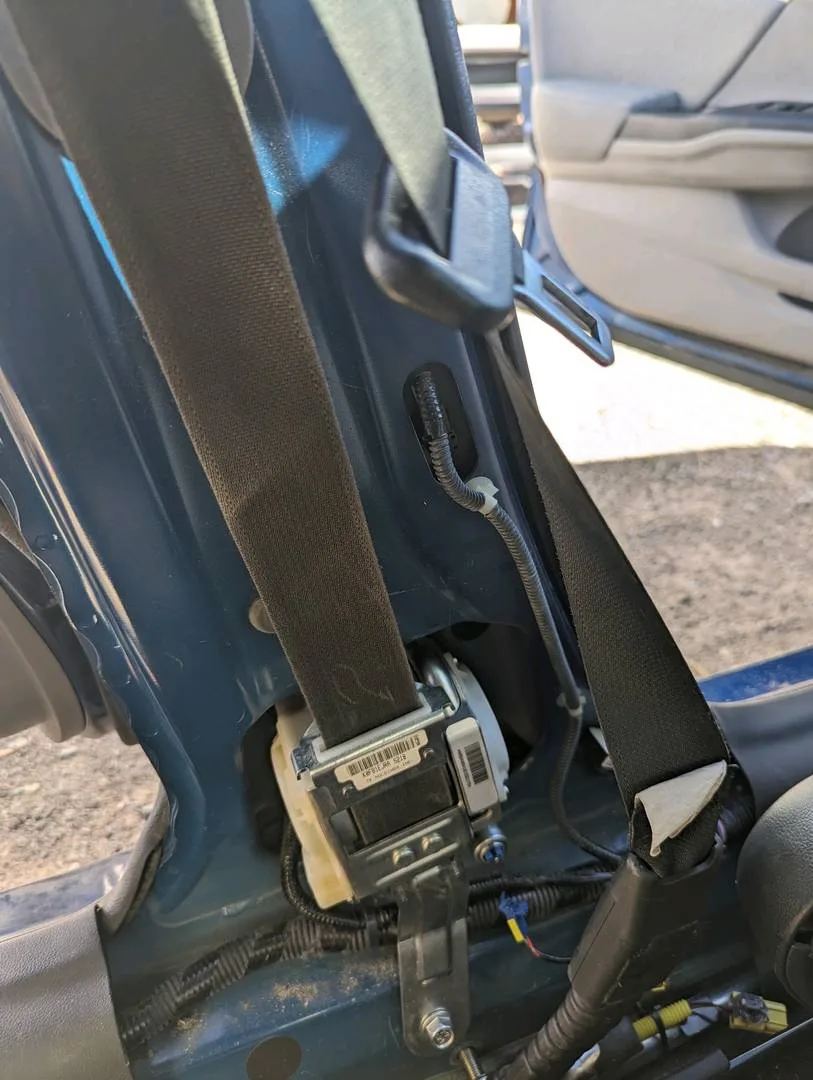
Image source: Web (Bing) / forum.myairbags.com (Web image (fair-use with source credit))
Mistake 2: Twisted Seatbelt Webbing
A single twist in the belt might not seem like a big deal. It is. Twists reduce the effective width of the belt and prevent the locking mechanism from engaging fully.
Run your hand along the entire belt before you tighten. Smooth it out completely.
Mistake 3: Wrong Belt Path
Using the American path when your seat needs the European path, or vice versa, defeats the entire safety design. Every seat model has a specific path for baseless installation. The manual's diagram shows exactly which one.
If you don't have the manual, many manufacturers post PDFs online. It's worth the two minutes to check.
Mistake 4: Forgetting to Re-Tighten on Every Install
This is the sneakiest one. You install the seat perfectly on Monday. The seatbelt loosens slightly over the week as the vehicle flexes and settles.
On Friday, you unclick the seat to carry the baby inside. When you click it back in, the seatbelt is now too loose. You need to re-tighten every single time.
Don't assume it stayed tight.
Mistake 5: Skipping the Recline Angle
Without the base's angle adjuster, you're relying on your own judgment. If the seat is too upright, a newborn's head can slump forward. Always verify the angle indicator shows the correct zone before you buckle your child in.
The extra effort is worth it.
The good news is none of these mistakes are fatal to your setup. They're all fixable in under sixty seconds. The key is developing a checklist mentality.
Every install, same steps, same checks. No shortcuts. And if you're ever unsure whether your install is correct, most fire stations and police departments have certified technicians who will check it for free.
That's a resource too few parents use.

Leave a Reply