
If you've ever climbed into the driver's seat and felt that cold, damp shock, you know the panic. Water has found its way into your car seat. Learning how to dry a wet car seat fast is the difference between a quick cleanup and a long, miserable fight against mold and musty smells.
Here's the thing a wet seat isn't just uncomfortable. Water seeps into the foam padding, the seat rails, and the wiring underneath. Mold can start growing within 24 to 48 hours on damp surfaces, and as of 2026, replacement seat foam can cost a few hundred dollars from the dealership.
That's why the next few minutes matter.
Image source: Web (Bing) / seatplenary.com (Web image (fair-use with source credit))
Quick Answer: What to Do Right Now
Blot the seat immediately. Then vacuum out the water with a wet/dry vacuum. Add airflow with fans or a dehumidifier.
Continue drying until the padding is completely dry. Mold can begin in 24 hours.
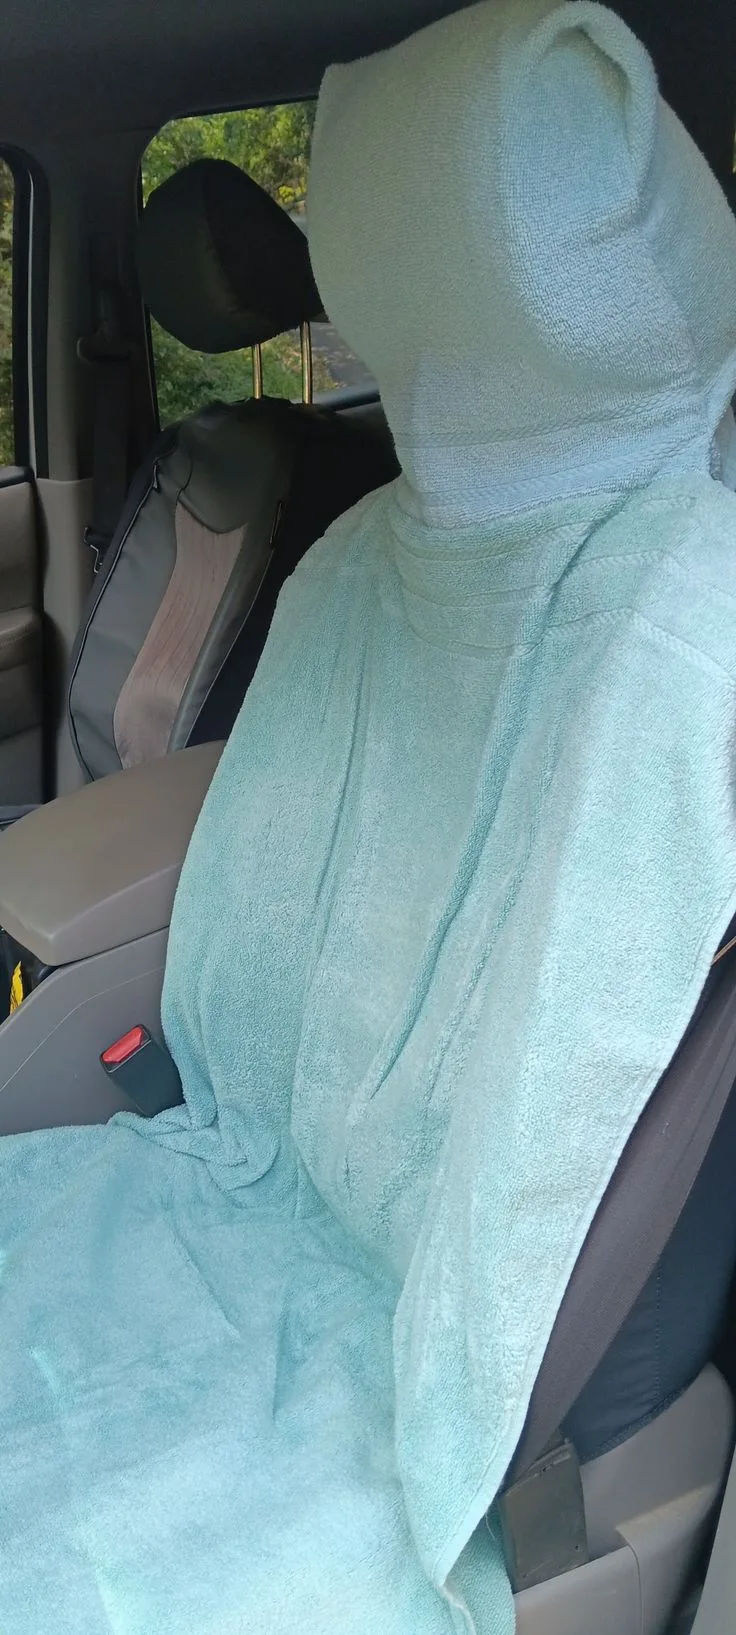
Image source: Web (Bing) / pinterest.com (Web image (fair-use with source credit))
Don't let the water sit, even for an hour. Every minute it stays, it sinks deeper into the foam and the layers underneath. Acting fast is the single best thing you can do.
Follow this order:
- Blot, don't rub. Press thick towels into the seat to pull up as much liquid as possible.
- Vacuum the wet area with a wet/dry vacuum to suck water out of the foam.
- Lift any removable seat covers to let air reach the padding.
- Blow air across the seat with a box fan or portable dehumidifier.
- Wait and check regularly. It takes longer than you'd think.
| Drying Method | How Fast It Works | Best For |
|---|---|---|
| Towels only | 24 hours + | Light surface damp |
| Wet/dry vacuum + fan | 6 to 12 hours | Moderate spills |
| Extractors + dehumidifier | 4 to 8 hours | Heavy saturation |
| Professional detailer | 2 to 4 hours | Flood damage |
The sooner you start, the better your odds of avoiding permanent damage. If the seat is soaked through and you can't dry it thoroughly today, that's when it's worth calling a professional. This is one situation where waiting rarely makes things cheaper.
The Problem: Why a Wet Car Seat Isn't Just Annoying
A wet car seat looks simple on the surface. You see a damp cushion and a few drops of water. Underneath, though, it's a different story.
Most car seats are built in layers. There's the fabric or leather cover, then a thick layer of foam padding, then a plastic seat pan, and underneath that, the metal rails and electrical connectors. Water loves these layers.
It leaks down between seams, soaks into the foam, and pools in the plastic pan where you can't see it.
That trapped moisture causes three real problems:
- Musty odors that come from bacteria growing in the foam.
- Mold and mildew that spread quickly and are hard to remove once established.
- Corrosion and electrical damage on the seat rails, seat heater wiring, and airbag sensor connectors.
According to the EPA's mold cleanup guidance, mold can start growing on damp surfaces within 24 to 48 hours. A seat that's still wet the next morning is already at risk. By day three, you might be able to smell the problem.
The airbag wiring is the sneaky concern. Seat-mounted airbags and occupant sensors sit right under the seat cushion. Water in the foam can wick into those connectors, causing intermittent faults.
Sometimes the airbag light on your dashboard stays off for days. Then it flashes on, and you're stuck with a dealership diagnostic fee and replacement sensors.
That's why drying a wet seat properly is about more than avoiding a bad smell. It's about protecting safety systems and resale value. A single deep water event can drop a used car's value significantly, especially if the buyer notices even a faint mildew odor.
What Kind of Wet Is It? (The Key Decision)
Not all wet seats are the same, and your drying strategy should change based on what happened. This is the decision that dictates everything else.
Here's how to classify your situation:
| Type | Typical Cause | How Bad Is It? |
|---|---|---|
| Surface spill | A few milliliters of coffee or water | Soaks into the top layer, rarely reaches foam |
| Moderate soak | A gallon bottle leaked overnight | Penetrates the foam, may reach the seat pan |
| Flood | Rain through a window, car submerged | Soaked foam, water in rails and connectors |
The second question is what kind of water it is. Freshwater from a drink bottle is annoying but manageable. Saltwater from coastal flooding is far more corrosive.
If salt water got into the seat, the drying is only the first step. You'll also need to flush the metal parts with fresh water.
Time is the third variable. A spill caught within 10 minutes dries fast. The same spill found the next morning has already soaked into the foam and possibly the seat pan.
The deeper it's been sitting, the more aggressive you need to be.
If the answer is "flood" or "soaked for more than a day," you should seriously consider removing the seat from the car. That's a bigger job, but it's often the only way to get everything dry before mold sets in. Section 6 covers that route in detail.
Fabric Upholstery: The Step-by-Step Dry-Out
Fabric seats are the most common, and they act like a giant sponge. Water spreads horizontally through the weave and vertically into the foam. Here's how to dry them properly.
Image source: Bing (Web (fair-use with source credit))
Step 1: Blot everything you can see
Press clean, dry towels onto the wet spot. Put your weight behind it. When the towel stops absorbing, replace it.
Don't rub, because rubbing pushes water deeper into the fibers. Keep going until no liquid shows on the towel.
Step 2: Attack the foam with a wet/dry vacuum
A regular household vacuum won't handle water. A wet/dry vacuum, sometimes called a shop vac, is designed for this. Switch it to wet pickup mode and press the nozzle firmly into the seat.
Move it around slowly. You'll see water collecting in the tank. This step pulls moisture out of the foam that towels can't reach.
If you don't have a shop vac, renting an upholstery extractor or buying a small handheld car vacuum with wet pickup capability works too. The key is suction directed into the cushion.
Step 3: Lift the cover if you can
Many car seat covers are held on with clips, hooks, or zippers. If you can remove the seat cover without cutting anything, do it. That gives the foam a direct line to open air.
Just remember to check for sensors and wiring clips before you pull too hard.
Step 4: Add airflow, not heat
Heat from a hairdryer can actually bake the water deeper into the foam and damage the fabric. Instead, use a box fan aimed at the seat, or open the car doors and let natural air move through. A dehumidifier in the garage also works well because it pulls moisture out of the air, not just off the seat.
Step 5: Keep checking the padding, not just the surface
The surface may feel dry within a few hours, but the foam underneath can stay damp for a day or more. Press your palm into the center of the seat. If it feels cool or damp, keep going.
You're not done until the padding is dry. That can take 24 to 48 hours for a heavy soak.
Image source: Bing (Web (fair-use with source credit))
What about baking soda and vinegar?
Baking soda helps absorb odors once the seat is mostly dry. Sprinkle it on, let it sit for an hour, then vacuum. White vinegar mixed with water works as a mild mold deterrent, but test it on a hidden spot first.
Neither is a drying shortcut.
Leather and Vinyl Upholstery: The Careful Approach
Leather and vinyl need a completely different mindset. The surface doesn't absorb water the way fabric does, but the seams and stitching do. Water can work its way under the leather and into the foam, and then it has no easy way back out.
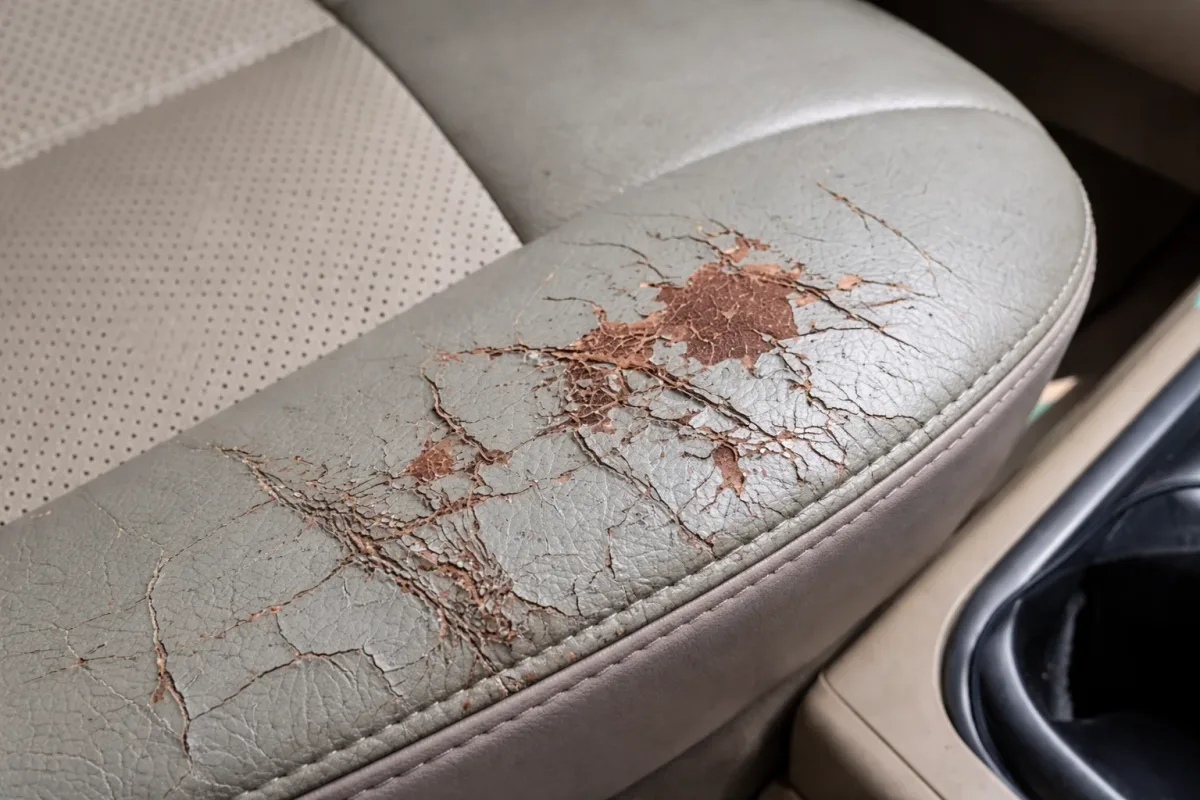
Image source: Web (Bing) / carserviceexpert.com (Web image (fair-use with source credit))
Why heat is your enemy
Leather dries out when exposed to direct heat. A hairdryer or heat gun can cause cracking, discoloration, and shrinkage. Once leather shrinks, it pulls away from the seams and warps the seat shape.
That's a permanent mistake.
The right approach is much gentler:
- Blot the surface immediately with a soft, absorbent towel.
- Vacuum along the seams and stitching to pull water out of the crevices.
- Wipe down the leather with a slightly damp microfiber cloth to remove any residue.
- Air dry with a fan set on low, but point it at the seat from a foot or two away.
- Condition the leather after it's completely dry to replace natural oils.
The perforated leather trap
Some high-trim seats have tiny perforations in the leather for ventilation. Water can pour through those hundreds of tiny holes straight into the foam. That makes the drying job much harder.
If you have perforated leather and a big spill, you may need to protect the leather with a cover or call a pro to extract the water.
Do not scrub the stain
Scrubbing leather with a stiff brush or abrasive sponge damages the protective coating. It leaves a dull patch that's nearly impossible to fix. Blot, pat, and dab.
That's the rhythm.
Drying time for leather seats
Leather dries slower than fabric because the surface blocks evaporation. The foam and the surface can feel like they dry at different rates, which confuses people. Check under the seat and at the seams.
If water has pooled in the seat pan, you'll hear a sloshing noise when you go around a corner. That means water is trapped underneath, and you need to remove the seat or get an extractor into the crevice.
When to call a pro for leather
If your leather is stained, starting to crack, or if there's discoloration from trapped water, a professional auto upholstery shop has the right tools. Sometimes they'll remove the cover entirely to dry the foam, then reinstall and recondition the leather. It's more expensive, but it's better than a ruined interior.

Leave a Reply