
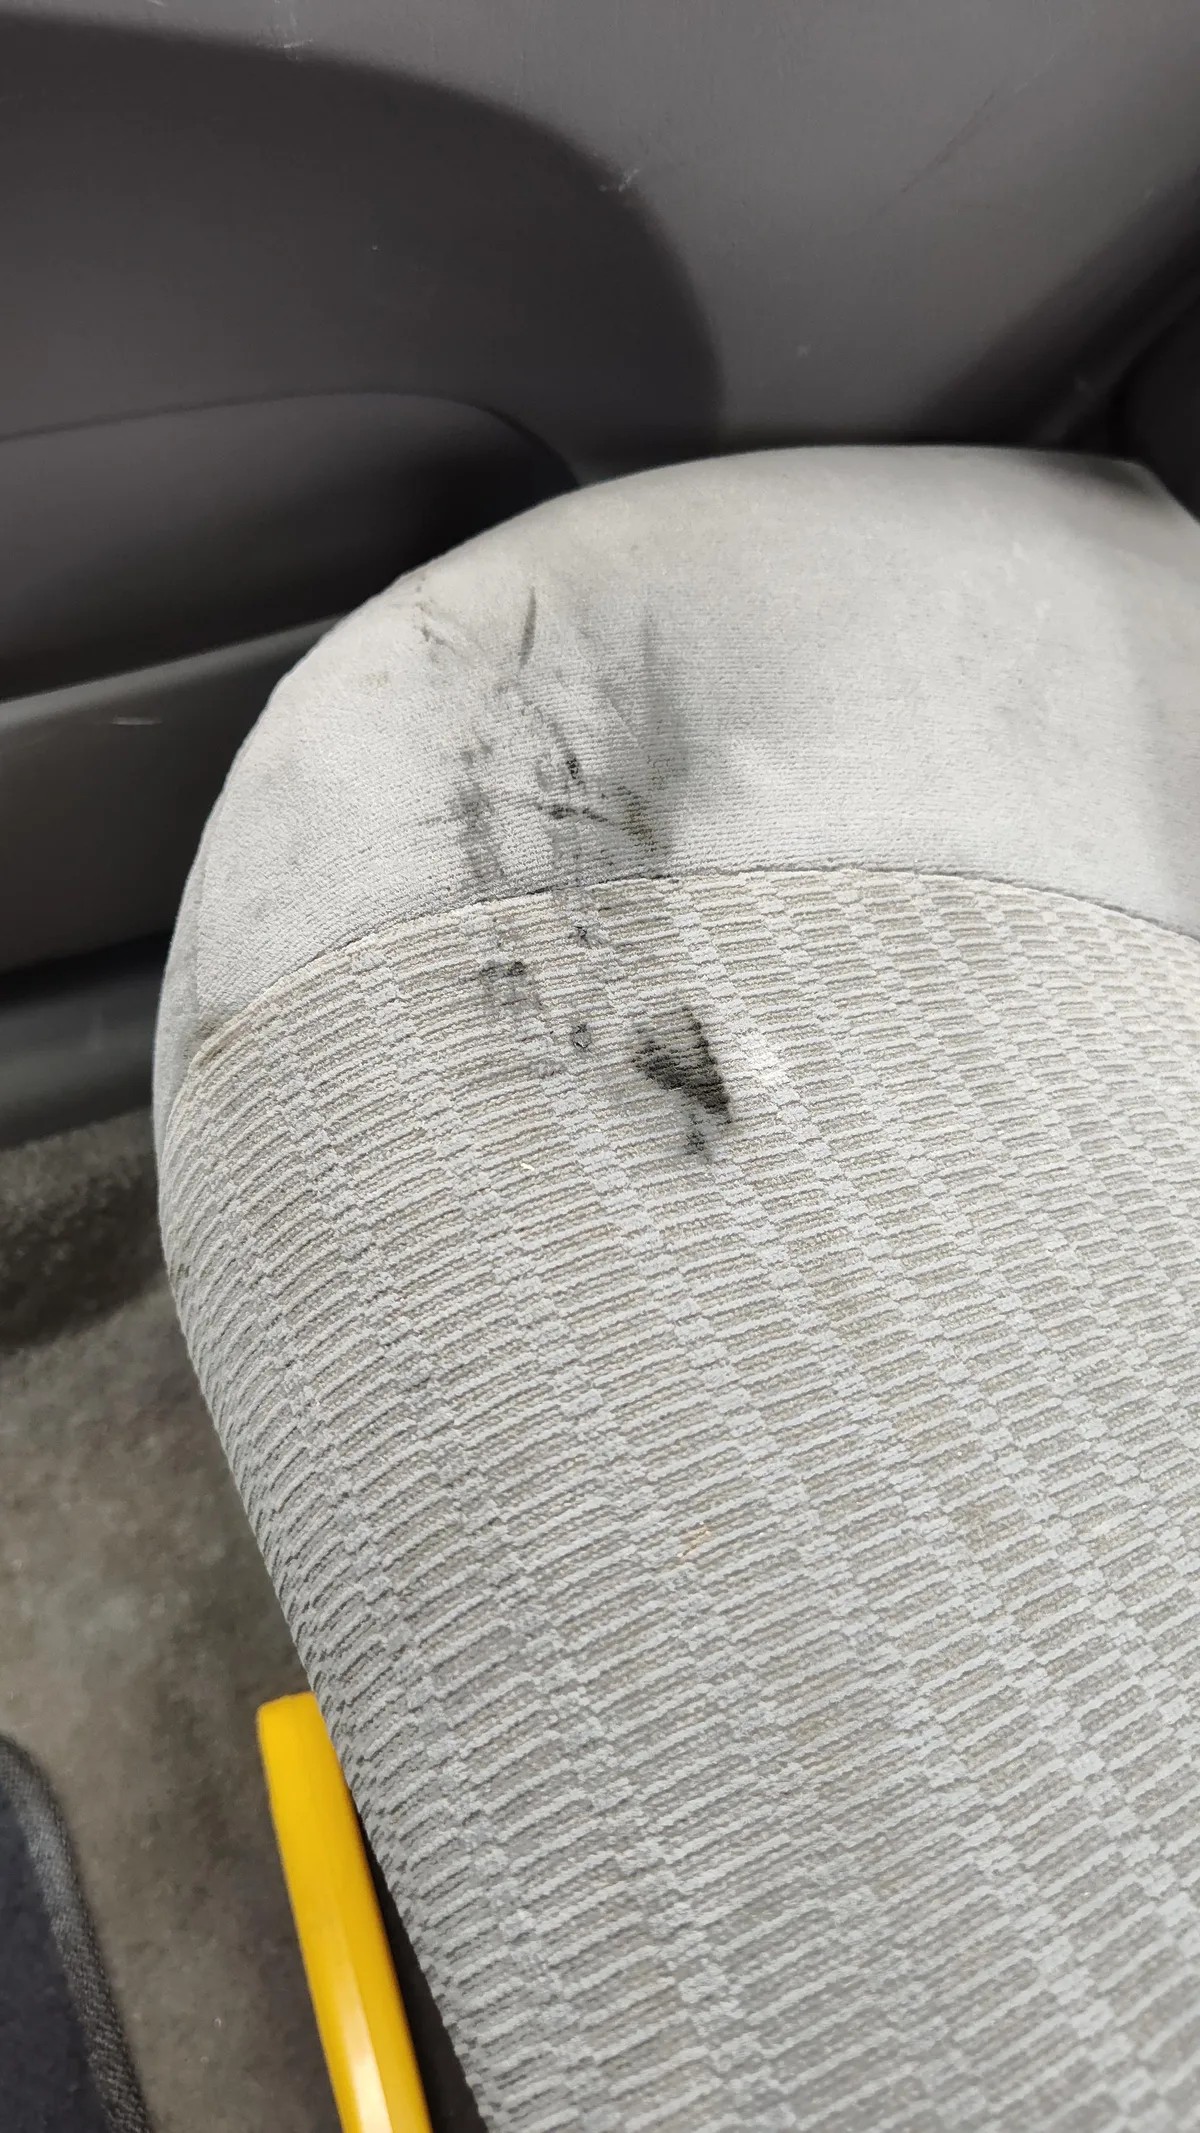
Got a grease stain on your car seat and wondering how to get grease out of car seat without making it worse? You're not alone. A dropped burger, a leaky container, or a smudge of motor oil can ruin your upholstery in seconds.
The panic is real, but the fix is simpler than you think.
As of 2026, professional upholstery cleaning costs anywhere from $50 to $150, depending on your seat material and the stain's age. But most grease stains respond well to a few household items if you act fast. The trick is knowing what your seat is made of before you reach for a cleaner.
Let's break it down.
Why Grease on a Car Seat Feels Like a Disaster
Grease is deceptive. It doesn't sit on the surface like coffee or soda. It wicks into the fabric or leather fibers, spreading thin and nearly invisible.
By the time you see it, the stain has already soaked deep.
Water can't help. Grease is hydrophobic, meaning it repels water and actually bonds to the seat material. Rubbing with a wet cloth pushes it deeper.
That's why a small grease spot can turn into an embarrassing ring.
The good news is that most grease stains are still reversible. The bad news is that guessing the wrong method can set the stain permanently. That's why we need to start with the two decisions that decide everything.
Quick Answer: The Two Decisions That Decide Everything
The right method hinges on your seat fabric and how old the stain is. For fresh grease on cloth, use an absorbent powder like baking soda. For set or dried grease on leather, use a diluted rubbing alcohol solution.
Avoid water and heat, as they push grease deeper.
Fabric vs Leather: How to Identify Your Seat Before You Touch a Cleaner
Stop right there. Do not spray anything until you know what your seat is made of. Fabric seats are porous and absorb liquids quickly.
Leather and vinyl seats are nonporous, so liquids stay on the surface. Using the wrong cleaner can cause permanent damage.
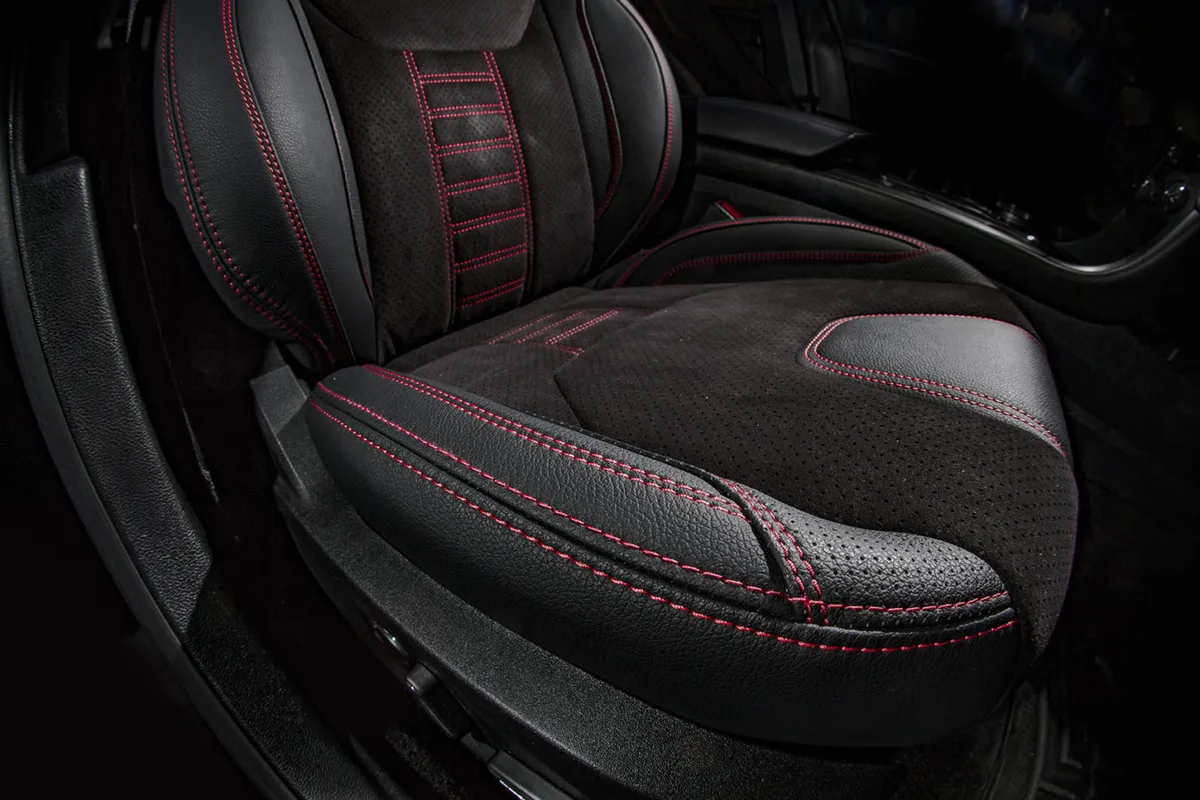
Fabric seats feel woven and soft. You can see visible threads and a slight texture. Leather seats feel smooth and cool to the touch.
Vinyl feels plastic-like and slightly shiny. If you're still unsure, consult your owner's manual. The exact material is listed in the specifications.
Here's a quick comparison table:
| Material | Feel | Common in |
|---|---|---|
| Fabric | Woven, soft, visible threads | Most base models |
| Leather | Smooth, cool, slight give | Luxury and mid-range trims |
| Vinyl | Plastic-like, shiny | Entry-level and commercial vehicles |
Still torn? Look at the stitching. Fabric seats often have hidden seams.
Leather seats typically show tight, exposed stitching with a slight natural wrinkle. If you're thinking about adding seat covers for protection, check whether they're safe for leather finishes first.
How Grease Behaves: Why Fabric Pulls It In and Leather Keeps It on Top
Grease behaves differently on fabric and leather because of how each material is built. Fabric is made of twisted fibers with tiny gaps. Grease flows into those gaps and spreads sideways.
That's why fabric stains look bigger than the original spot.
Leather is a dense hide, usually coated with a protective finish. Grease stays on the surface for a while. If it sits long enough, it can soak into uncoated leather.
Vinyl is even less absorbent, so grease tends to pool on top.
This is why the cleaning approach changes. Fabric needs a dry absorbent first to pull grease out. Leather and vinyl need a solvent that dissolves the grease before you wipe it away.
Think soaking versus dissolving. With fabric, you soak the grease out. With leather, you dissolve it off.
For solvent-based cleaners, look for products that meet safety standards like the EPA's Safer Choice program. That keeps your seat finish and your health in mind.
Step-by-Step: The Fabric Seat Grease Removal Workflow
Fabric seats are the most common, and they're the most stubborn. Here's a proven workflow that works for most fresh and set-in grease stains.
Absorb the Fresh Grease First
If the grease is still wet, grab a clean, dry cloth or paper towel. Blot gently. Never rub.
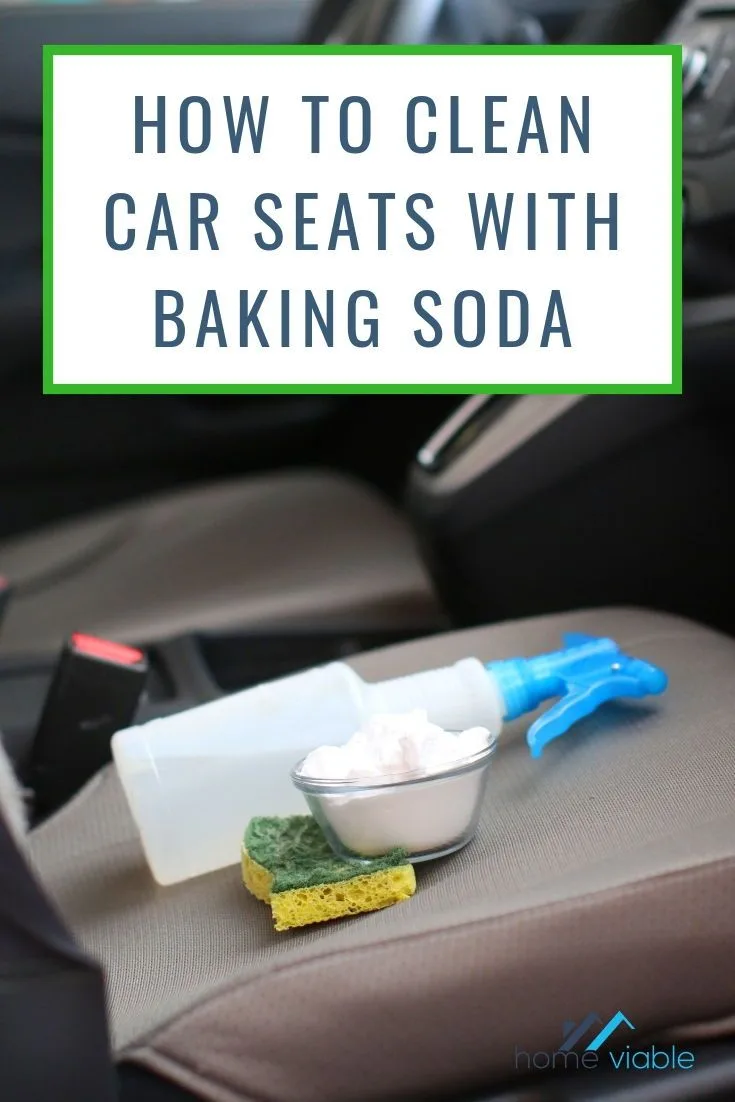
Rubbing pushes grease deeper into the fibers. Then cover the stain with a thick layer of baking soda or cornstarch. Let it sit for 15 to 30 minutes.
The powder draws grease to the surface. Brush it off and vacuum the area.
For a deeper clean, you'll want a vacuum that actually reaches the crevices. A good handheld model makes the difference. Regular home vacuums often lack the suction or attachment for tight spots.
Clean With a Dish Soap Solution
Mix one tablespoon of degreasing dish soap with one cup of warm water. Use a soft-bristled brush or a microfiber cloth. Dab the solution onto the stain, working from the outside in.
This prevents spreading. Then dip a clean cloth in plain water and blot to rinse. Repeat until no soap residue remains.
Rinse, Dry, and Check for Wicking
Let the seat air dry completely. This can take 2 to 6 hours depending on humidity. If a dark ring appears, that's wicking.
The grease is rising back up. Reapply the absorbent powder and repeat the process. For set-in grease, let the baking soda sit for up to an hour.
Then vacuum thoroughly and check if the stain lifted.
Step-by-Step: The Leather and Vinyl Grease Removal Workflow
Leather seats need a different touch. The good news is that grease rarely penetrates a well-coated leather surface. It sits on top, which means a gentle solvent can wipe it away cleanly.
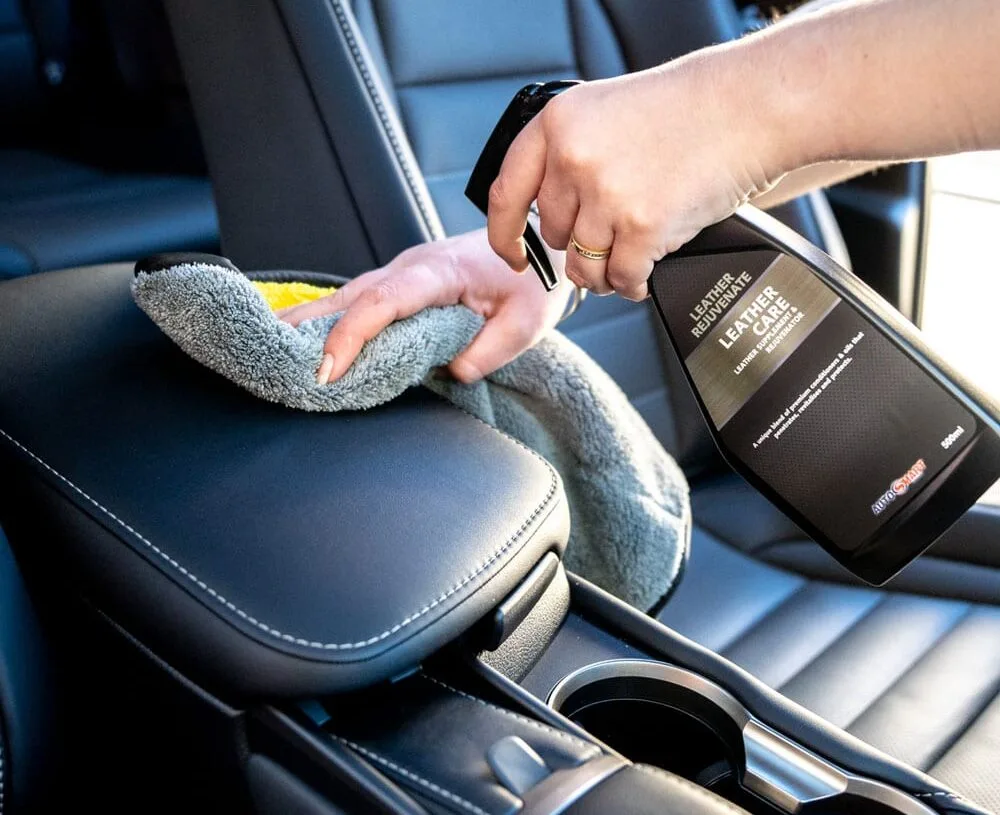
Start by blotting fresh grease with a soft, dry microfiber cloth. Work in small circles, always pulling the grease toward the center. Never rub hard, since friction can push the oil into the leather's finish.
Next, mix one part rubbing alcohol with one part distilled water. Test the solution on a hidden area, like the lower side of the seat, to check for color transfer. If the leather darkens or the finish lifts, stop and switch to a commercial leather cleaner.
Dampen a clean microfiber cloth with the alcohol mixture. Wipe the stained area gently, following the leather's natural grain. The grease should transfer to the cloth.
Flip the cloth as you go to avoid redepositing the oil.
Once the stain lifts, rinse the area with a damp cloth to remove any alcohol residue. Then apply a leather conditioner. Per manufacturer guidelines, conditioning restores oils that solvents can strip away.
For vinyl seats, skip the alcohol and use a diluted dish soap solution instead, then wipe clean with water.
DIY vs Professional Detailing: When It's Worth Calling a Pro
Most fresh grease stains on fabric or coated leather come out at home. DIY cleaning costs just a few dollars in household supplies. Professional detailing is faster, but it starts at $50 and climbs quickly.
| Option | Cost | Best for |
|---|---|---|
| DIY cleaning | $5 to $20 | Fresh stains, small spots, routine upkeep |
| Pro spot treatment | $30 to $75 | Set-in grease, stubborn rings, suede |
| Full interior detail | $100 to $250 | Heavy stains, odors, multiple seats |
You can handle the first attempt yourself. If the stain is still visible after two full attempts, call a pro. Suede and Alcantara seats almost always need professional cleaning.
Water and dish soap ruin those materials permanently.
Also consider the value of your time. A ride-share driver losing a fare window will find a pro detailer worth the money. A single-set stain that you catch early is a simple weekend fix.
The Grease Stain Mistakes Everyone Makes
Rubbing is the biggest error. It grinds grease into the fibers and spreads the stain wider. Always blot, dab, or gently brush.
Hot water is another trap. Heat causes grease to melt and sink deeper into the seat. Use warm water for soap solutions, but never hot.
For the same reason, avoid using a hairdryer or steam cleaner on a fresh grease stain.
Dish soap on leather is a classic mistake. It's too alkaline and can strip the protective finish. Stick to alcohol solutions or commercial leather cleaners.
Leaving absorbent powder on too long is also common. Baking soda works within 15 to 30 minutes. After that, it dries and can trap grease in the fabric instead of lifting it out.
Finally, many people forget to rinse the soap residue. Leftover detergent attracts dirt and leaves a dull film. A plain-water blot after cleaning fixes this in seconds.
Real-World Scenarios: Commuters, Parents, and Ride-Share Drivers
A commuter who eats a burger on the highway usually faces a fresh fabric stain. The absorbent powder method works well here. Blot, coat with baking soda, wait 20 minutes, vacuum, then clean with a dish soap solution.
Parents deal with crayons, sunscreen, and greasy snack residue. Sunscreen is a grease-based stain that spreads easily. For leather seats, use the alcohol method and condition afterward.
For fabric, use cornstarch first to lift the oil, then a mild soap rinse. If you have little ones, regular under-the-seat vacuuming helps catch debris before it turns into a stain.
Ride-share drivers see everything from fast food to motor oil. Motor oil is heavier than food grease and sets faster. Treat it quickly with an absorbent powder.
If the stain sits overnight, switch to a commercial degreaser designed for upholstery. A pro detail may be the best call during a busy week.
FAQs: Grease-Stained Car Seat Quick Answers
Can I use WD-40 to remove grease from a car seat?
Not as a first choice. WD-40 is a solvent, so it can break down grease, but it leaves an oily residue that requires another cleaning pass. Use it only in a pinch, then follow up with dish soap and water for fabric or alcohol for leather.
Does baking soda work on dried grease stains?
Yes, but it takes longer. For dried grease, wet the area slightly, apply a thick layer of baking soda, and let it sit for up to an hour. Reapply if needed.
The powder draws oil out as it dries.
Will mayonnaise remove grease from car seats?
It can, but it's risky. Mayonnaise contains oils that remove some grease, but it also adds more oil to the seat. It's not a reliable method for automotive upholstery.
Stick to proven absorbents and solvents.
How long should I let baking soda sit on a grease stain?
For fresh grease, 15 to 30 minutes is enough. For older stains, extend it to one hour. If the baking soda clumps, brush it off and reapply a fresh layer.
Can I use a steam cleaner on grease stains?
Only if the seat is fabric and the stain is already treated. Steam alone can push grease deeper. Use an absorbent powder first, then steam with a mild cleaner as a final rinse.
Never use steam on leather.
Should I worry about seat heaters after cleaning?
Yes. Excessive moisture can damage seat heater wiring. Use a damp cloth rather than a soaking wet one.
Let the seat dry fully before turning the heater on.
Final Decision Guide: What to Do Based on Your Seat Material and Stain Age
Here's the entire process boiled down into one logical check. Ask yourself two questions. What material is my seat?
And is the stain fresh or dried?
The table below gives you your next move. If the first method doesn't fully lift the stain after two attempts, escalate to the backup approach or call a professional.
| Seat material | Fresh grease (under 30 min) | Dried grease (hours or days old) |
|---|---|---|
| Fabric | Blot, apply baking soda, wait 20 min, vacuum, then clean with dish soap solution | Apply baking soda and gently mist with water, wait 1 hour, vacuum, repeat, then wash with dish soap |
| Leather | Blot, wipe with diluted rubbing alcohol, wipe clean, condition | Gently warm the area with a hair dryer on low, blot lifted grease, then use diluted alcohol and condition |
| Vinyl | Blot, wipe with diluted dish soap, rinse with damp cloth | Wipe with a stronger dish soap solution, rinse thoroughly, air dry |
That quick reference covers about 90 percent of everyday grease stains. If you're still unsure, go back to the material identification section and double-check what you're dealing with.
The Five-Minute Decision Scan
Follow this flow whenever a grease spot appears. It takes less time than you think.
First, grab a dry cloth and blot. Don't rub, don't spray, don't panic. If grease is still wet, absorb as much as possible.
Then identify your seat material by looking at the texture and checking your owner's manual.
Second, pick your cleaner. Fabric gets baking soda first, then dish soap. Leather and vinyl get a solvent-based approach, either diluted rubbing alcohol or a commercial leather cleaner.
Third, always test in a hidden spot. That includes checking for color fastness and noting whether the leather finish lifts. If the test looks good, proceed with the cleaning method for your material.
Fourth, let the seat dry completely. Wicking is normal on fabric, but you can re-treat the spot if a ring reappears. On leather, a second wipe and fresh conditioner usually finish the job.
Emergency Cleanup Kit to Keep in Your Car
You don't need a full detailing rig. A small zippered bag with a few basics will handle most accidents. Here's what we recommend after reviewing dozens of owner forums and detailer lists:
- A small container of baking soda or cornstarch
- A travel-sized bottle of degreasing dish soap
- A small spray bottle with a 50/50 rubbing alcohol and water mix for leather seats
- Two or three clean microfiber cloths
- A soft-bristled brush, like an old toothbrush
Stash it under a seat or in the trunk. When a grease emergency happens, you'll have the right tool within reach. And if you're already thinking about protecting your seats, a set of quality seat covers makes future cleanups far easier.
Check whether they're waterproof if that's a concern. Also confirm that they won't interfere with airbags.
When to Replace Rather Than Clean
Some grease stains never fully disappear. Heavy motor oil that sits for days can soak through the fabric into the foam padding. In that case, cleaning the surface only fixes the smell, not the stain.
You have two options. You can replace just the seat cover if it's removable, or you can have the foam padding replaced by an upholstery shop. For older vehicles with heavy wear, the most practical move may be installing a new seat cover entirely.
Look for options that are compatible with your car seat design and safe for your vehicle.
For leather seats, a deep grease stain that causes delamination or cracking may need a professional repair. Replacing an entire leather seat is expensive, so it's worth trying a repair kit first. The kit costs about $25, while a full seat replacement runs into the hundreds.
Keeping the Stain From Coming Back
Grease has a way of resurfacing once it soaks into foam. That's why the wicking step matters. If you see a dark ring after the fabric dries, repeat the baking soda treatment rather than leaving it alone.
Use a vacuum with a crevice tool to pull up residual powder. A good car vacuum makes the difference between a clean finish and a chalky residue. Even a handheld model with solid suction works well for spot treatment.
For leather, a proper conditioner after cleaning closes the pores and adds a layer of protection. This makes future grease less likely to penetrate. The same goes for vinyl, where a vinyl protectant helps repel oils.
One Final Habit Worth Building
Keep a cloth in your door pocket. It's the simplest trick in the book. The faster you blot, the less time grease has to set, and the easier the clean-up will be.
If you follow the material-specific workflows in this guide, you'll fix the vast majority of grease stains at home. The key is staying calm, checking your seat type, and acting quickly. That's really all there is to it.

Leave a Reply