
If you’re reading this, your driver’s seat probably looks like it lost a fight with time. Cracked vinyl, split seams, foam crumbs in places foam shouldn’t be. The quote from your local upholstery shop made you wince.
So you’re wondering how to reupholster car seats yourself, and honestly, it’s a more realistic project than most people think.
We’ve researched this thoroughly, and the short version is that a complete DIY reupholstery job costs between $150 and $400 in materials per seat. Professional shops charge $700 to $2,500 for the same work, as of 2026. The gap is huge, but the process demands patience, not magic.
Let’s walk you through what it actually takes.
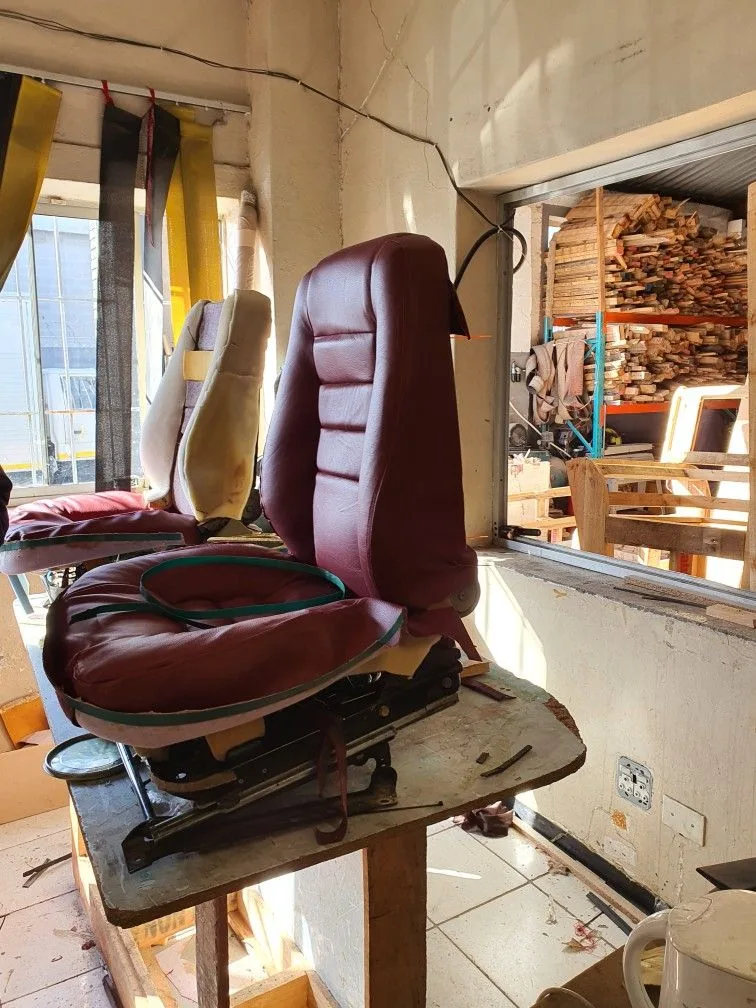
Image source: Web (Bing) / pinterest.com (Web image (fair-use with source credit))
Quick Answer: How to Reupholster Car Seats
You reupholster car seats by removing the seat and disconnecting the battery. Document the original cover, then remove it carefully. Inspect the foam and frame, then repair or replace worn parts.
Cut new fabric, sew the panels, and install with hog rings.
Why Reupholstering Car Seats Is a Visual Job
Here’s the thing nobody tells you. Reupholstery is a spatial puzzle, not a paint-by-numbers task. Every seat has its own shape, its own clip placements, and its own order of operations.
A bench seat in a 1970s truck behaves completely differently than a bolstered sport seat from a modern coupe.
Generic guides treat seats like flat rectangles. They assume you can just staple fabric over foam and call it done. Real upholstery requires you to study how the factory cover was sewn, which panels attach first, and how the fabric stretches around curves.
Photos and diagrams beat written instructions by a wide margin.
If you’re working on a child seat or dealing with seat-mounted airbags, the visual component becomes even more critical. You need to see exactly where the airbag seam sits and how the wiring routes through the frame. Most safety-related reupholstery mistakes happen because someone skipped the observation phase and started cutting fabric.
What You’re Really Signing Up For
Let’s be honest about the commitment. A first-timer should expect to spend 4 to 10 hours per seat, depending on complexity. That includes removal, disassembly, cutting, sewing, fitting, and reinstallation.
If you’ve never sewn anything beyond a button, add a couple hours of learning curve.
The skill level sits somewhere between intermediate DIY and beginner professional. You’ll use tools you probably don’t own yet, like hog ring pliers and a walking-foot sewing machine. You’ll also need a workspace large enough to spread out fabric and foam without everything ending up on the floor.
When does it make sense to call a pro instead? If your seat frame has significant rust damage, if you’re dealing with a complex airbag-equipped seat, or if you need a perfect factory-matched result, a professional is the safer bet. Same goes for classic car restorations where originality matters for value.
For everything else, DIY is absolutely doable. The materials are accessible, the process is documented, and the savings hit four figures on a full interior.
First, Pull the Seat and Inspect Everything
Before you touch a single hog ring, the seat needs to come out of the car. This sounds simple, but there are rules. Disconnect the battery first, especially if your vehicle has seat-mounted side airbags.
Leaving the battery connected risks triggering fault codes or, worse, an accidental deployment.
Most seats are held by four bolts at the front and rear tracks. You’ll need a socket extension and possibly a breaker bar, since those bolts get torqued and often rust. Slide the seat all the way forward to reach the rear bolts, then all the way back for the front ones.
Once the bolts are out, tilt the seat backward to disconnect the wiring harness underneath. This usually includes the airbag connector, seatbelt pretensioner, and sometimes power controls. Push the connectors carefully; they often have small release tabs.
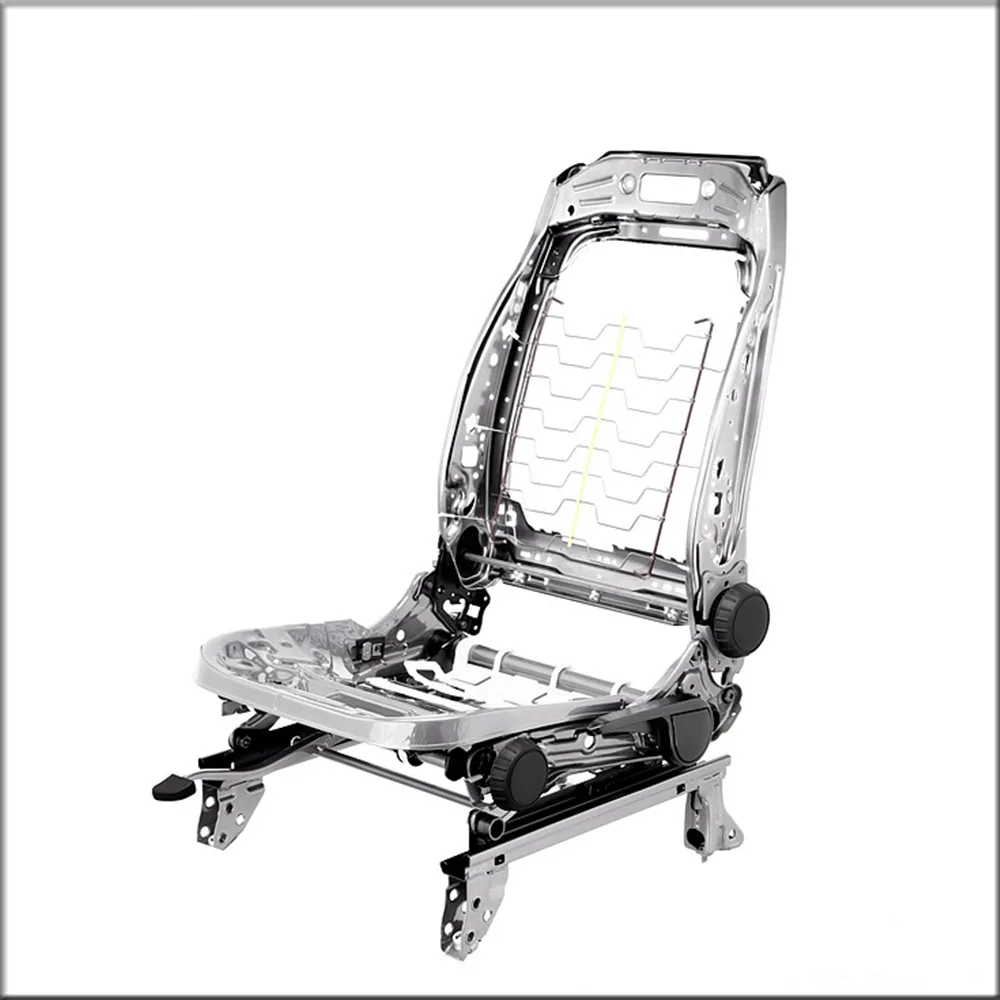
Image source: Web (Bing) / alibaba.com (Web image (fair-use with source credit))
With the seat on a workbench, flip it over and start inspecting. The frame should be solid with no significant rust. Springs on older cars can sag or snap; replace them while everything’s exposed.
Foam buns deserve close attention. Press on the seating area. If it feels like a sponge that doesn’t spring back, the foam is tired.
Per National Highway Traffic Safety Administration guidelines, any structural damage to the seat frame or track compromises crash safety. For a daily driver, check the seatbelt anchors and mounting points. If the metal is cracked, that’s a professional repair, not a DIY situation.
How to Document the Original Cover Before You Touch It
This is the step that saves your entire project. Before you cut a single hog ring, document everything about the original cover. Your phone’s camera is the most important tool in this job.
Start with wide shots from every angle, then move in for close-ups. Photograph the seams, the edges, the plastic trim attachments, and the clip locations. You’ll refer to these photos constantly during reassembly.
Next, mark each panel with masking tape. Write the position directly on the tape, such as “driver side bolster” or “rear upper back.” When you remove the cover, panels get mixed together fast. Labels eliminate guesswork.
Here’s where the visual nature of this job really matters. Trace the original panels onto paper or cardboard before you discard the old cover. Lay the fabric flat and outline each piece, noting the seam allowances.
Most factory covers use 3/8-inch seams, but confirm by measuring rather than assuming.
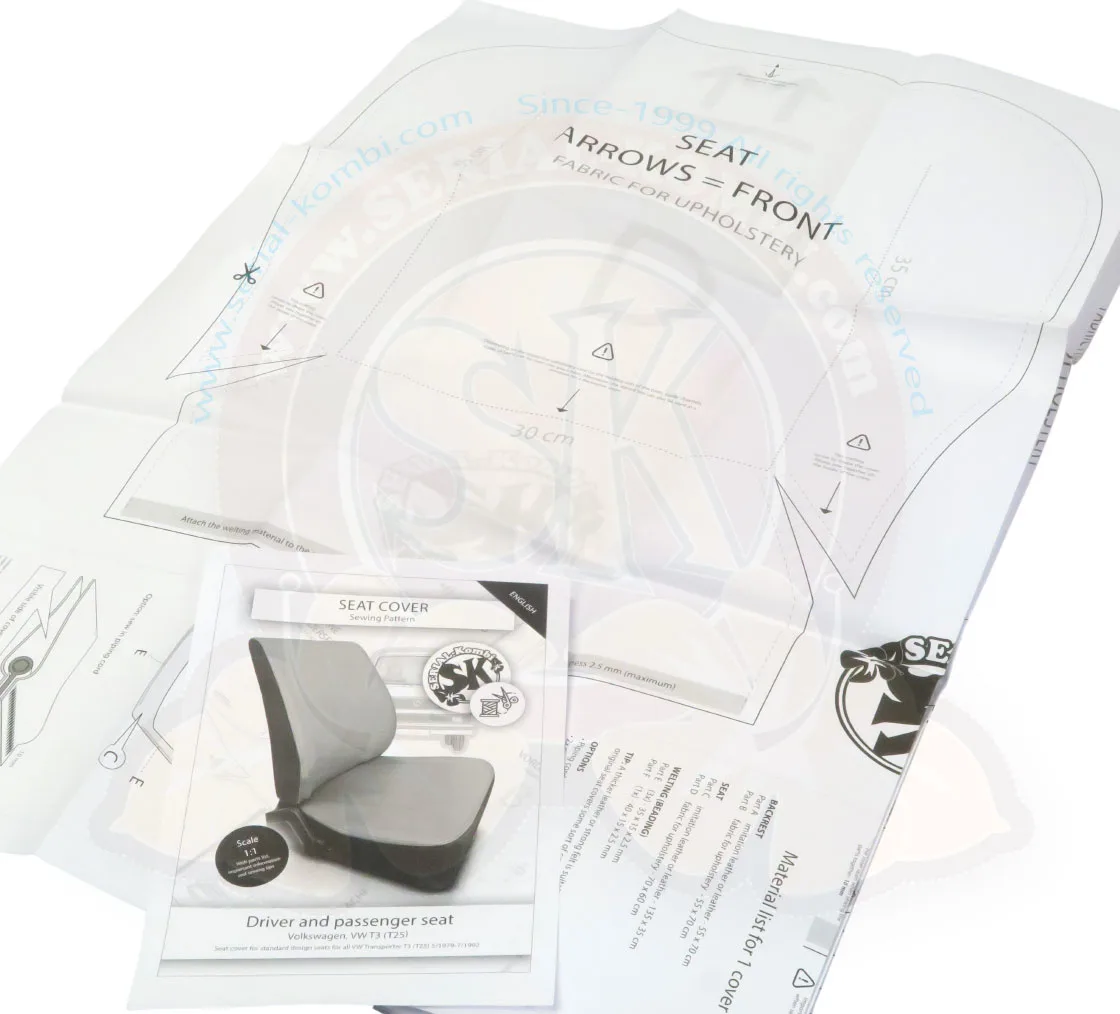
Image source: Bing (Web (fair-use with source credit))
Pay special attention to the order of connections. Some seats attach with hog rings, others use plastic J-clips, and some use a mix of both. Your photos capture which fasteners go where.
Without this documentation, you’ll spend hours trying to reverse-engineer a seat that came apart in minutes.
One more tip from our research: take a close-up of the stitching pattern before removing the cover. Match the thread color and stitch type. This matters for anyone who sees the finished seat and notices it looks just a little off.
Tools and Materials: The Shopping List
Let’s get into what you need. Some tools you own, some you’ll need to buy, and a few might surprise you.
Hog ring pliers are non-negotiable. Manual ones cost $15 to $30 and work fine for smaller jobs. Pneumatic versions speed things up but require a compressor.
Start with manual unless you’re planning to do multiple vehicles.
Fabric choice depends on how you use the car. Vinyl is the most forgiving for beginners, stretchy enough to pull over curves but stable enough to stitch. Leather looks premium but costs more and demands careful cutting.
Microfiber and canvas handle daily wear extremely well, especially in trucks.
| Material | Stretch | Cost per Yard | Best For |
|---|---|---|---|
| Vinyl | Medium | $15–$25 | Beginners, budget builds |
| Leather | Low | $30–$60 | Show cars, luxury interiors |
| Microfiber | High | $15–$35 | Daily drivers, durability |
| Canvas | Low | $10–$20 | Trucks, work vehicles |
Foam backing, called scrim foam, sits between the fabric and the seat foam. It prevents the cover from sliding and adds a smooth finish. Upholstery thread should be bonded nylon rated V-69 or V-92.
Regular cotton thread snaps under the tension of stretched vinyl.
You’ll also need spray adhesive rated for high heat. Car interiors bake in summer sun, and cheap adhesive fails fast. Look for products that specify heat resistance above 200°F.
A utility knife, electric carving knife for foam shaping, and a set of trim removal tools round out your kit.
The total investment for tools and materials lands between $150 and $300, even if you buy everything new. That’s still a fraction of one professional seat re-trim.

Leave a Reply