
Most factory car audio systems are tuned to be “good enough.” They sound acceptable at low volume, fall apart when you turn them up, and make music feel flat. The good news is that you do not need to spend thousands of dollars to fix it. With the right sequence of upgrades, you can turn a lifeless stereo into a system that makes every drive more enjoyable.
This guide walks through the complete signal chain — source, head unit, amplifier, speakers, and the car cabin itself — so you can spend money where it matters and avoid the mistakes that ruin sound quality. For more on this, see our guide on how to adjust car stereo for best sound.
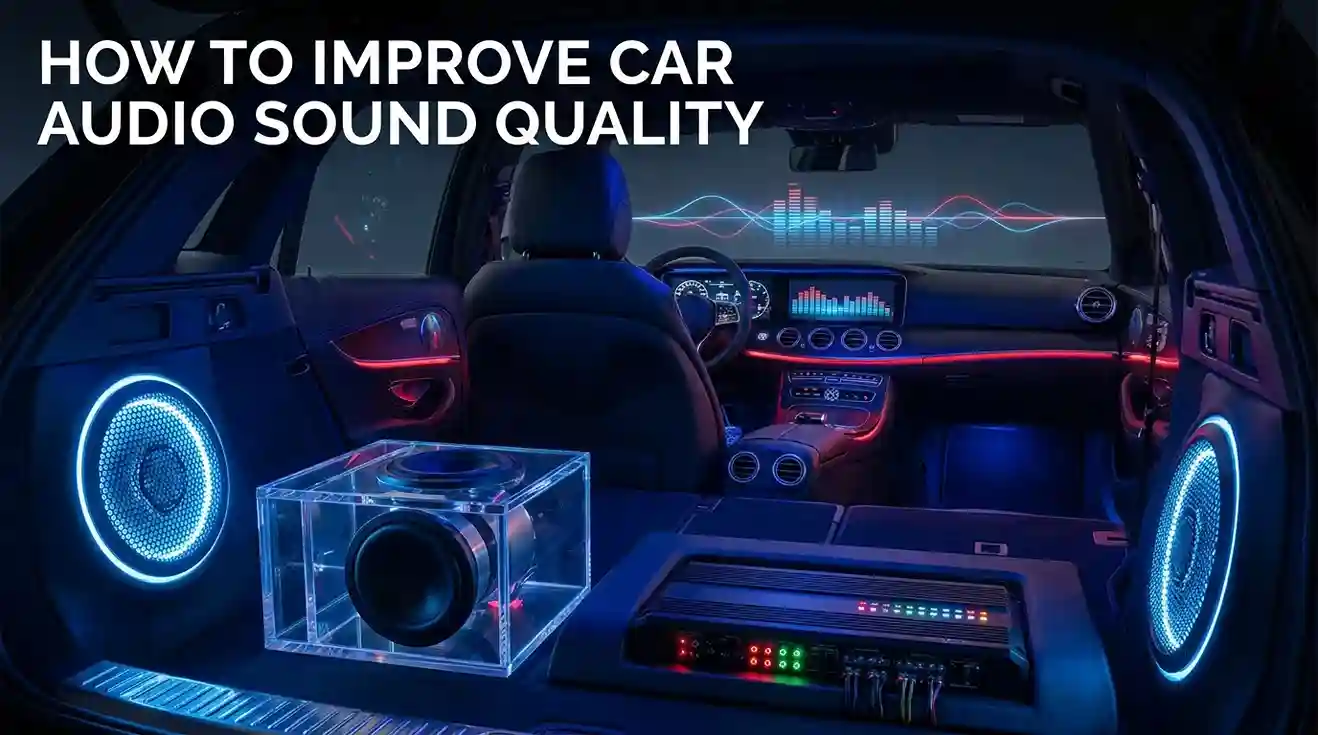
The factory door panel and dashboard are where most audio upgrades begin, but fitment matters more than brand reputation.
Start With the Signal Chain
Car audio is a chain. The source sends a signal to the head unit, the head unit passes it to an amplifier, the amplifier drives the speakers, and the cabin shapes everything you hear. The weakest link in that chain decides the overall sound.
The main components are:
- Source — smartphone, USB drive, Bluetooth stream, radio, or CD
- Head unit — volume, equalization, tone controls, and digital processing
- Amplifier — adds clean power and headroom
- Speakers — convert the electrical signal into audible sound
- Cabin — reflections, absorption, road noise, rattles, and speaker placement
Before changing anything, listen carefully to the system you already have. Play a well-recorded track at moderate volume. Notice whether vocals are clear, whether bass is tight or boomy, and whether distortion appears before you reach your normal listening level.
That tells you exactly where to start.
Why Factory Systems Sound Flat
Factory audio systems are engineered around cost, weight, and packaging — not sound quality. The most common limitations include:
- Cheap paper cones and flimsy tweeters
- Minimal crossover components that force speakers to strain
- Low-power built-in amplifiers delivering only 15–25 watts RMS per channel
- No time alignment or advanced equalization
- Thin metal door panels that rattle and resonate
In practice, one well-chosen component speaker set in the front doors outperforms five cheap speakers spread around the car. You do not need to upgrade everything at once, but you do need to target the weakest link first.
Upgrade the Speakers First
Speakers are the most important investment in almost any car audio system. A great amplifier cannot fix a weak speaker, but a great speaker can make even a modest head unit sound dramatically better.
Coaxial vs Component Speakers
There are two main types of aftermarket speakers:
| Speaker Type | Best Use | Sound Quality | Installation Difficulty |
|---|---|---|---|
| Coaxial | Simple drop-in replacements | Good, integrated tweeter | Easy |
| Component | Front stage with separate woofer and tweeter | Excellent imaging and detail | Moderate |
| Factory | Original equipment | Poor to fair | Already installed |
Component speakers are the better choice for the front of the car because the tweeter can be mounted higher — on the door panel or A-pillar. That raises the soundstage and makes vocals feel like they are coming from the windshield, not from your feet.
Coaxial speakers are a solid option for rear fill or for a budget-first upgrade.
Matching Speakers to Your Car
Not all speakers fit all cars. Before ordering, check three numbers:
- Diameter — most cars use 6.5-inch or 6×9-inch speakers, but many modern vehicles use odd sizes
- Mounting depth — the distance behind the speaker grille is often tighter than people expect
- Speaker impedance — 4-ohm speakers are standard, but make sure they match your amp or head unit
Also look at sensitivity. Sensitivity is measured in decibels at 1 watt of power measured 1 meter away. A speaker rated at 91 dB or higher plays louder with less power, which matters if you are keeping the factory head unit for a while.
Ignore peak power numbers. RMS power handling is the realistic figure. Pairing a 75-watt RMS speaker with a 75-watt RMS amplifier channel is a clean match.
Installation Tips That Prevent Problems
- Use the correct mounting adapter so the speaker sits flush and sealed.
- Seal the gap between the speaker adapter and the door with butyl rope or closed-cell foam.
- Solder connections or use high-quality crimp connectors instead of flimsy wire taps.
- Check polarity carefully. When one speaker is wired out of phase, bass cancels and the system sounds weak.
- Reinstall trim panels and listen for rattles before putting everything back together.
A common mistake is treating speaker installation as a simple swap. A speaker that is not sealed properly loses bass and lets outside noise leak into the door cavity.
Add an Amplifier for Clean Power
Even the best speakers sound weak without enough power. Most factory head units produce very little clean power, so when you turn the volume up, the amplifier runs out of headroom and starts clipping. That distortion is not the speaker’s fault — it is a lack of power.
How Much Power Is Enough?
For most front-component speakers, 50–100 watts RMS per channel is plenty. If your speakers have high sensitivity, you can get away with less. If you want to fill a large SUV with sound, aim higher.
| Amplifier Type | Best Use | Typical RMS Power |
|---|---|---|
| 2-channel | Front component speakers | 50–150 watts per channel |
| 4-channel | Front and rear speakers | 40–100 watts per channel |
| 5-channel | Front, rear, plus a subwoofer | Varies by channel |
| Mono | Dedicated subwoofer power | 150–1,000+ watts |
Modern Class-D amplifiers are compact, efficient, and common in 2026 installs. They produce very little heat and fit easily under seats or in spare-tire wells.
Set Gains Correctly
The gain control on an amplifier is not a volume knob. It matches the amplifier’s input sensitivity to the signal from your head unit. If it is set too high, you get hiss and distortion. If it is set too low, the system sounds weak.
To set gain properly:
- Set your head unit’s EQ to flat.
- Turn the volume up to about three-quarters of maximum.
- Slowly raise the amp gain until you hear the beginning of distortion.
- Turn the gain back down slightly until the distortion disappears.
A common mistake is maxing out the gain to “get more volume.” That only produces a clipped, distorted signal that can damage tweeters.
Upgrade the Head Unit for a Better Signal
The head unit is the starting point of everything you hear. If it sends a dirty signal to a good amplifier, the amplifier only makes the problem louder.
Before replacing anything, spend time exploring the head unit’s setup options. Many factory stereos hide useful equalizer, loudness, and sound-processing menus that can solve half your problems. If you bought the car used, the previous owner may have changed settings you do not know about. Browsing the stereo’s settings menu is a good first step.
Features Worth Paying For in 2026
If you decide your head unit is holding you back, look for:
- High-voltage pre-outs — 4-volt or 5-volt outputs send a cleaner signal to aftermarket amplifiers.
- Built-in DSP — digital signal processing gives you more control over EQ, crossovers, and time alignment.
- Wireless Apple CarPlay and Android Auto — convenient for maps, calls, and streaming.
- USB audio support — a reliable path for lossless music files.
- DSP amplifier integration — some head units combine the tuner, amplifier, and processor into one unit.
Keep in mind that replacing a head unit in a modern car can require integration modules for steering wheel controls, backup cameras, and factory amplifiers. Factor that into your budget.
Wired vs Wireless Smartphone Audio
Wireless CarPlay and Android Auto are convenient, but Bluetooth still compresses audio depending on the codec. If you have a system worth listening to, use a wired USB connection for critical listening sessions.
Many streaming services now offer lossless or high-resolution tiers. Selecting that option makes a real difference, especially after your speakers and amplifier are upgraded.
Add a Subwoofer for Controlled Bass
Subwoofers take over the low frequencies that small door speakers cannot reproduce cleanly. The result is not just more bass — it is less distortion in the rest of your system. Once the subwoofer handles the low end, your door speakers can focus on mids and highs.
Sealed vs Ported Enclosures
| Enclosure Type | Bass Character | Space Requirement |
|---|---|---|
| Sealed | Tight, accurate, musical | Smaller box |
| Ported | Louder, deeper, more efficient | Larger box |
| Free-air / infinite baffle | Clean, open, requires a solid mounting surface | No box needed |
For most listeners, a 10-inch or 12-inch sealed subwoofer is the best first choice. It sounds accurate without being boomy. If you want serious output for hip-hop or electronic music, a ported enclosure moves more air, but it can sound less controlled.
Set the Crossover and Phase
Use the subwoofer’s low-pass filter to keep frequencies above 80–100 Hz out of the sub. Set the main speakers with a high-pass filter around 60–80 Hz so they are not struggling with bass they cannot reproduce.
The phase switch on the subwoofer matters too. If the sub and main speakers are working against each other, the bass will sound hollow. Flip the phase switch between 0 and 180 degrees and keep whichever position gives noticeably fuller bass.
Upgrade Wiring and Power Delivery
Wiring is not the most exciting upgrade, but it is one of the most important. Undersized cables cause voltage drop, weak output, and even overheating. Poorly routed signal cables cause alternator whine and static.
Practical guidelines:
- Use 16-gauge or thicker speaker wire for door speakers.
- Use 8-gauge power cable for most external amplifiers.
- Use 4-gauge or larger power cable for high-power systems.
- Choose shielded RCA cables for the signal between the head unit and amplifier.
- Route RCA cables down one side of the car and power cables down the other.
- Ground the amplifier to bare, clean chassis metal.
Always disconnect the negative battery terminal before doing any electrical work. Install an inline fuse near the battery when running amplifier power cable. A properly installed system is safe, quiet, and reliable for years.
Treat the Cabin With Sound Deadening
Your car is a metal box on wheels. Engine noise, tire roar, wind, door-panel vibrations, and road texture all mask the details in your music. Sound deadening is one of the most effective car audio upgrades because it improves the listening environment.
Where to Apply Sound Deadening
Apply material in this order:
- Door panels — behind the speakers for tighter midbass and less rattling
- Rear deck or trunk — improves bass response and reduces exhaust drone
- Floor and wheel wells — reduces road noise
- Roof — helps with rain noise and temperature in loud vehicles
You do not need to cover every square inch. In most cars, covering 25–50% of a large panel is enough to stop resonance.
What Sound Deadening Can and Cannot Do
Sound deadening mats, usually made from butyl and aluminum, add mass to a panel and stop it from vibrating. That makes the door behave like a better speaker enclosure. Closed-cell foam can then absorb reflections and reduce high-frequency rattles.
What it will not do is turn a noisy car into a luxury limousine. It reduces the noise that interferes with your music, but it does not completely block outside sound. Still, in practice, material on the front doors often produces a bigger sonic improvement than an expensive set of cables.
Never cover airbags or mounting points with sound deadening. Work around safety components carefully.
Tune the System: EQ, DSP, and Time Alignment
A poorly tuned system can make expensive equipment sound bad. A well-tuned system makes even average equipment sound impressive.
Basic EQ Tuning That Works
- Set every EQ band to zero or flat.
- Play songs you know very well.
- Cut harsh frequencies instead of boosting good ones.
- Adjust high-pass and low-pass filters to keep speakers in their comfort zone.
- Re-check the system at low, medium, and high volume.
A common tuning error is boosting the bass and treble because the system sounds thin at low volume. Instead, address the physical issues first. Seal the doors, add deadening, and fix rattles before reaching for the EQ.
When a DSP Is Worth the Money
A digital signal processor gives you control that a basic head unit cannot. With a DSP you can:
- Set time delays so each speaker’s sound arrives at your ears at the same moment
- Cross frequencies cleanly for every speaker
- Apply a different EQ curve to each speaker
- Create a proper soundstage instead of a wall of sound
DSP-equipped amplifiers are increasingly common and offer a lot of value. If you are installing component speakers and a subwoofer, built-in DSP tuning is one upgrade that will make everything else sound dramatically better.
Use High-Quality Audio Sources
The quality of the music file matters more than most people realize. A 128 kbps MP3 has already removed a large amount of detail. No speaker or amplifier can put that detail back.
In 2026, lossless audio is easier to find than ever. Many streaming apps now offer lossless tiers, and high-resolution downloads are available from a variety of music stores.

Credit: www.extremeaudio.org
For the best sound quality:
- Choose lossless files such as FLAC or WAV when available.
- If you must use MP3, use 320 kbps files from reputable sources.
- Connect your phone by USB rather than Bluetooth when you are doing critical listening.
- Avoid using streaming apps in “low data savings” mode.
The source format is the start of the chain. Garbage in, garbage out — no matter how much you spend on speakers.
Avoid the Mistakes That Ruin Sound
Many car audio upgrades fail for reasons that are easy to fix. The most common mistakes include:
- Buying mismatched components with unrealistic power ratings
- Reversing speaker polarity during installation
- Over-boosting EQ bands instead of fixing physical problems
- Setting amplifier gains too high
- Ignoring rattles and panel vibration
- Using heavily compressed audio files
- Spending all the money on speakers and none on sound deadening
Keep the system balanced. Too much bass hides vocals. Too much treble causes listening fatigue. A good system should sound natural with every genre, not just one track.
Budget Wisely: Smart Upgrade Paths
You do not need to buy everything at once. In fact, upgrading in stages almost always sounds better because you can listen to the improvement at every step.
| Stage | Focus | Approximate Cost |
|---|---|---|
| 1 | Front component speakers + front-door deadening | $250–$500 |
| 2 | 4-channel amplifier + subwoofer | $400–$900 |
| 3 | Head unit with DSP or DSP amplifier | $400–$1,200 |
The single most effective first upgrade is a good pair of front component speakers with the doors treated. That one change improves clarity, imaging, and midbass more than any other starting point.
A simple, well-matched system usually sounds better than a complicated system built from random parts.

Credit: eliteautogear.com
DIY vs Professional Installation
Some car audio upgrades are genuinely beginner-friendly. Sound deadening, speaker replacement, and basic head unit changes can be done in a driveway with basic tools. More complex jobs — factory amplifier integration, custom subwoofer boxes, DSP tuning — are where professional experience pays off.
| Task | DIY Difficulty | Risk Level |
|---|---|---|
| Sound deadening | Easy | Low |
| Speaker replacement | Moderate | Fitment and polarity mistakes |
| Amplifier wiring | Higher | Electrical safety and noise |
| Head unit + DSP tuning | High | Integration and setup complexity |
A professional installer can tune the system after installation, which is often the difference between average and exceptional sound. If you decide to hire someone, ask what is included in the labor price and whether tuning is part of the service.
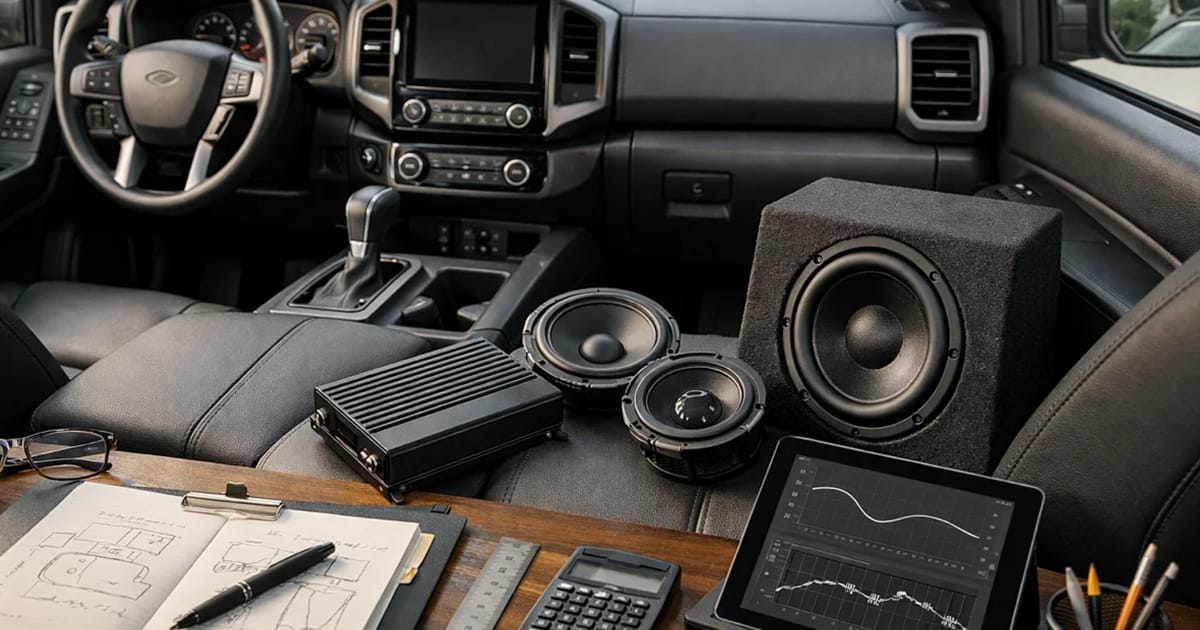
Credit: www.bestcaraudio.com
Measure, Maintain, and Protect
You do not need to guess whether your system improved. A real-time analyzer app on your phone can show you which frequencies are too loud or too quiet. Better tools, like calibrated microphones, give even more detail. Measurement and calibration follow methods published by the National Institute of Standards and Technology, making this a worthwhile learning path for serious listeners.
Still, your ears are the best final judge. Tools find problems; listening confirms the fix.
A Simple Maintenance Routine
A good car audio system needs regular maintenance to keep sounding its best. A few simple checks can prevent rattles, loose connections, and other problems that affect sound quality.
- Check speaker connections every few months.
- Tighten any loose screws or trim panels that rattle.
- Update the head unit’s firmware if it supports updates.
- Clean the cabin regularly so debris does not work its way into panels.
Road dirt can build up around the seat rails and door sills. Loose debris may cause unwanted rattles, while trapped moisture can create other problems over time. Keeping the cabin clean helps maintain a quieter environment, which makes it easier to hear the details in your music.
If you have pets, pay extra attention to the fabric and floor areas. Pet hair can trap dust and work its way into door trim and other tight spaces. Regular cleaning helps keep the cabin cleaner and quieter, allowing your audio system to perform at its best.
Protect Your Hearing
Long listening sessions at high volume cause permanent hearing damage over time. The CDC’s safe listening guidance is worth reading before you crank up your newly tuned system. Good car audio does not need to be abusive — a clean, balanced system sounds loud without being harsh.
Frequently Asked Questions
How can I improve bass without adding a subwoofer?
Seal and deaden the doors, upgrade to speakers with better low-frequency response, and make sure the amplifier is delivering enough clean power. A high-pass filter can also reduce distortion and make the bass that is there sound tighter.
Is an aftermarket head unit necessary for good sound?
Not always. Many factory head units are acceptable once you add an external amplifier, better speakers, and sound deadening. Aftermarket head units help when you need high-voltage pre-outs, built-in DSP, or cleaner digital processing.
Do I need a DSP?
A DSP is not strictly required, but it is one of the biggest upgrades available for sound quality. Time alignment alone can dramatically improve imaging. If you are already installing component speakers and a subwoofer, a DSP amplifier is a smart investment.
Why does my car audio distort at high volume?
Distortion usually means the amplifier is running out of clean power, the gain is set too high, or the speakers are being asked to play frequencies they cannot handle. Check gain settings, crossovers, and the match between amplifier power and speaker RMS ratings.
What audio format is best for car audio?
FLAC and WAV preserve the most detail. If you use streaming, choose a lossless option when it is available. If you are limited to MP3, use 320 kbps files and avoid low-bitrate radio-style compression.
Conclusion
Improving car audio sound quality is not about buying the most expensive equipment. It is about finding the weakest link, upgrading it properly, and then tuning the system to match your car’s unique cabin.
Start with one step: replace the front speakers and add sound deadening to the front doors. Tune the system carefully, keep the source files high quality, and build from there. By following that order, you will get a cleaner, clearer, and more balanced sound — without spending a fortune.

Leave a Reply