
Ventilated car seats are a different beast than regular upholstery. If you're wondering how to clean ventilated car seats without wrecking the perforations or the fans underneath, the short answer is: carefully, with the right tools, and with patience. The holes are tiny, the foam is absorbent, and the electronics are sensitive to moisture.
Manufacturer specifications for most OEM ventilated seats recommend a neutral-pH cleaner between 5.0 and 7.0, with drying times of 12 to 24 hours before powering the seat heaters or fans. As of 2026, most automakers still avoid publishing a universal cleaning standard, so the owner's manual is your first stop. That gap between what the manual says and what actually works is exactly where people mess up.
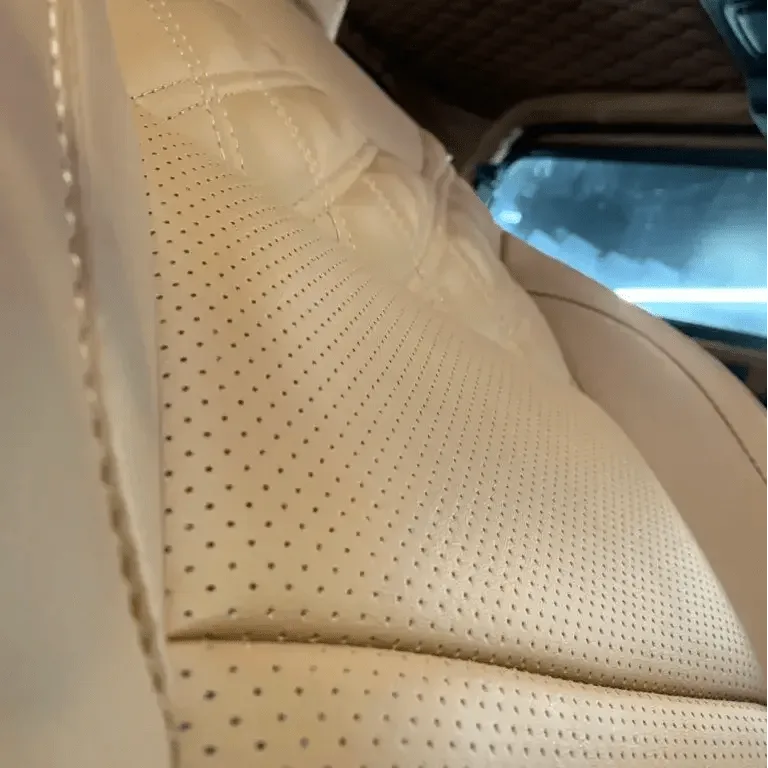
Image source: Web (Bing) / arvindcaraccessories.com (Web image (fair-use with source credit))
Why This Is Tricky (and Why You Can't Just Wipe It Down)
Here's the thing most people miss. A ventilated seat isn't just upholstery with holes. It's a sandwich: a perforated cover on top, a soft foam cushion in the middle, and a fan or heating element underneath.
That changes everything about how you clean it.
The perforations are the obvious trap. They catch dust, sweat, crumbs, and pet hair, and they hold onto them stubbornly. A standard wipe-down just smears the grime across the surface and pushes some of it deeper into the holes.
Over time, that debris packs into the foam and blocks the airflow.
The foam is the bigger problem. It's highly absorbent, and once liquid gets in, it stays wet for a long time. If you drench the seat, the moisture can reach the fan housing and the wiring.
That's how you end up with a short circuit, a burned-out blower, or a seat that smells like mildew. In our research, the most common cause of "ventilated seat not working" complaints was moisture damage from over-zealous cleaning.
Then there's the chemical issue. Many leather cleaners and conditioners leave a waxy residue. On a solid seat, that's fine.
On a perforated seat, that residue fills the holes and kills the airflow. Manufacturer specifications for most OEM ventilated seats explicitly warn against using dressing or conditioner on the perforated areas. Aggregate reviews report that clogged perforations are the number one reason people think their ventilation system has failed, when it's actually just blocked by product buildup.
There's also a real health angle. If moisture gets trapped in the foam and you don't dry it properly, mold can start growing within 48 hours. That's not just a smell problem.
Mold spores get blown into the cabin every time you switch the seat fan on. The EPA's guidance on mold prevention makes it clear that controlling moisture is the only reliable way to stop it. So the drying step isn't optional.
It's the whole game.
Quick Answer: The 30-Second Version
To clean ventilated car seats, vacuum the perforations first. Then spot-test a neutral-pH cleaner on a hidden area. Scrub gently with a soft brush.
Extract the moisture with a wet/dry vacuum. Dry 12 to 24 hours before using the fans. Skip conditioner on the holes.
That's the whole process in six sentences. The rest of this guide fills in the details, the mistakes, and the exact steps for each seat material.
Read This First: Know Your Seat Type and Condition
Before you touch a single towel, you need to know what you're working with. The right cleaning method depends entirely on two things: what the seat cover is made of, and how dirty it actually is. Get those wrong, and you'll either waste your time or damage the seat.
What Material Are Your Seats Made Of?
If they're genuine leather, use a dedicated leather cleaner. Real leather is porous and can dry out or crack with the wrong chemicals. A pH-neutral leather cleaner is your safest bet. Avoid anything with alcohol, ammonia, or harsh solvents, because they strip the protective coating.
If they're leatherette or synthetic leather, the rules are slightly looser. These materials are more forgiving than real leather, but they still have a coating that can be damaged by harsh chemicals. A mild upholstery cleaner works fine. Just don't use a stiff brush, because it can scratch the surface.
If they're fabric, you're dealing with a whole different problem. Fabric ventilated seats are less common, but they exist on some trucks and SUVs. They absorb even more liquid, and they hold onto odors worse than leather. You'll need a fabric-safe cleaner and more aggressive extraction.
Here's a quick if/then breakdown:
- If the seat is leather or leatherette, use a pH-neutral leather cleaner.
- If the seat is fabric, use a foam-style fabric upholstery cleaner.
- If you're not sure, check the owner's manual. It lists the exact material and the recommended cleaning method.
How Dirty Are They, Really?
Be honest with yourself here. The level of soiling changes the entire workflow.
Light dust and surface grime: A thorough vacuum and a gentle wipe with a damp microfiber cloth might be all you need. No chemicals required.
Sweat stains or light discoloration: You'll need a cleaner, a soft brush, and a wet/dry vacuum to extract the dissolved grime from the foam.
Deep stains, food spills, or pet mess: This calls for the full process, including a proper extraction step and a long drying period. You might even need to repeat the cleaning twice.
Musty smell or visible mold: This is a bigger issue. You need to dry the seat thoroughly and possibly treat the foam with a mold-killing solution. If the smell persists after cleaning, you may need professional help.
Don't just mask the odor with a spray.
This is where the decision tree starts. Once you know your material and your soiling level, you can pick the right path. And if you're dealing with heavy dirt, you'll want to pay attention to your vacuum setup, because a regular home vacuum often isn't strong enough to pull moisture from deep in the foam.
What You'll Need: The Essential Cleaning Toolkit
You don't need a professional detailing setup, but you do need the right basics. Here's the gear that actually matters, based on manufacturer specs and what professional detailers actually use.
| Tool | Why You Need It |
|---|---|
| Wet/dry vacuum | Pulls dirt and moisture out of the perforations and foam. Needs at least 4-5 HP or roughly 100+ CFM of airflow. |
| Soft-bristle brush | Agitates grime without scratching the cover. A detailing brush or a clean toothbrush works. |
| Microfiber towels | Blot and wipe without leaving lint. Use one for cleaning, another for drying. |
| pH-neutral cleaner | Safely breaks down sweat and dirt without damaging foam or wiring. Look for a pH between 5.0 and 7.0. |
| Compressed air (optional) | Dislodges stubborn debris from vent holes before you vacuum. Use a can of air or an air compressor on low setting. |
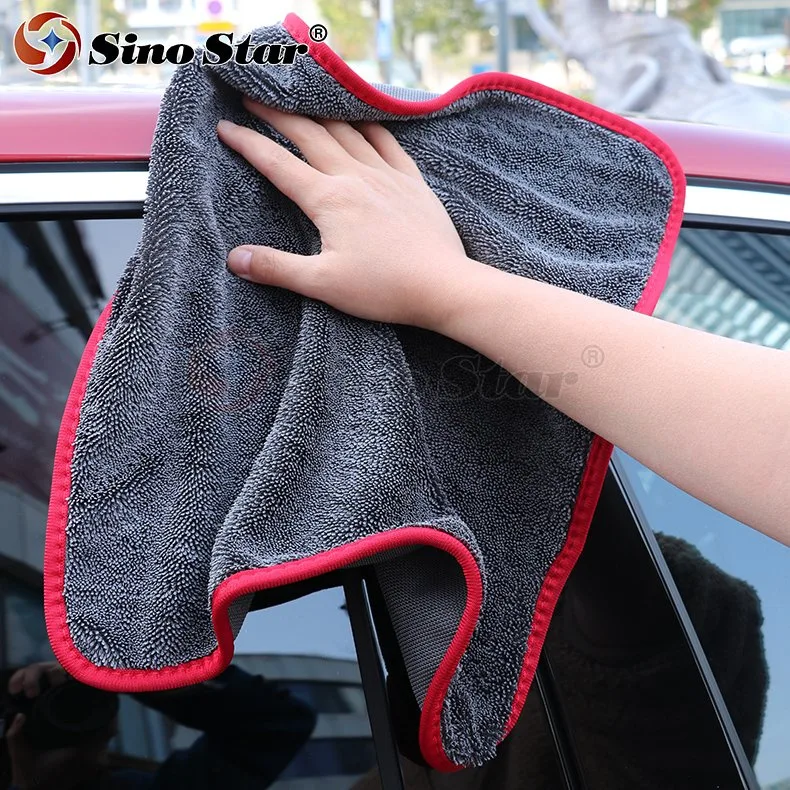
Image source: Web (Bing) / sinostar888.en.made-in-china.com (Web image (fair-use with source credit))
A few things you should NOT use:
- Steam cleaners on high heat. The steam can melt foam and warp the perforations. If you must steam, keep it on the lowest setting and keep the nozzle a few inches away.
- Pressure washers. They blast water into areas you can't dry, and they can damage the wiring.
- Leather conditioner or dressing. It clogs the perforations. Save it for the non-perforated parts of the seat, or skip it entirely.
- Bleach, ammonia, or strong solvents. These can eat through the seat coating and the foam.
If you're shopping for a vacuum, choosing the right vacuum matters more than you'd think. A weak one won't extract enough moisture, and that's where mold problems start.
How to Clean Ventilated Seats (Step-by-Step for Any Material)
This is the core workflow. Follow it in order. Don't skip ahead, and don't rush the drying step.
The whole process takes about 30 to 45 minutes of active work, plus a full day of drying.
Step 1: Vacuum Every Perforation
Start dry. Use your wet/dry vacuum with a soft brush attachment and go over the entire seat surface. Move slowly, especially over the perforated areas.
You want to pull up loose dirt, crumbs, and pet hair before any liquid touches the seat.
If you have stubborn debris stuck in the holes, use compressed air to blow it loose, then vacuum again. Don't use a hard brush or a pick, because you'll damage the perforations.
This step is also where deep-seat vacuuming pays off. Get into the crevices and the gaps between the seat and the bolsters. That's where a lot of hidden dirt lives.
Step 2: Spot Test Your Cleaner
Before you apply anything to the visible surface, test it on a hidden area. Look under the seat or on the side of the seat base. Apply a small amount of cleaner, wait a few minutes, and check for discoloration or damage.
This is non-negotiable. Even a "safe" cleaner can react badly with a specific coating. If the spot test looks fine, move on.
If it doesn't, pick a different cleaner.
Step 3: Agitate Gently (No Elbow Grease)
Spray the cleaner onto a microfiber towel first, not directly onto the seat. You want the cloth damp, not soaked. Then use your soft-bristle brush to work the cleaner into the perforations using small, circular motions.
Here's the key: light pressure. You're not scrubbing a pot. You're trying to dissolve the grime that's sitting in the holes and on the surface.
Pressing too hard can push the cleaner deeper into the foam, which means longer drying time and a higher mold risk.
Let the cleaner sit for a few minutes. Check the manufacturer's instructions for the exact dwell time, but 3 to 5 minutes is usually right. Don't let it dry completely, because that makes it harder to extract.
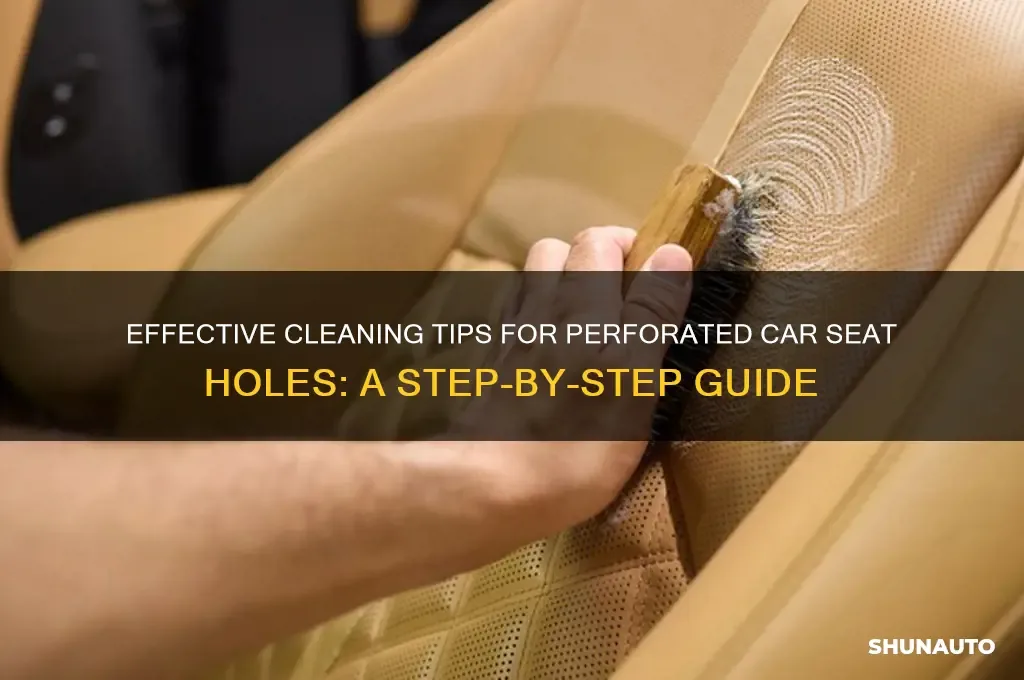
Image source: Web (Bing) / shunauto.com (Web image (fair-use with source credit))
Step 4: Extract, Don't Soak
Now you need to pull the dissolved dirt and the cleaner back out. Switch your wet/dry vacuum to wet mode and go over the seat slowly. Use the squeegee attachment if you have it, or a flat nozzle.
You want to see the dirty liquid coming out of the foam and into the vacuum.
Repeat the agitation and extraction if the water still looks dirty. For heavily soiled seats, two or three passes are normal. Each pass should use fresh cleaner and a fresh area of your towel.
If you have stubborn stains like coffee or food, this is the step that actually removes them. Just be patient and let the vacuum do the work. If you're dealing with pet mess, you might need to repeat the process a couple of times, and stubborn pet hair often needs extra attention before any liquid touches the seat.
Step 5: Dry, Dry, Dry
This is the most important step, and the one most people rush. After extraction, the foam is still damp. If you sit on the seat or turn on the ventilation system too soon, you risk pushing moisture into the fan housing or leaving it trapped in the foam.
Here's the timeline:
- First 30 minutes: Blot the seat with a dry microfiber towel to absorb any surface moisture.
- Next 12 to 24 hours: Leave the doors or windows open if possible. Park in a dry, ventilated area. You can use a fan or a portable heater to speed things up, but keep it gentle.
- After 24 hours: Check the seat with your hand. It should feel completely dry to the touch. If it still feels cool or damp, wait another 12 hours.
Do not use the seat heater or the ventilation fans to dry the seat. That's a common mistake. The heater can bake the foam and damage it, and the fans can pull moisture into the motor.
Manufacturer specs for most ventilated seats recommend a full 24-hour drying period before reactivating the heating or ventilation functions.
If the seat smells musty after drying, that's a red flag. It means moisture is still trapped in the foam. You might need to repeat the extraction with a stronger vacuum, or pull the seat cover off if the manufacturer allows it.
In bad cases, professional detailing is the safer route.

Leave a Reply