
Picture this: you've just finished touching up a doorframe, and one careless step later there's a white smear across your driver's seat. Don't panic. Knowing how to get paint off a car seat isn't about luck.
It's about matching the right method to your seat material and the paint type. Get those two things right, and you can remove even dried paint without leaving a trace.
As of 2026, the three most common seat materials are cloth, leather, and vinyl. Each reacts completely differently to solvents. Choose the wrong one, and you could set the stain permanently or damage the upholstery.
That's why we break everything down into a simple decision tree before you touch anything.
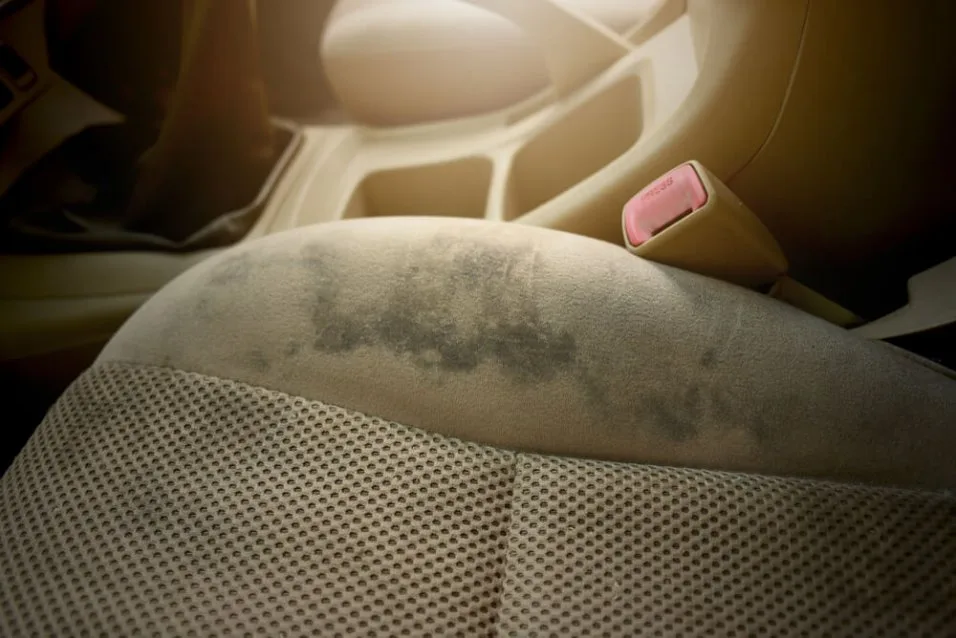
Image source: Bing (Web (fair-use with source credit))
Quick Answer: How to Get Paint Off a Car Seat Without Ruining It
To get paint off a car seat, check your seat material first. Then identify the paint type. Use isopropyl alcohol for water-based paint on fabric.
Use mineral spirits for oil-based paint. Test on a hidden spot before cleaning.
Step 1: Check What Seat Material You're Working With
Before you reach for any cleaner, look at what your seat is actually made of. This single step decides everything. A solvent that works great on fabric can ruin leather in seconds.
Take thirty seconds to check the seams, the owner's manual, or the tag under the seat cushion.
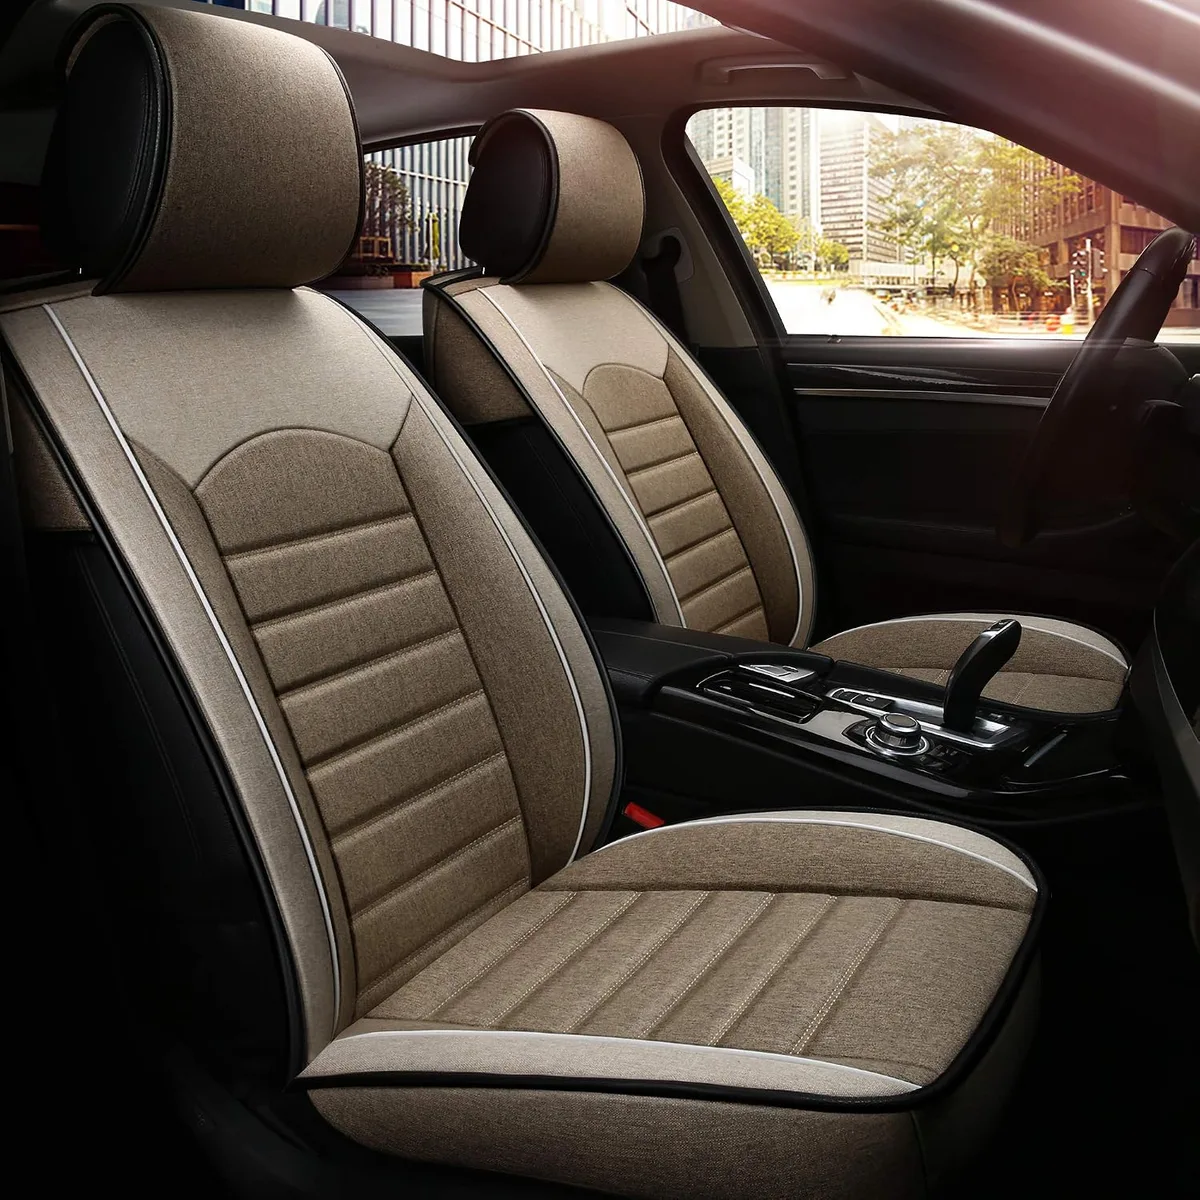
Image source: Web (Bing) / storage.googleapis.com (Web image (fair-use with source credit))
Fabric and Cloth Seats
Cloth seats are the most common in economy and mid-range cars. They're breathable, comfortable, and highly absorbent. Paint sinks into the fibers quickly, so time matters.
For this material, isopropyl alcohol, dish soap, and warm water are all safe options.
Leather Seats
Leather is the most particular material. It's a natural product, and harsh solvents strip its protective finish. Acetone and high-concentration alcohol are off the table.
Stick with mild soap, water, or a dedicated leather cleaner. If you're concerned about long-term wear, check whether leather seat covers provide extra protection before you start scrubbing.
Vinyl / Leatherette Seats
Vinyl sits in the middle of the difficulty scale. It's synthetic and tougher than leather, but strong solvents can still cause cracking or discoloration. Diluted isopropyl alcohol and vinyl-specific cleaners work best.
Avoid anything with abrasive particles.
Step 2: Identify the Paint Type and Age
Now that you know the seat material, figure out what you're dealing with. Paint falls into two broad buckets: water-based and oil-based. The age matters too.
Fresh paint wipes away much easier than paint that has cured for days.
Water-Based Paint (Latex, Acrylic, Craft Paint)
Latex and acrylic paints use water as the carrier. That's good news because they dissolve with isopropyl alcohol or even warm soapy water. These are the easiest stains to remove.
Most household wall paints and kids' craft paints fall into this category.
Oil-Based Paint and Enamel
Oil-based paints, including enamel and alkyds, need a stronger solvent. Mineral spirits or white spirit breaks down the resin that binds the pigment. This category includes many spray paints and rust-preventive enamels.
Don't reach for alcohol here; it won't touch the cured film.
Spray Paint and Overspray
Spray paint is trickier because it dries within minutes. If it's acrylic spray paint, treat it like water-based. If it's oil-based enamel, use mineral spirits.
Overspray from a recent project usually sits on the surface, so gentle blotting with the right solvent often lifts it without heavy scrubbing.
Fresh vs. Dried Paint
Fresh paint is your best friend. Blot it with a clean cloth immediately. Dried paint requires dwell time, patience, and repeated application.
Once paint fully cures, it forms a tough film that resists simple wiping. Per OSHA guidance on solvent use, always work in a ventilated area when you start applying chemicals.
Step 3: Test First — Why That Hidden Spot Saves Your Seat
Here's the step everyone skips until they ruin a seat: test your solvent on an inconspicuous spot. Use a cotton swab dipped in the solvent you plan to use. Apply it to the underside of the seat, where the fabric folds or near the seat rail.
Wait thirty seconds, then blot with a white cloth. If any color transfers from the seat material itself, stop immediately. That means your solvent is too aggressive.
This simple test takes less than a minute, and it prevents permanent discoloration. Our research shows most seat damage from paint removal happens because someone skipped this step.
Step 4: Removing Water-Based Paint from Fabric Seats
Water-based paint on cloth is the best-case scenario. You have a clear path forward, but you still need to work carefully. Here's the full process, broken into three stages.
Wet Paint Blotting Method
If the paint is still wet, act fast. Grab a clean microfiber cloth or paper towel. Fold it into a thick pad.
Press down on the stain and lift. Don't rub, because rubbing pushes paint deeper into the fibers. Keep blotting with fresh sections of the cloth until no more paint transfers.
Then move on to rinsing.
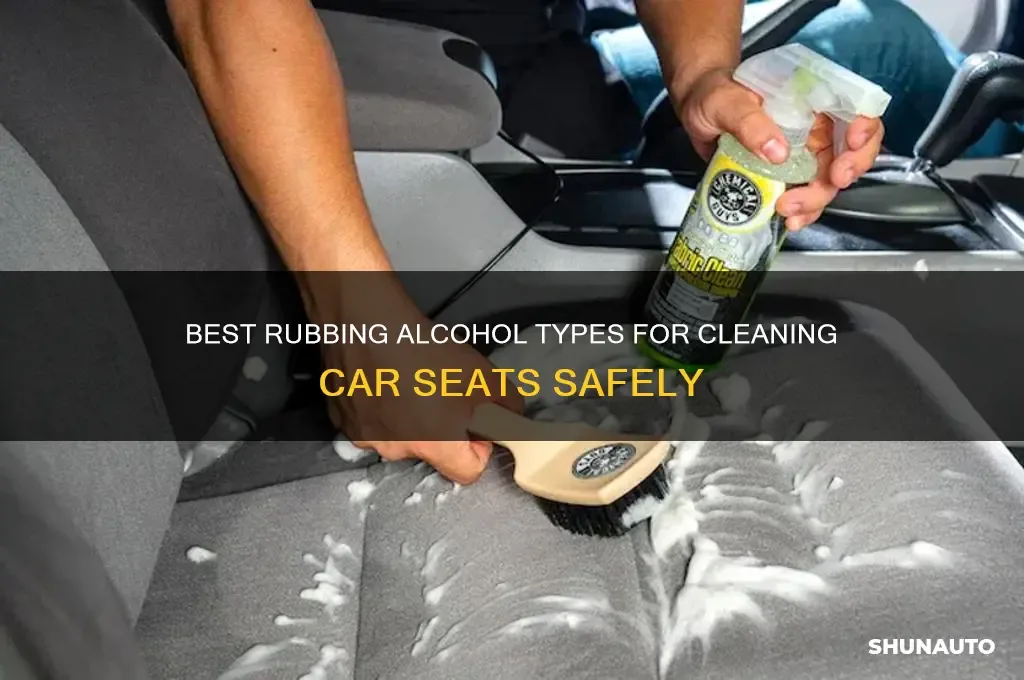
Image source: Web (Bing) / shunauto.com (Web image (fair-use with source credit))
Dried Paint Removal with Isopropyl Alcohol
For dried paint, blotting alone won't cut it. You need isopropyl alcohol. Use a 70% solution for a gentler approach or 91% for tougher stains.
Dab the alcohol onto the stain with a cotton ball or soft cloth. Let it sit for sixty seconds so it can soften the paint film. Then use a soft-bristled toothbrush to work the area in small circular motions.
You'll see the paint break away and lift onto the brush.
Rinsing and Drying the Area
Once the paint is gone, you can't just leave solvent residue in the fabric. Mix a few drops of dish soap with warm water. Dip a clean cloth in the solution, wring it out well, and wipe the treated area.
Follow with a dry cloth to pull out moisture. Leave the seat open to air dry for at least an hour. If the stain sits near a seam or stitching, use a vacuum later to tackle leftover debris and keep the fibers clean.
Step 5: Removing Oil-Based Paint from Fabric Seats
Oil-based paint is a different beast. Water-based techniques won't touch it. The cured resin needs a solvent that actually dissolves it, which means mineral spirits.
Isopropyl alcohol simply won't break the film.
Apply mineral spirits sparingly with a cotton cloth. Let it dwell for three to five minutes so the solvent penetrates. The paint will soften and lift.
Use a soft-bristled brush for gentle agitation. Work from the outside edge of the stain inward to prevent spreading.
For stubborn layers and paint trapped in stitching, a cotton swab soaked in mineral spirits gives you precision. Repeat until the swab comes back clean. Finish by washing the area with mild soapy water, then pat dry with a clean cloth.
Step 6: Removing Paint from Leather Seats
Leather needs kid gloves. The protective finish on the hide is more fragile than the leather itself. Harsh solvents like acetone or mineral spirits strip that finish fast.
Once the top coat goes, the leather stains and cracks more easily.
Diluted isopropyl alcohol at 70% concentration works in small, gentle applications. Use a cotton swab or soft cloth. Test on a hidden seam first.
If color transfers from the seat, stop immediately.
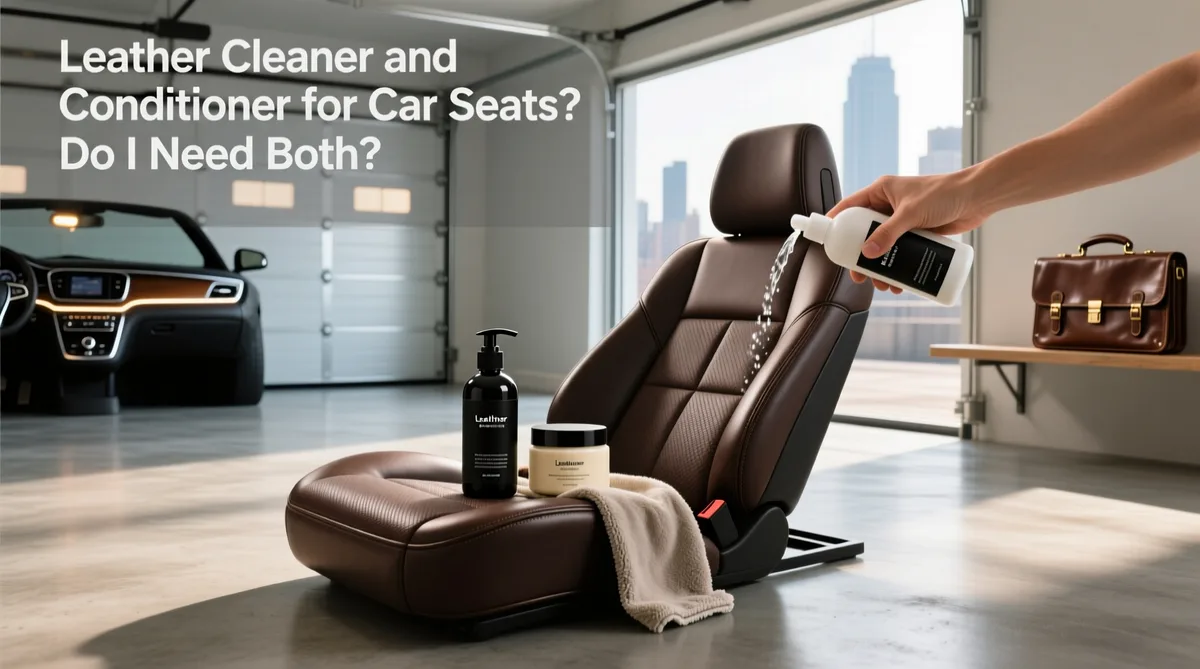
Image source: Web (Bing) / carinterior.alibaba.com (Web image (fair-use with source credit))
After the paint is gone, conditioning is non-negotiable. Solvents strip natural oils from the hide. Apply a dedicated leather conditioner and let it soak for ten minutes.
Buff with a dry microfiber cloth. For ongoing protection, a seat cover can shield the surface from future spills and daily wear.
Step 7: Removing Paint from Vinyl Seats
Vinyl is more forgiving than leather but still needs care. For water-based paint, warm soapy water and a soft cloth often do the trick. For dried paint, dilute isopropyl alcohol to 50% strength.
Apply it gently and let it sit for a minute.
Once the paint softens, lift it with a plastic scraper or a credit card edge. Hold the scraper at a 45-degree angle to avoid gouging the surface. Vinyl scratches easily, so never use metal tools.
For stubborn spots, a vinyl-specific cleaner works better than harsh solvents.
Step 8: Tools and Solvents Comparison Table
Here's a quick reference for which solvent handles which material and paint type. Bookmark this table for future accidents.
| Solvent | Fabric | Leather | Vinyl | Best For |
|---|---|---|---|---|
| Isopropyl alcohol (70%) | Yes | Careful | Yes | Water-based paint |
| Isopropyl alcohol (91%) | Yes | No | Careful | Tough water-based stains |
| Mineral spirits | Yes | No | No | Oil-based paint |
| Dish soap + warm water | Yes | Yes | Yes | Fresh, light stains |
| Acetone | No | No | No | Harsh, for hard surfaces only |
| WD-40 | Careful | No | Careful | Overspray on hard trim |
Avoid acetone entirely on upholstery. It melts synthetic fibers and strips leather finish almost instantly. When in doubt, start with the mildest option and work up.
Step 9: Common Mistakes That Ruin Car Seats
The biggest mistake is rubbing aggressively. Scrubbing pushes paint deeper into the fibers and creates a larger stain. Always blot with a pressing and lifting motion instead.
The second most common error is using the wrong solvent. Acetone on leather or rubbing alcohol on cheap vinyl causes permanent damage. Always test on a hidden area first.
A thirty-second check saves you from a costly upholstery repair.
Over-wetting is the third mistake. Saturating the seat can soak into the foam padding and damage the airbag sensor or seat warmer wiring. Use solvents sparingly, and keep moisture away from the side seams where airbags deploy.
The same principle applies when you're choosing airbag-safe seat covers or other accessories for your interior.
Another mistake is rushing the dwell time. Paint needs time to soften before you touch it. Yanking at a dried stain with a cloth does nothing but spread it.
Patience, one solvent, and steady pressure outperform a frantic scrubbing session every single time.
Step 10: When to Call a Professional Detailer
Some situations are beyond DIY. If the paint has soaked through the fabric into the foam padding, you're dealing with a deeper problem. Solvents on the surface won't reach it.
A professional detailer has extraction tools that pull solvent and dissolved paint out of the foam.
Call a pro if the stain covers a large area, like a full seat bottom. The same goes for paint that has cured for weeks. Professional-grade steam cleaners and upholstery extractors break down cured paint films that household products can't touch.
If your seat has integrated airbags or occupancy sensors, be extra cautious. Over-wetting can damage these components. A professional knows where to avoid moisture.
The cost of a detailer is far less than replacing a seat or repairing an airbag system.
Step 11: Cost Breakdown — DIY vs. Professional Removal
The cost difference between DIY and professional removal is significant. Here's what you can expect to spend.
| Method | Cost Range | Time Required | Risk Level |
|---|---|---|---|
| DIY with household items | $5–$15 | 30–60 minutes | Low to medium |
| DIY with commercial cleaner | $15–$40 | 1–2 hours | Low |
| Professional detailing | $50–$150 | 2–4 hours | Very low |
| Seat reupholstery | $300–$1,000+ | 1–3 days | N/A |
DIY is almost always worth trying first. The household items you need, like isopropyl alcohol and dish soap, cost under $10. Even if you need a commercial upholstery cleaner, you're still under $40.
Professional detailing makes sense when the stain is large, old, or on a high-end leather interior. The peace of mind alone justifies the cost. Reupholstery is the last resort, and it's expensive enough that you'll want to exhaust every other option first.
Step 12: Frequently Asked Questions
Will nail polish remover damage my car seat?
Yes, in most cases. Nail polish remover contains acetone, which melts synthetic fibers and strips the protective finish from leather. Avoid it entirely on upholstery.
Use isopropyl alcohol or mineral spirits instead, depending on the paint type.
Can I use a steam cleaner on paint stains?
Yes, but only after you've removed the bulk of the paint. Steam helps lift residual pigment from fabric fibers. It's especially useful for water-based paint.
Don't use steam on leather, as the heat can cause cracking.
How do I know if the paint has soaked into the seat foam?
Press down on the stained area. If the paint color appears to come back after you release pressure, it's likely in the foam. Another sign is a lingering paint smell.
At this point, professional extraction is your best option.
Is WD-40 safe for removing paint from upholstery?
WD-40 works on hard surfaces like plastic trim, but it's risky on fabric and leather. It leaves an oily residue that attracts dirt. If you use it, follow up immediately with dish soap and warm water to break down the oil.
Final Take: Your Quick Decision Guide by Seat Type and Paint Type
Here's the entire process condensed into a simple decision tree. Match your situation and follow the path.
| Seat Material | Paint Type | Best Method |
|---|---|---|
| Fabric | Water-based | Isopropyl alcohol + blotting |
| Fabric | Oil-based | Mineral spirits + gentle agitation |
| Leather | Water-based | Diluted alcohol (70%) + conditioner |
| Leather | Oil-based | Professional help recommended |
| Vinyl | Water-based | Warm soapy water + plastic scraper |
| Vinyl | Oil-based | Diluted alcohol + vinyl cleaner |
The golden rule is to test first, work gently, and never rush. A few extra minutes of patience saves you from a permanent stain or a costly repair. If you're ever unsure, a professional detailer is a worthwhile investment.
Your car seat will thank you.

Leave a Reply