
Every car owner knows the feeling. You glance at the passenger seat and spot a coffee ring, a grease smear, or a mysterious dark patch that’s been there for weeks. You grab a spray bottle, scrub hard, and somehow make it worse.
That’s because cleaning cloth seats isn’t about elbow grease. It’s about understanding what kind of stain you’re dealing with and applying the right solvent in the right order.
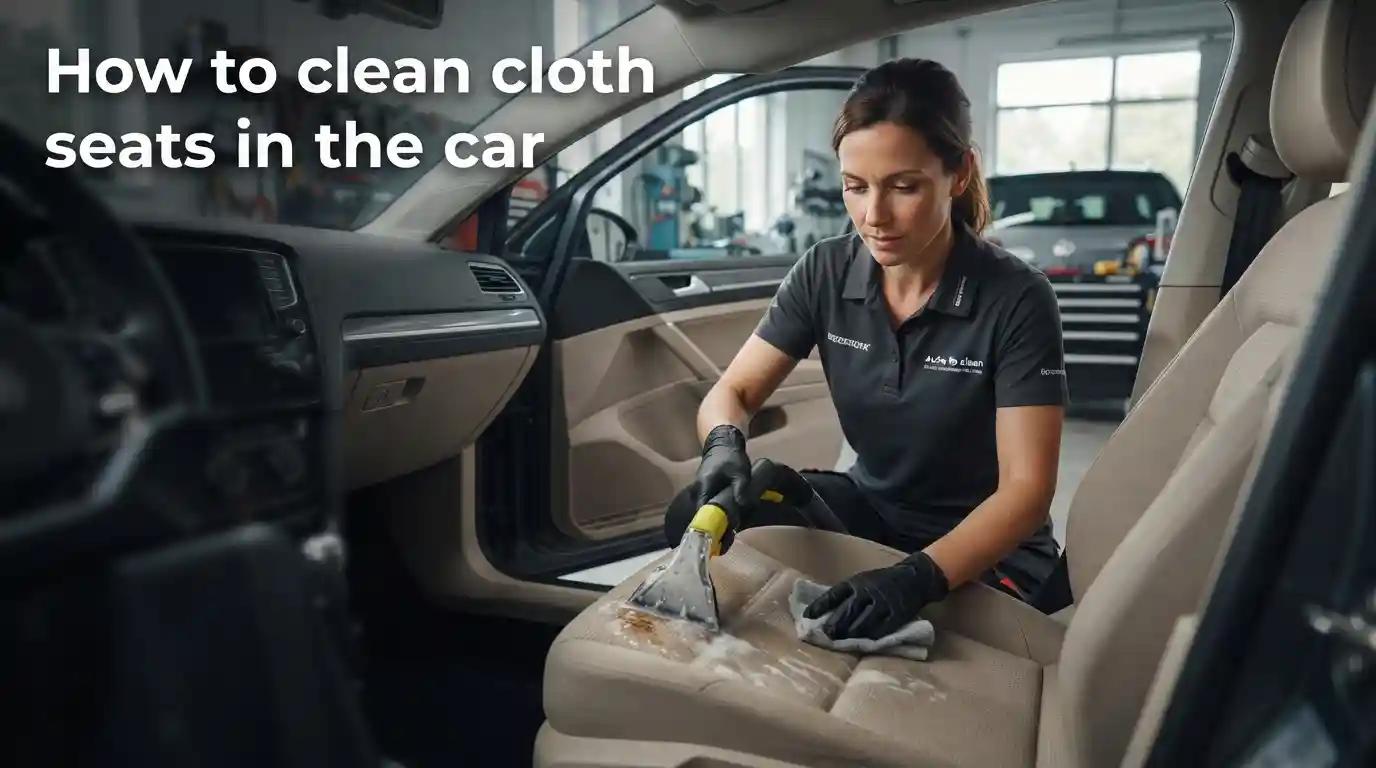
Learning how to clean cloth seats in the car properly comes down to one simple principle: match your cleaner to the stain type and never over-wet the foam underneath. Our research shows that most DIY seat cleaning failures come from using too much water, the wrong chemical, or aggressive scrubbing. Professional detailers charge between $100 and $250 for a full cloth interior restoration, but with the right workflow, you can achieve 90% of those results at home for under $30.
The Real Problem: Why Most DIY Seat Cleaning Fails
The biggest mistake people make is treating every stain like it’s the same. They grab a universal upholstery cleaner, spray it on, and scrub until the fabric looks worse or develops a ring. That approach fails because different stains bond to fabric differently.
Water-based stains like coffee and soda sit on the surface of the fibers. Oil-based stains like grease and motor oil penetrate deeper and repel water entirely. Protein stains like blood and milk chemically bond to the fabric when exposed to heat.
If you don’t identify the stain type first, you’ll apply the wrong solvent and make the problem permanent.
Over-wetting is the second major killer. Cloth seats have dense foam padding underneath the fabric. When you soak that foam, it takes 24 to 48 hours to dry completely, even in ideal conditions.
Trapped moisture leads to mildew, musty odors, and in worst cases, a compromised seat structure. Our research consistently shows that more water equals more problems.
Soap residue is the third silent failure. Many cleaners leave behind a sticky film that actually attracts dirt faster than untreated fabric. That’s why your seats look clean for two days and then collect dust like a magnet.
Proper extraction and a clean water rinse pass are non-negotiable steps in any successful cleaning workflow.
Quick Answer: A 5-Step Core Workflow
Here’s the simplified version before we dive deep. Follow these five steps in order, and you’ll handle 90% of cloth seat cleaning situations.
- Pre-vacuum the seats thoroughly to remove loose dirt and debris.
- Identify the stain type to determine which solvent branch you need.
- Spot-test your chosen cleaner on a hidden area first.
- Apply, dwell, and extract using the correct technique for your stain branch.
- Dry properly with airflow for 12 to 48 hours before using the car.
That’s the entire framework. Each step has specific details and warnings, but the core workflow stays consistent regardless of the stain. Get these five steps right, and you’ll avoid the three main failure points we just covered.
The quick answer for most fresh water-based stains is a neutral pH upholstery cleaner, a soft brush, and a wet/dry vacuum extractor. For oil-based stains, you need a solvent-based degreaser first. For protein stains, cold water and an enzymatic cleaner are mandatory.
We’ll break down each branch in detail below.
Safety First: What You Must Know Before You Start
Before you touch any cleaning product, there are a few safety considerations that genuinely matter. Cloth seats sit directly on top of electrical components, including airbag wiring and seat occupancy sensors. Soaking these connections can trigger warning lights, cause airbag deployment issues, or lead to expensive electrical repairs.
Manufacturer specifications indicate that most vehicle airbag wiring sits under the seat cushion, protected by plastic covers but not fully waterproof. When cleaning, focus your liquid application on the backrest and upper cushion areas. Use minimal moisture near the seat base and electronic connection points.
If you need to clean near those areas, use a foam cleaner that doesn’t soak through to the padding underneath.
Ventilation is also critical. Many solvent-based cleaners and degreasers emit fumes that are strong enough to make you dizzy in an enclosed cabin. Open all four doors and, if possible, work in a garage with good airflow.
The EPA recommends adequate ventilation whenever using chemical cleaning agents in confined spaces. Keep the windows down while the seats dry as well.
Finally, consider your vehicle’s warranty. Some manufacturers specify approved cleaning methods in the owner’s manual. Using harsh chemicals or high-pressure extractors on certain fabric types could void interior warranty coverage.
Check your manual’s upholstery care section before purchasing any chemical. If the manual doesn’t specify, stick with pH-neutral cleaners, which are universally safe for automotive fabrics.
Gather Your Tools: What You Actually Need (and What You Don’t)
You don’t need a professional detailer’s full arsenal to clean cloth seats effectively. But you do need a few specific tools that make the job dramatically easier. Here’s the breakdown of what we consider essential versus what’s optional.
Essential Tools
- Wet/dry vacuum with a narrow crevice nozzle. This is the single most important tool. It extracts both dry debris and the cleaning solution you apply.
- Soft-bristle detailing brush. A medium-stiffness brush with synthetic bristles works best for agitating dirt without damaging the fabric weave.
- Microfiber towels. Use these for blotting, wiping, and final drying. Avoid terry cloth or cotton towels that leave lint behind.
- Neutral pH upholstery cleaner. Look for a product specifically labeled for automotive fabric use. Avoid all-purpose household cleaners.
- White vinegar. This serves as a pH-neutralizing rinse and deodorizer. It breaks down alkaline residues left by cleaners.
Optional But Helpful
- Enzymatic cleaner for pet and protein stains.
- Solvent-based degreaser for oil and grease marks.
- Steam cleaner with an upholstery attachment for deep-set odors and heavy soil.
- Baking soda for odor absorption after cleaning.
- Fabric protectant spray to reapply after seats are fully dry.
Tools you should avoid include stiff brushes with metal bristles, power scrubbers, and bleach-based products. These will damage synthetic fibers and cause discoloration. For the right vacuum setup, consider how much suction you need; our guide on suction power requirements explains the performance thresholds for automotive use.
Household Alternatives That Work
Baking soda and vinegar are genuinely effective for specific situations. Baking soda paste handles grease stains well because it absorbs oil without harsh chemicals. Vinegar neutralizes soap residue and kills mildew spores.
However, neither replaces a proper upholstery cleaner for heavy soil. Use them as supplements, not replacements.
The Decision Tree: Sort Your Stain First
This is the most critical section of the entire guide. Your stain type determines every subsequent decision you make about cleaning products, water temperature, and technique. Get this classification wrong, and you risk permanently setting the stain into the fabric.
Image source: Bing (Web (fair-use with source credit))
Water-Based Stains (Coffee, Soda, Juice, Mud)
These stains sit on the fabric surface and dissolve easily in water. They are the easiest to remove if you catch them within a few days. Fresh spills should be blotted immediately with a dry microfiber towel to absorb as much liquid as possible before it penetrates deeper.
For these stains, use a neutral pH upholstery cleaner diluted according to the label. Apply the foam or spray, let it dwell for 5 to 10 minutes, then agitate gently with your soft-bristle brush. Extract with the wet/dry vacuum using a clean water rinse pass afterward to remove any soap residue.
Oil-Based Stains (Grease, Motor Oil, Food Residue)
Oil repels water, so water-based cleaners won’t touch these stains. You need a solvent-based degreaser that breaks down the oil’s molecular structure. Apply the degreaser directly to the stain, let it sit for the recommended dwell time, then agitate and extract.
After the degreaser does its work, follow up with a neutral pH cleaner to remove any remaining solvent residue. Then do a clean water rinse pass. Oil-based stains often require two or three treatment cycles, especially if they’ve been sitting for weeks.
Patience is critical here.
Protein Stains (Blood, Milk, Vomit, Pet Urine)
Protein stains are the tricky ones. Heat causes the proteins to bind permanently to the fabric fibers, which is why hot water is catastrophic here. Always use cold water for these stains, and apply an enzymatic cleaner that breaks down the protein structure at a biological level.
Enzymatic cleaners need time to work, often 15 to 30 minutes. Apply generously, let it dwell, then blot with a clean microfiber towel. Do not scrub protein stains, as agitation pushes the protein deeper into the fabric weave.
After extraction, use a clean water rinse and dry thoroughly.
Unknown or Set-In Stains
When you can’t identify the stain and it’s been there for weeks, you need a systematic approach. Start with the least aggressive option, which is cold water and neutral pH cleaner. Blot, don’t scrub.
If that doesn’t lift the stain, move to a solvent-based degreaser. Test each product in an inconspicuous area first, such as the bottom edge of the seat or behind a trim panel.
Work from least to most aggressive in a stepwise fashion. Test a small corner of the stain first to see how the fabric reacts before treating the entire area. If the fabric starts to discolor or bleed, stop immediately and switch approaches.
As of 2026, heat and light are the only forces that permanently set stains into synthetic fibers, so avoid hot water and direct sun during the cleaning process.

Leave a Reply