
Wondering what weight for a forward facing car seat actually means? It's a common question, but the answer isn't a single number. The minimum weight on a label, usually 20 or 22 pounds, is just the legal starting point.
It's not the safest time to turn your child around.
As of 2026, the American Academy of Pediatrics still recommends keeping kids rear-facing until they max out their seat's rear-facing limit. That limit often reaches 40 to 65 pounds. So the real answer depends on your seat, your child's height, and your vehicle.
Let's walk through the process step by step.
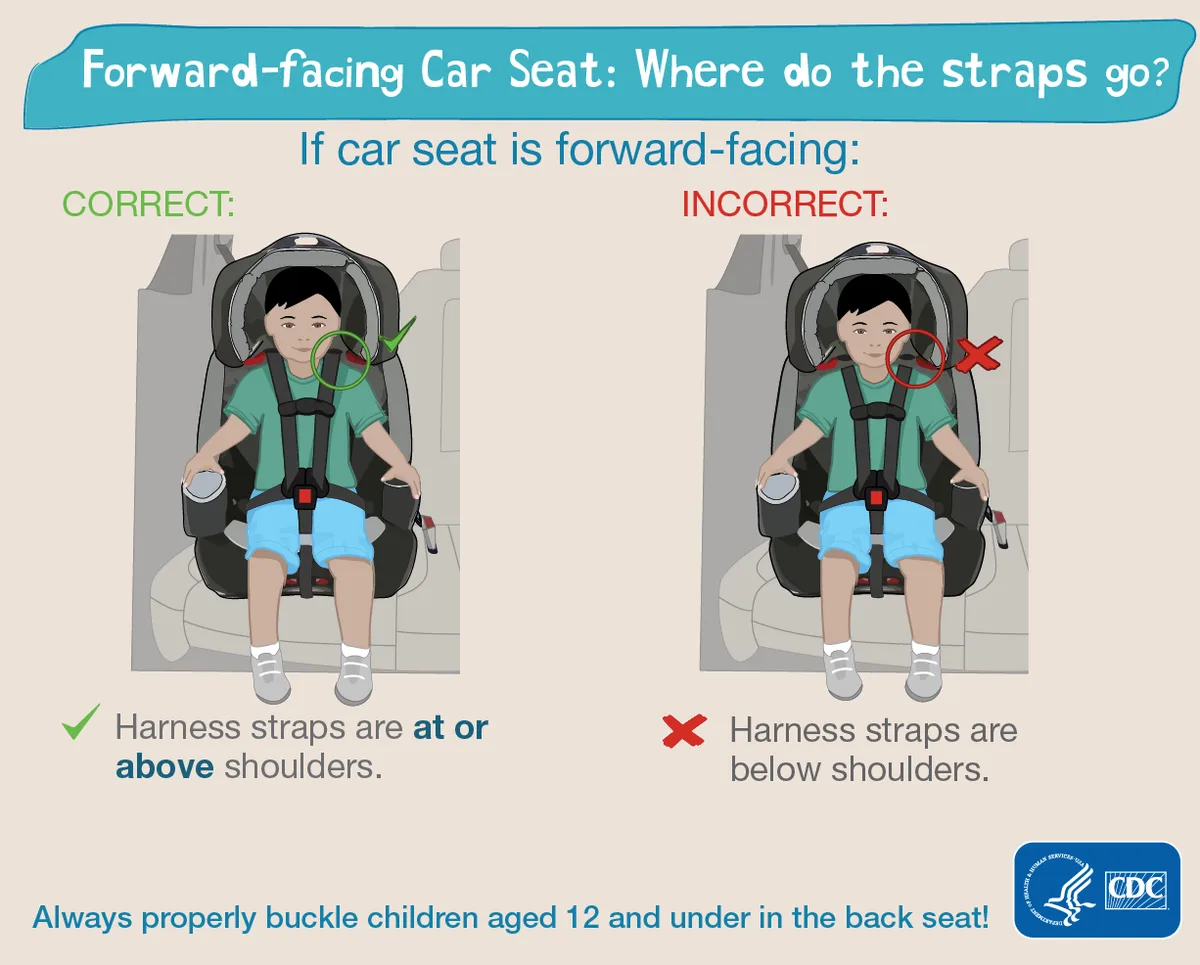
Image source: Web (Bing) / storage.googleapis.com (Web image (fair-use with source credit))
The Short Answer: When Is It Actually Safe to Turn Your Child Around
The safest weight for a forward facing car seat is the maximum rear-facing limit of your specific seat. For most convertible models, that's between 40 and 65 pounds. Your child also needs to be at least 2 years old.
Both conditions matter equally.
Here's the quick comparison:
| Guideline | Weight | Age |
|---|---|---|
| Legal minimum (most seats) | 20-22 lbs | 1 year |
| Best practice (AAP) | 40-65 lbs (seat max) | 2+ years |
| Maximum harness limit | 40-65 lbs | 4-7 years typical |
Your car seat's label lists the exact numbers for your model. Once your child passes the rear-facing max, turn them around. Until then, keep them rear-facing.
A convertible seat gives you that flexibility without buying a second seat.
Why "Minimum Weight" Isn't the Same as "Safest Time"
Minimum weight is the floor, not the finish line. The 20-pound mark only tells you when the harness can physically contain a child. It doesn't tell you when a child's spine is ready for forward-facing crash forces.
Pediatric experts at the AAP recommend keeping children rear-facing until they reach the seat's maximum limit. In a frontal crash, a forward-facing harness pulls the torso forward while the head and neck lag behind. That can overstretch the spine in a young child, because their vertebrae are still mostly cartilage.
The "2-year rule" is often confused with a target. It's actually a hard minimum. No child under 2 should face forward without a medical reason.
After that, weight and height override age.
How Car Seat Weight Limits Actually Work
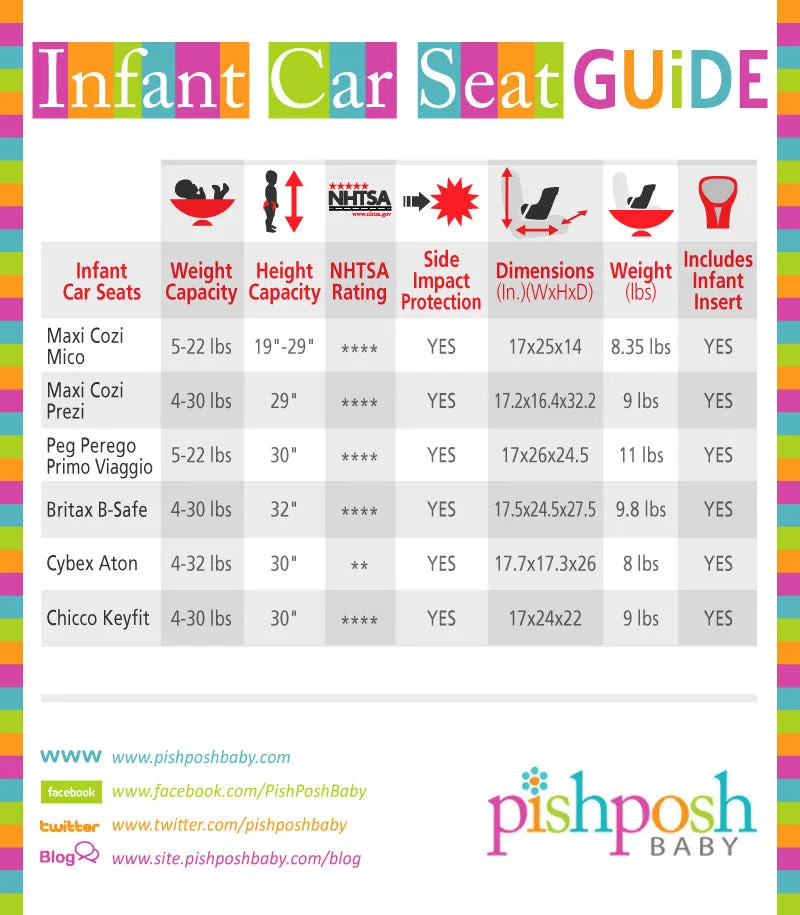
Image source: Web (Bing) / automotiveplanner.com (Web image (fair-use with source credit))
Every car seat has a molded label on the side that lists two forward-facing numbers: a minimum weight and a maximum harness weight. The minimum is the lowest weight at which the harness fits properly. The maximum is the highest weight the harness is designed to protect in a crash.
That max can be 40, 50, 65, or even 70 pounds depending on the seat. Some convertible seats stop at 40, while high-weight models push further. Your seat's numbers depend on the model, not on your child's age.
Height matters just as much as weight. The label also includes a maximum standing height, usually 49 to 57 inches. And the harness straps must sit at or above your child's shoulders in forward-facing mode.
If they fall below the shoulders, the seat is too small.
The Gold Standard: When Your Seat Says "Maximumed Out"
The gold standard is not a chart or a general rule. It's the limit printed on your specific seat. Before you turn your child forward, check three things: weight, height, and harness slot position.
First, weigh your child. If they exceed the rear-facing weight limit, usually printed on the label, they've outgrown that mode. Second, check their head height.
In most seats, there must be at least 1 inch of shell above the top of the child's head. If their head is above that line, the seat is too short.
Third, open your owner's manual. Some seats have specific height limits for rear-facing that differ from the weight limit. Per NHTSA's car seat guidelines, the manual is the final authority for your model.
Don't rely on generic advice.
Once all three checks pass, it's time to plan the switch. If you're unsure about the installation itself, our car seat installation guide breaks down every step.
Step-by-Step: Making the Switch to Forward-Facing
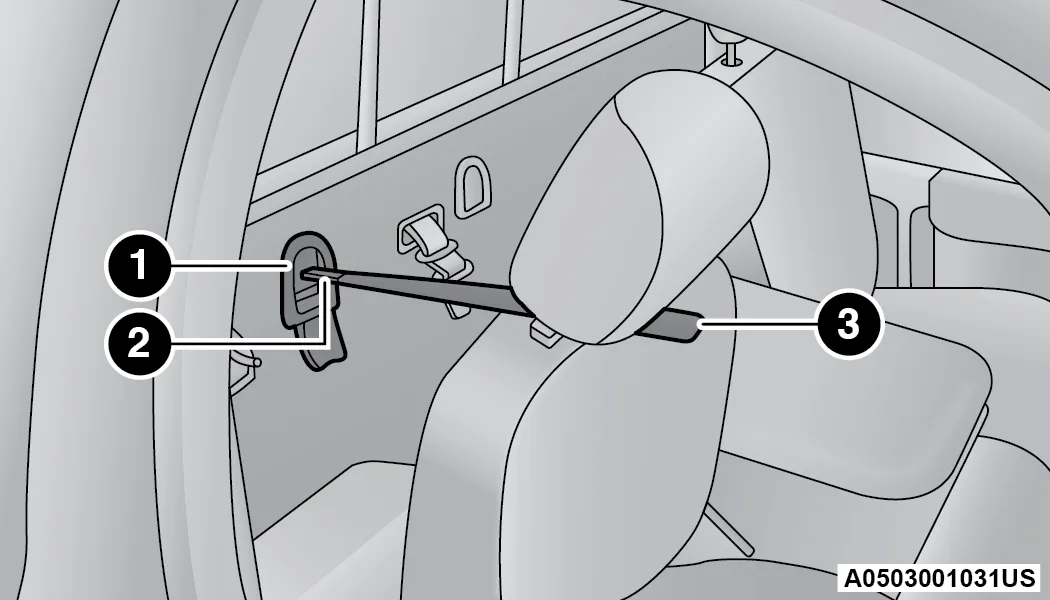
Image source: Bing (Web (fair-use with source credit))
This process takes about 15 minutes. Plan it on a day when you're not rushed. Every step matters, but the top tether is the one you should never skip.
- Re-thread the harness. Move the shoulder straps to the slots that sit at or above your child's shoulders. Most seats have a range of positions; pick the one closest to shoulder level.
- Reinstall the seat. Use the forward-facing belt path, usually marked with a sticker. Tighten the seat belt or LATCH until the seat moves less than 1 inch side-to-side.
- Attach the top tether. Find the anchor hook in your vehicle, typically on the rear deck or seatback. Hook it, pull it tight, and listen for a solid click.
- Buckle and tighten. Place your child in the seat, bring the harness straps up, and tighten until you can't pinch any slack at the shoulder.
- Perform the pinch test. To check snugness, pinch the harness webbing at the collarbone. If your fingers can grasp the webbing and create a fold, it's too loose. The chest clip should sit at armpit level.
After you finish, give the seat a shake. It should not move more than 1 inch in any direction. If it does, start over with step 2.
You'll also want to confirm your child meets the forward-facing height minimum. If the harness straps are still below their shoulders in the rear-facing position, wait a bit longer. Turning early creates a dangerous mismatch.
Keep in mind that the seat belt path and LATCH path have different weight caps. Some vehicles specify a LATCH limit of 65 pounds total. If your child plus the seat exceeds that, switch to the seat belt.
Our guide to when kids stop using car seats covers that transition later on.

Leave a Reply