
A car stereo touchscreen that freezes, ignores taps, or goes black turns a short drive into a guessing game. In 2026, factory infotainment systems are essentially mini-computers with a display, and most of their failures are not permanent. After working through these steps on factory and aftermarket head units, I can tell you the order matters: start with the free two-minute fixes, then go deeper only if you have to. This guide walks through the exact process I use to diagnose a dead, glitchy, or misaligned touchscreen and get it working again.
Quick Answer
Work through these steps in order:
- Reboot the system with an ignition cycle, or press and hold the power button for about 10 seconds.
- If the screen is black, check the infotainment fuse.
- Clean the screen with a dry microfiber cloth.
- Check for a software update or recalibrate the touchscreen.
- Inspect the wiring harness behind the head unit.
- If none of that works, get a professional diagnostic before replacing the unit.
Most 2026 touchscreen failures are software or power related. Replacing the stereo is almost never the right first move. You can also read our guide on what is double din car stereo.
Before You Start: Safety and Preparation
Before touching anything, park on a level surface, shift into Park, and set the parking brake. If you need to work near the dashboard, turn the ignition off and give the system time to power down.
Here is what I keep within reach:
- Owner’s manual with a fuse diagram
- Plastic trim removal tools
- Fuse puller
- Multimeter
- Clean microfiber cloth
Never poke at the screen with a screwdriver, metal pick, or knife. One slip can crack the digitizer or leave a permanent scratch. If your car is still under warranty, physical disassembly may void part of the coverage. Software resets are usually safe, but pulling the head unit is not. You can also read our guide on what gauge is car stereo wire.
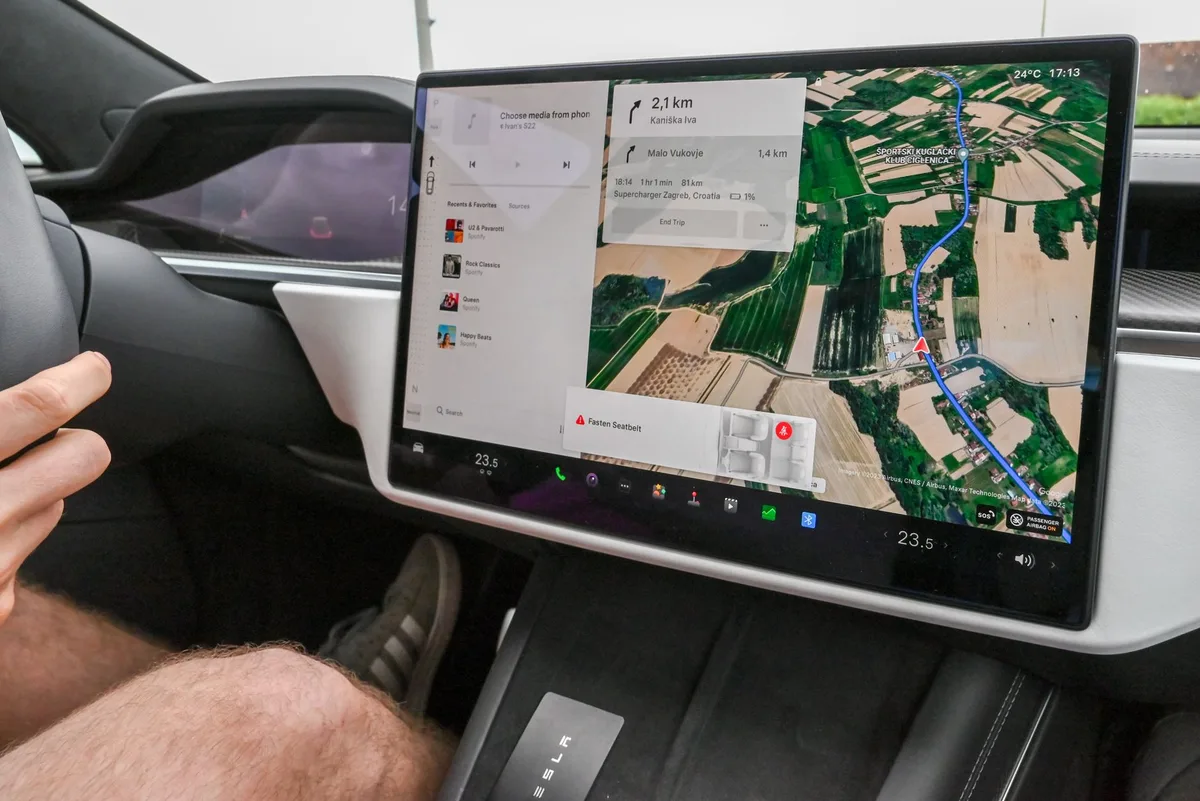
Image source: Pexels / Vladimir Srajber (Pexels License)
A frozen touchscreen usually needs a system reboot, not a full stereo replacement.
Step 1: Reboot the System First
This is the fix people skip because it sounds too simple. It is also the fix that resolves more touchscreen problems than any other single step.
Start with an ignition cycle. Turn the car completely off, remove the key, open the driver’s door, and wait two to three minutes. Opening the door helps drain residual power and forces the infotainment computer to fully shut down. Then close the door and start the car normally.
If the screen is still frozen, try a soft reset. On most head units, pressing and holding the power or volume knob for about 10 seconds restarts the system without touching any wiring. Some carmakers put a small reset button behind a pinhole, so check the owner’s manual if the power button does nothing.
The most thorough software reboot is disconnecting the negative battery terminal for about 15 minutes. Use this only as a last resort because it clears radio presets, paired phones, clock settings, and some driver preferences.
A system that feels sluggish, registers touches slowly, or shows the wrong screen for a moment often behaves normally after a clean reboot.
Step 2: Match Symptoms to Likely Fix
Not every touchscreen problem has the same cause. Before opening the dash, identify the exact symptom. That narrows down the repair and saves money.
| Symptom | Most Likely Cause | First Move |
|---|---|---|
| Black screen and no audio | Power or fuse failure | Check the fuse |
| Black screen but audio still works | Backlight or video cable issue | Check display harness |
| Frozen or sluggish touchscreen | Software glitch | Reboot and update |
| Touch taps the wrong spot | Dirt or calibration drift | Clean and recalibrate |
| Ghost touches or random screen activity | Moisture, dirt, or failing digitizer | Clean, dry, then test |
| Flickering lines or discoloration | Failing screen panel | Professional replacement |
The most dangerous mistake is assuming a dead screen means a dead head unit. In practice, many “dead” screens are powered down because of a blown fuse or a software crash.
Step 3: Software Fixes
Update the Firmware
Automakers regularly release infotainment updates to fix touch response bugs. In 2026, many cars can update over Wi-Fi or over the air, while older vehicles require a USB download from the manufacturer’s support page using your VIN.
Keep the engine running or connect a battery charger before starting an update. If the system loses power mid-update, it can leave the infotainment computer unable to boot. That turns a minor bug into a bigger repair.
Before ordering any parts, also check whether your vehicle has an open recall or service bulletin at the National Highway Traffic Safety Administration. A known touchscreen issue sometimes has an official fix the dealer will perform at no cost.
Restore Factory Settings
If the touchscreen acts up after an update, or if a setting is causing a conflict, a factory reset often clears it. Look for “System,” “Reset,” or “Factory Reset” in the settings menu. Back up any contacts or paired devices first, because a full reset wipes them.
Some vehicles only allow factory resets while the car is in Park with the engine running. The process takes a few minutes, and the screen may go dark during the reset. That is normal, as long as the system comes back on afterward.
Recalibrate the Touchscreen
A touchscreen can drift over time, especially after temperature swings or minor impacts. If you press one button and the system registers a different spot, calibration may fix it without any parts.
Find the calibration option under settings like “Display,” “Touchscreen,” “Screen Alignment,” or “Calibration.” Follow the on-screen prompts and tap each target as precisely as possible. If the system’s menus are hard to read, the language menu can help you switch the interface to something familiar before you recalibrate.
The calibration process is quick, but it needs a steady hand. Hold still when tapping the target and avoid touching the screen anywhere else during the process.
Step 4: Hardware Fixes
Check the Fuses
When the screen is completely black and the stereo has no power, the fuse is the first thing I check. A blown fuse is one of the cheapest and most common causes of a dead touchscreen.
Find the fuse box using the owner’s manual. It is often under the dashboard, behind the glove compartment, or under the hood. Locate the fuse labeled “radio,” “infotainment,” “display,” or “audio.”
Pull the fuse with a fuse puller and hold it up to the light. If the metal strip inside is broken or melted, replace it with a fuse of exactly the same amperage. Never install a higher-rated fuse to “solve” the problem — it can overheat the wiring and cause real damage.
If a new fuse blows immediately, there is a short circuit somewhere. Stop there and have a professional trace the fault.
Inspect the Wiring and Connectors
If the fuses are good, a loose wire or connector behind the head unit could be responsible. This is more involved because it means removing dashboard trim.
Disconnect the negative battery terminal before unplugging anything. Use plastic trim tools to avoid scratching the panels. Once the head unit is free, check every connector: push them in firmly and listen for the click. Look for bent pins, corrosion, or signs of moisture. Reseat any connector that feels loose.
Stop if you reach airbag components or wiring you do not recognize. A professional installer can remove the same trim in minutes without risking damage to the dash or the safety systems.
Decide If the Screen or Digitizer Needs Replacing
If the display works but the touch layer does not respond, the problem is usually the digitizer. If the screen stays black while audio plays, the backlight or video cable is more likely at fault.
On many aftermarket head units, the screen and digitizer are separate components, and replacement kits are available. Factory systems are often integrated, so the dealer may replace the whole screen assembly or head unit.
Before ordering anything, confirm compatibility using your vehicle’s VIN and the exact model number printed on the back of the unit.
Step 5: Cleaning and Preventative Maintenance
Clean the Screen Properly
Dirt and oily smudges can make a touchscreen feel unresponsive, especially on older resistive screens. A clean, lint-free microfiber cloth fixes many false starts.
If dry wiping is not enough, lightly dampen one corner with distilled water or a screen cleaner made for electronic displays. Never spray liquid directly onto the screen. Moisture can seep into the edges and damage the touch layer underneath.
Avoid paper towels, rough cloths, alcohol, ammonia, and household glass cleaners. They can scratch the screen or strip its protective coating.
Keep Dust and Heat From Shortening Its Life
Fine dust and sand get tracked into the cabin and eventually settle on the dash and in the edges of the touchscreen. An under-seat cleaning routine every couple of weeks keeps the worst of it out. A compact car vacuum reaches the narrow gaps around the console where dust collects. You might be tempted to drag a full-size home vacuum into the cabin, but it is often too heavy and awkward for tight areas.
Heat is another major cause of touchscreen failure. In hot climates, a windshield sun shade makes a real difference by keeping the dashboard under a reasonable temperature. Extreme heat can make screens delaminate, create ghost touches, and accelerate backlight failure.
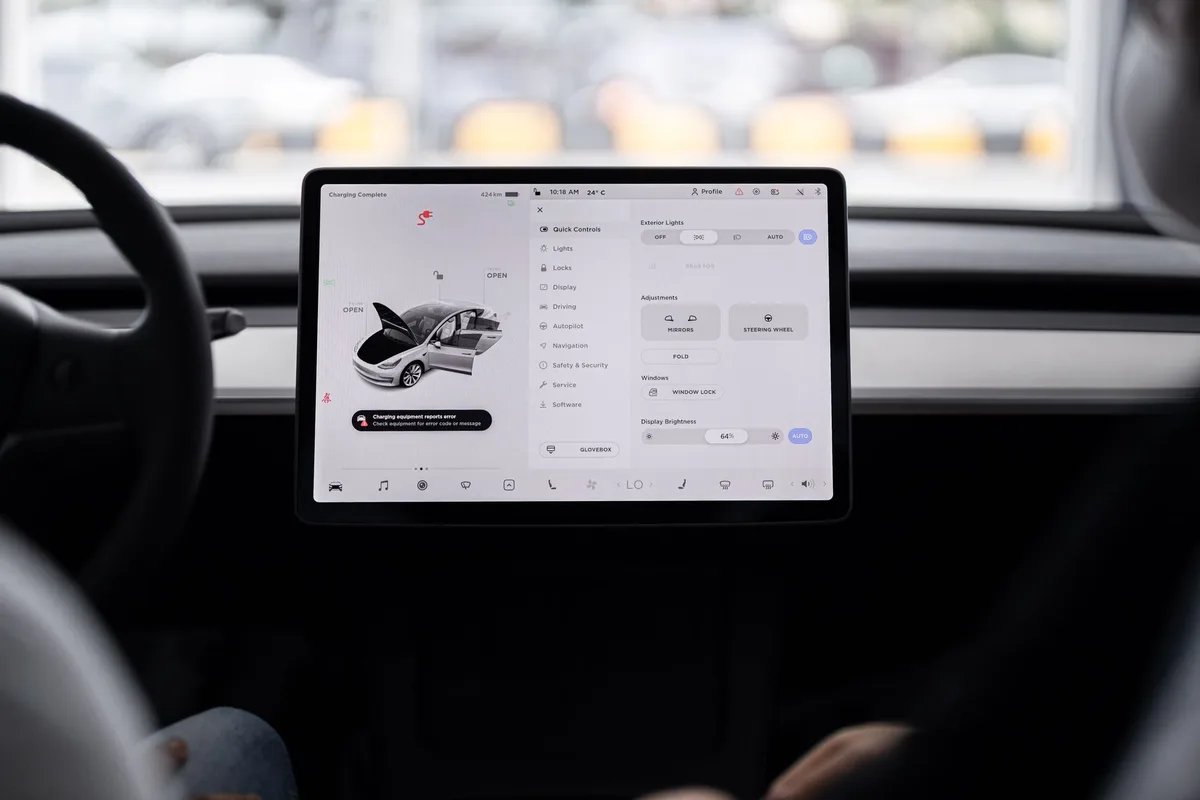
Image source: Pexels / I’m Zion (Pixabay License)
Checking for a firmware update can clear touch-response bugs before you open the dash.
Repair vs. Replace: What Makes Sense in 2026
If your touchscreen is just freezing or misaligned, a repair is almost always worth it. Clean it, reboot it, update it, and the problem usually disappears.
For older head units with slow software and no wireless smartphone integration, replacement can be a better long-term move. A new aftermarket receiver often costs less than a factory screen repair, and it adds features like wireless Apple CarPlay and Android Auto.
Get a quote from a trusted installer before making the call. Sometimes the repair is one fuse. Sometimes it is a $400 dealer assembly. Know the difference before you spend.
When to Call a Professional
Some situations are not DIY friendly. Call a professional if:
- The screen is physically cracked
- A fuse blows repeatedly
- You smell burning electronics
- The system stays dead after a battery disconnect
- You are not comfortable removing dashboard trim
- Your car is under warranty and the head unit needs reflashing
A professional diagnostic is often cheaper than replacing the wrong part. Dealers also have software tools that can reflash the infotainment module directly, which is something most DIYers cannot do on newer cars.
Conclusion
The fastest way to fix a car stereo touchscreen in 2026 is to work top-down: reboot first, clean and update next, then check fuses and wiring before assuming the screen is dead. Most failures are software or power related, not a broken display. Start with the two-minute ignition cycle and only open the dash as a last resort.
Before you pull the head unit, bookmark our full how-to library so the next repair goes even faster. If you hit a symptom you do not recognize, post your car’s make and model in the comments, and start with the least invasive fix from this guide.
Common FAQ’s About How to Fix Car Stereo Touch Screen
Why is my car touchscreen stuck on a black screen but the radio still works?
This usually points to the display backlight or the video cable, not the stereo’s brain. Try the reboot and a software update first. If audio still plays while the picture stays black, the display panel or the ribbon cable behind it likely needs replacement.
How do I force-restart a car infotainment system?
Turn the car off, remove the key, open the driver’s door, and wait two to three minutes. If that doesn’t work, press and hold the power/volume knob for about ten seconds. Disconnecting the negative battery terminal for 15 minutes is a final option that resets most modules, but it clears saved settings.
Can a blown fuse stop my touchscreen from working?
Yes. If the touchscreen is completely dead and the stereo has no power, a blown fuse is one of the most common causes. Check the fuse labeled radio, infotainment, or display in the owner’s manual. Replace it with the same amperage rating. If it blows again, there’s a short.
Why does my car touchscreen register touches in the wrong place?
The touch panel’s coordinate mapping may have drifted, or dirt is interfering with the sensor. Clean the screen with a microfiber cloth, then look for a touchscreen calibration option in the settings menu. Follow the on-screen targeting prompts exactly. If misalignment persists, the digitizer may need replacement.
Can I replace just the touchscreen glass instead of the whole stereo?
On many aftermarket head units, yes. The digitizer and display are separate components in some models, and replacement parts are available. Factory systems are often integrated, so the whole screen assembly or head unit may be needed. Confirm part availability by VIN before ordering.
Is it worth fixing a car touchscreen or should I install a new stereo?
If the head unit still works and only the screen is faulty, repair is often cheaper. For older factory units with limited updates, a new aftermarket receiver can be a better investment because it adds wireless Apple CarPlay and Android Auto. Compare repair quotes with replacement cost first.

Leave a Reply