
Your factory car stereo was engineered to a budget, not to a standard. Automakers spend roughly $30–$50 on the entire audio system in a typical vehicle—speakers, amplifier, and head unit included. That is why your music sounds thin, muddy, or distorted at moderate volume. The good news? You do not need to be an audiophile or a professional installer to transform your driving experience. With a clear plan and the right components, you can build a system that delivers clarity, depth, and bass you can feel.
Whether you want hands-free calling, smartphone integration, or concert-level sound, this guide walks through every decision—from budgeting to final tuning—so you can upgrade with confidence and avoid the mistakes that cost time and money. You can also read our guide on single din vs double din car stereo.
Why Factory Stereos Sound Bad (and Why Upgrading Matters)
Understanding why your stock system underperforms helps you make smarter upgrade choices. Factory audio systems suffer from three core limitations:
Cost-cutting components. Stock speakers use paper cones, tiny magnets, and stamped metal baskets. They distort at moderate volume and lack the excursion needed for realistic bass.
Weak amplification. The built-in amplifier in a typical head unit produces 10–15 watts per channel—barely enough to power a pair of bookshelf speakers, let alone four door speakers in a noisy cabin. For more on this, see our guide on how to adjust car stereo for best sound.
Minimal tuning capability. Factory head units offer basic bass and treble adjustments at best. You get no equalizer bands, no crossover settings, and no time alignment to account for your seating position.
Upgrading changes everything: clearer vocals, tighter bass, and the ability to customize the sound to your preferences. You also gain modern conveniences: Apple CarPlay, Android Auto, Bluetooth streaming, and steering wheel control compatibility. For more on this, see our guide on how to improve car audio sound quality.
Before You Buy: Assess Your Current Setup
Take stock of what you have before spending a dollar. A quick assessment prevents wasted purchases and helps you prioritize.
What system do you have? Check your owner's manual or the head unit itself. Is it a basic AM/FM unit, a CD player, or a factory touchscreen? Factory premium systems (like Bose, JBL, or Bang & Olufsen) already have better components—you may only need to add a subwoofer or amplifier rather than replacing everything.
What is the dash size? Most vehicles accept either a single-DIN (2" × 7") or double-DIN (4" × 7") head unit. You can measure the opening yourself, or check a vehicle fit guide on sites like Crutchfield, which offers free fitment confirmation.
Does your car have advanced electronics? Vehicles built after 2010 often integrate the stereo with steering wheel controls, back-up cameras, and vehicle settings. You will need specialized adapters (like the Maestro or iDatalink modules) to retain those functions with an aftermarket head unit. Factor this into your budget—it can add $100–$200.
What sound problems bother you most? Write down your frustrations with the current system. This directly determines your upgrade path. If you cannot understand vocals in podcasts, speakers come first. If your music has zero bass impact, a subwoofer matters more. If using your phone is awkward, the head unit takes priority.
The Upgrade Path: Components, Explained
You do not need to replace everything at once. Understanding each component and its role helps you sequence upgrades for maximum impact per dollar.
| Component | Primary Function | Sound Impact | Typical Cost Range (2026) |
|---|---|---|---|
| Head Unit | Source control, processing, amplification | Modern features, some clarity improvement | $100–$1,000+ |
| Speakers | Convert electrical signal to sound | Clarity, fullness, volume capability | $50–$500 per pair |
| Amplifier | Adds clean power to speakers | Headroom, reduced distortion at volume | $150–$800 |
| Subwoofer | Handles low frequencies (bass) | Impact and depth that full-range speakers cannot reproduce | $100–$700 |
| Sound Deadening | Reduces road noise and panel vibration | Quieter cabin, tighter bass response | $50–$300 per door |
Realistic expectation: A head unit alone gives you features but modest sound improvement—the weak factory speakers still bottleneck the system. Speakers alone sound better but lack the headroom for loud, distortion-free playback. The biggest bang for your buck in 2026 remains a quality head unit paired with two good front speakers.
Step-by-Step: How to Upgrade Your Car Stereo
Here is the full process, from planning to final tuning. Even if you hire a professional, understanding the steps helps you avoid getting upsold on unnecessary work.
Step 1: Set Your Goals and Budget
Decide what matters most—sound quality, modern features, or both. This determines where your money goes.
Define a realistic budget. A meaningful upgrade starts around $300–$400. A complete system (head unit, four speakers, amplifier, subwoofer) lands between $1,200 and $2,500 including installation. If you are unsure what matters most, try visiting a local shop that has a listening room. The difference between a high-quality coaxial speaker and a budget model is instantly obvious.
Step 2: Choose Your Head Unit
The head unit is the command center. It handles audio processing, Bluetooth, and smartphone integration. A quality unit also includes a built-in equalizer and crossover—tools you will use to shape your sound.
Single-DIN vs. Double-DIN: Single-DIN units have a compact display and work with older vehicles. Double-DIN units are larger, typically feature touchscreens, and dominate new head unit sales in 2026. Many modern digital media receivers (which omit the CD player) offer touchscreens, Apple CarPlay, and wireless Android Auto at surprisingly affordable prices.
Key features to prioritize:
- Wireless Apple CarPlay and Android Auto (no cables, hands-free)
- A high-quality built-in equalizer and crossover (at least 7–13 bands)
- Bluetooth 5.0 or newer
- Preamp outputs (at least one set; three sets allow subwoofer and front/rear channel amplitude control)
- A dash kit and wiring harness designed for your specific vehicle

Image source: www.amazon.com
Step 3: Select and Install Speakers
Factory speakers are the weakest link in almost every stock system. Upgrading them yields the most audible improvement per dollar spent.
Coaxial vs. Component speakers: Coaxial speakers have the tweeter mounted on the same frame as the woofer—simple to install and an excellent upgrade over factory units. Component systems separate tweeters and woofers, allowing you to mount the tweeter higher (in the A-pillar or sail panel) for better sound staging. Components cost more and require a more involved installation but deliver measurably superior imaging.
Sizing and depth: Most vehicles accept 6.5-inch speakers in the front doors. Check the mounting depth carefully—deep speakers can hit the window mechanism when you roll the window down. A simple cardboard template or a ruler can tell you the maximum depth available.
One practical tip: invest in quality speaker adapters. They prevent rattles and ensure a secure fit. And when you install, use foam baffles or sound deadening material behind the speakers. It makes an audible difference in bass response and mid-bass clarity.
Step 4: Add an Amplifier
The factory head unit produces 10–15 watts per channel. An external amplifier delivers 50–100 watts (or more) of clean power. This extra headroom means you can play music at higher volumes without distortion and the sound retains composure.
Amplifier channels and use:
- 4-channel amplifier: Powers four door speakers; the most common configuration
- 5-channel amplifier: Powers four speakers plus a subwoofer; a space-efficient all-in-one option
- Mono (single-channel) amplifier: Dedicated bass power for a subwoofer
Matching power and impedance: Match the amplifier's RMS output to your speakers' RMS handling rating. A 60-watt RMS amplifier powering speakers rated at 50–80 watts RMS is an ideal pairing. More amplifier power than speaker rating, if set up with a conservative gain adjustment, results in cleaner sound and lower risk of blown speakers than underpowered amplifiers.
For an honest trades-off: a high-quality amplifier from a known brand (JL Audio, Alpine, or Rockford Fosgate) will outlast budget options and includes more tuning controls like a low-pass filter and bass boost.
Step 5: Choose a Subwoofer
Subwoofers reproduce the frequencies below 80 Hz, and full-range door speakers simply cannot. If you listen to music with any sort of low-end energy—hip-hop, EDM, classic rock with recorded bass, even movie soundtracks—a subwoofer is transformative.
Powered vs. component subwoofers: Powered subwoofers have a built-in amplifier and enclosure. They are compact (under-seat models are popular for trucks and small cars) and installation is simpler. Component subwoofers require a separate amplifier and enclosure but offer more flexibility and deeper bass output.
Enclosure style matters: Sealed enclosures provide tight, accurate bass that integrates well with music. Ported enclosures deliver louder, boomier bass that some listeners prefer for hip-hop. Match the enclosure to both your subwoofer and your listening habits.
Step 6: Upgrade Wiring and Add Sound Deadening
A common mistake is reusing old or undersized wiring. Thin speaker wire adds resistance, reducing power at the speaker terminals. Undersized power wire for an amplifier can cause voltage drops, diminished output, and in worst cases, hazardous overheating.
Recommended wiring standards:
- Speaker wire: 16-gauge or thicker for speakers; 14-gauge for distances over 20 feet
- Amplifier power cable: 4-gauge or thicker for amplifiers over 600 watts; 8-gauge for smaller amplifiers
- Fuse holder: Install a fuse within 12 inches of the battery connection on every amplifier power line
Sound deadening materials (butyl-based mats or spray-on treatments) reduce road noise and stop panels from vibrating. This directly benefits your stereo: you no longer need to turn up the volume to drown out road noise, which reduces distortion and listening fatigue. Apply deadening to the inside of the outer door skin, and to the plastic trim panel if vibration persists.
Step 7: Tune and Test the System
Installation is only half the process. Proper tuning separates a good system from a great one. Take the time to adjust these settings:
- Set the crossovers: Route bass frequencies below 80 Hz to the subwoofer, let door speakers handle mids and highs. This prevents distortion and protects your speakers.
- Adjust the time alignment: If your head unit has it, set the delay so sound from all speakers arrives at the driver's seat at the same instant. This dramatically improves soundstage and imaging.
- Use a real-time analyzer: Many high-end head units include a built-in RTA microphone. Or use a smartphone app like AudioTools or RTA Analyzer. Play pink noise and adjust the EQ until the response is as flat as possible.
- Set the gain correctly: Turn the head unit to about 75% volume, play a clean track, and increase the amplifier gain until you hear slight distortion, then back it down. Under-gaining sounds weak; over-gaining sounds distorted and can damage speakers.
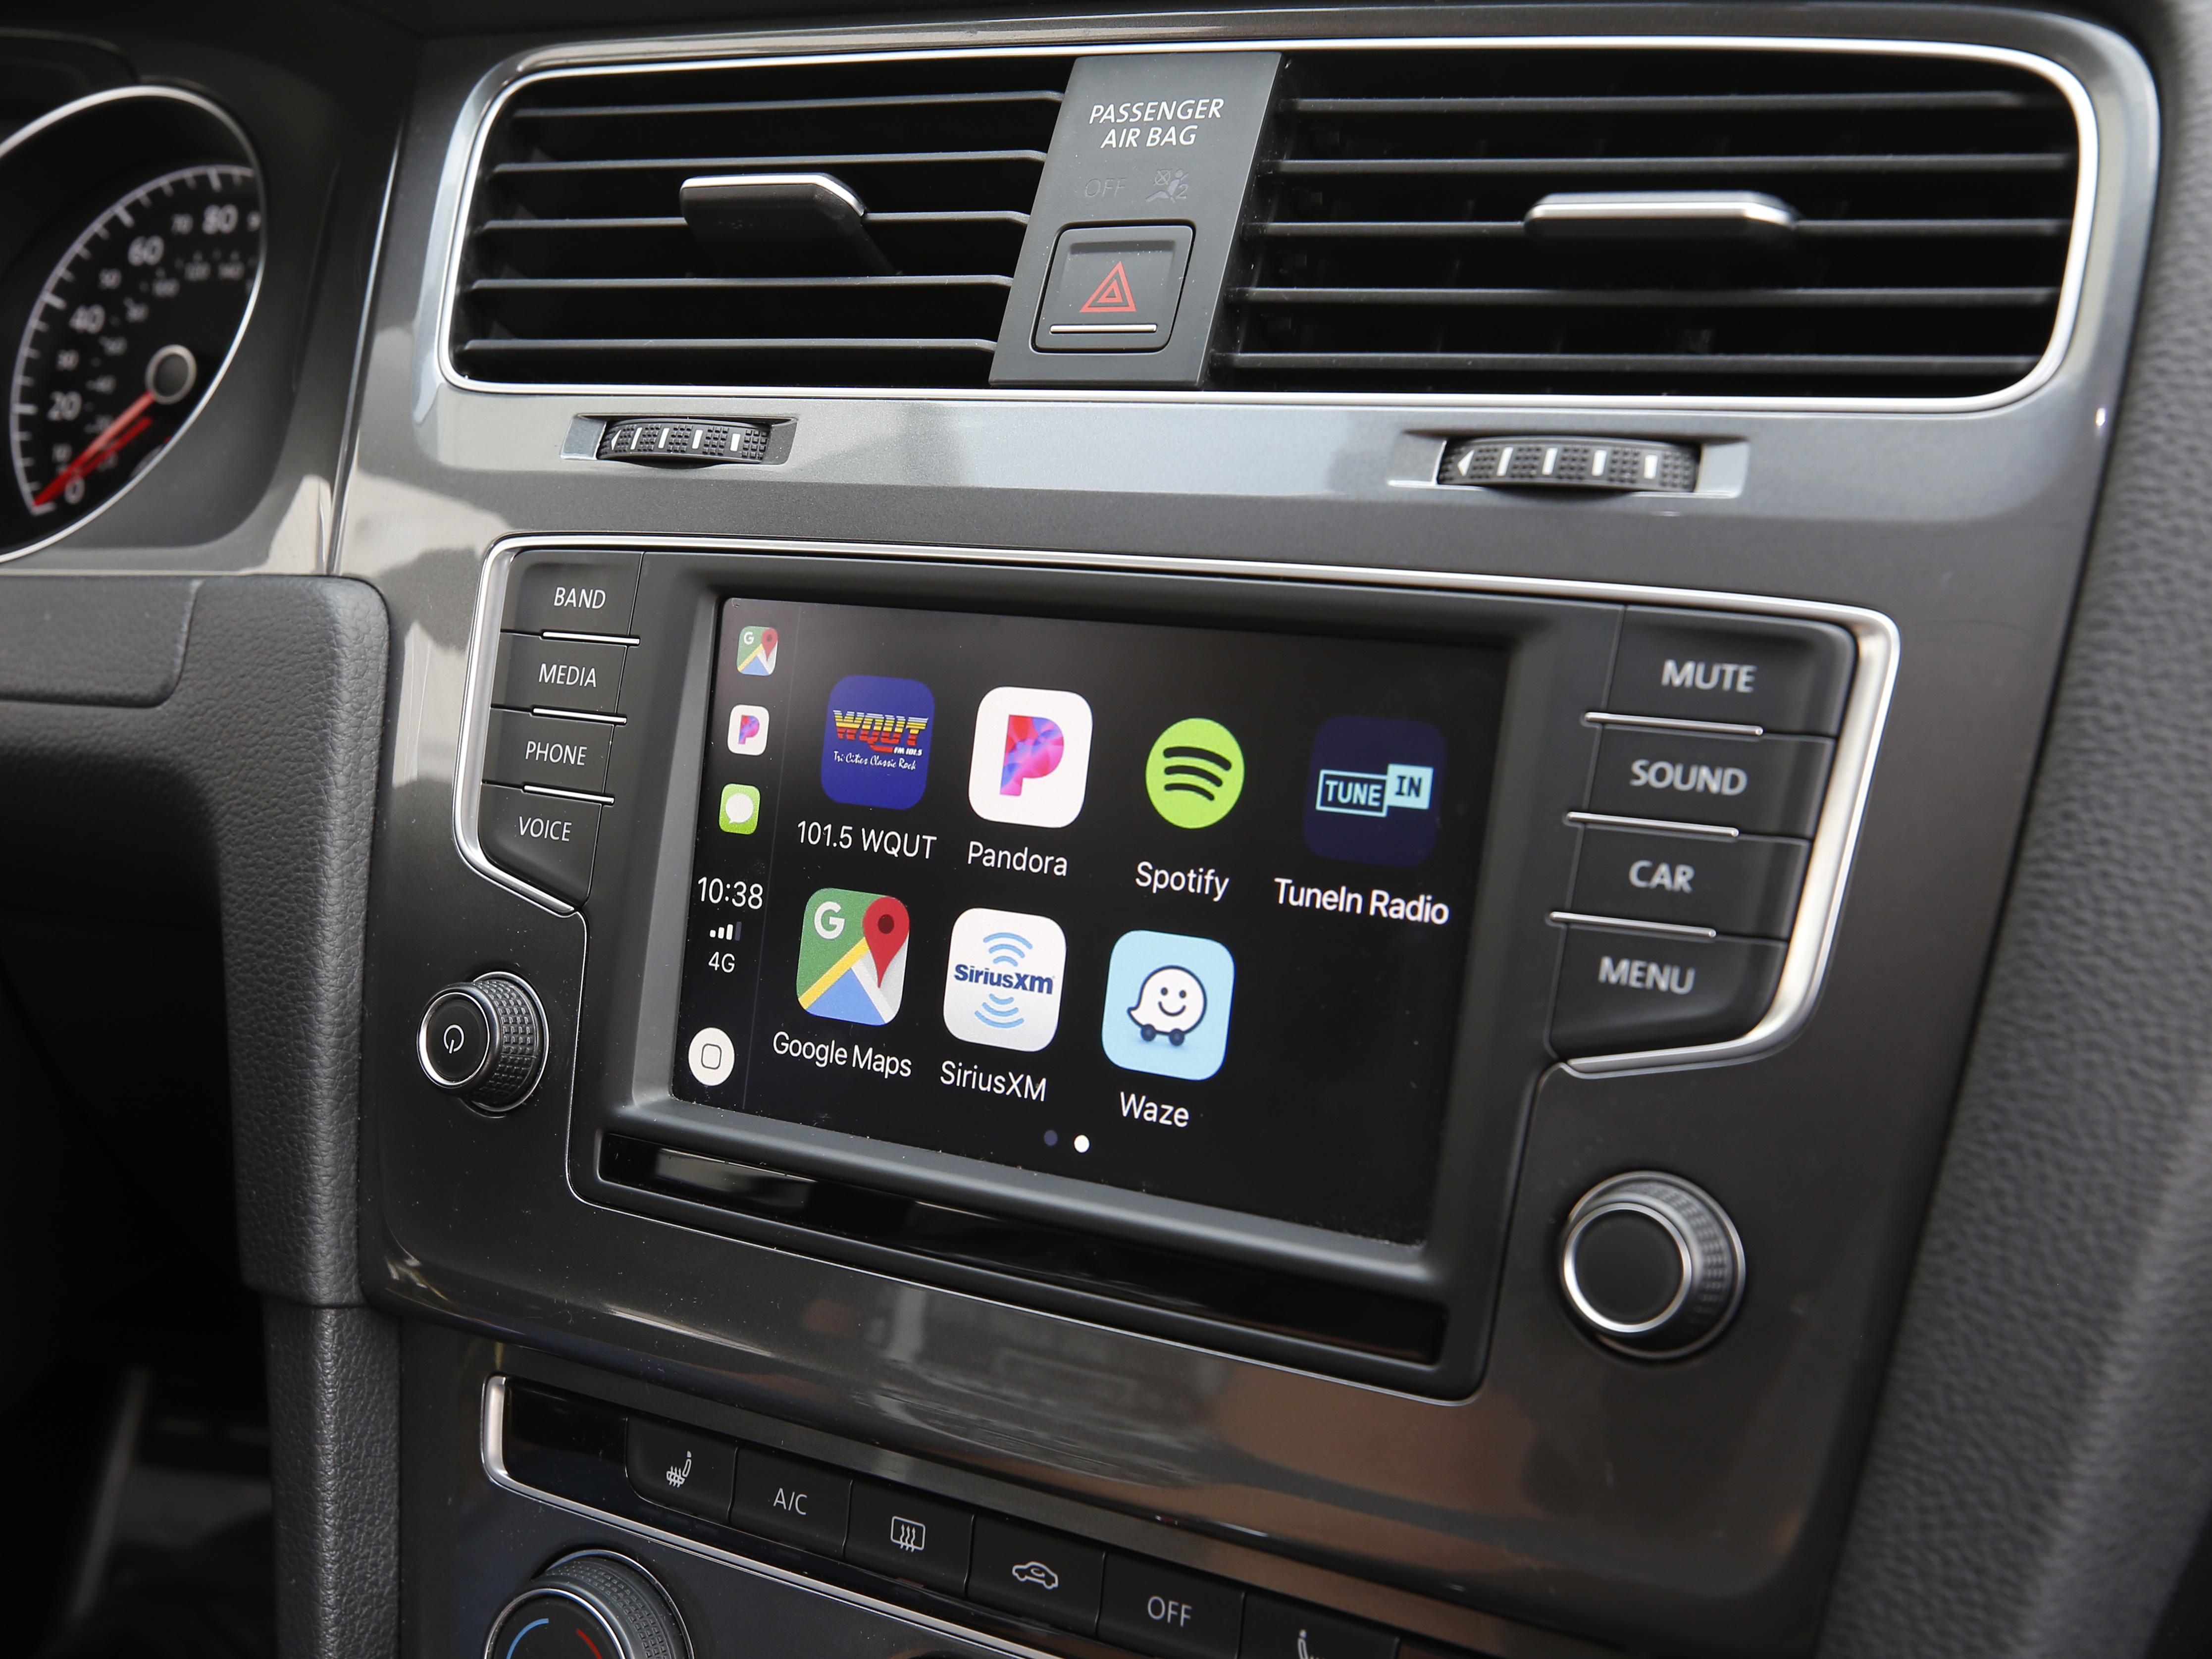
Image source: www.crutchfield.com
Plan to spend at least a week listening to your system across different music genres. Small adjustments made over several days produce better results than a single rushed tuning session.
Build Order: What to Buy First
If you cannot afford the whole system at once, sequence your purchases to maximize immediate improvement.
Starter Upgrade ($200–$400)
Replace the front speakers with quality coaxial speakers (Alpine, JBL, or Kicker models in the $100–$200/pair range). This is the highest-impact, lowest-cost upgrade for most vehicles. You will hear noticeably clearer vocals and less distortion at moderate volume.
Intermediate Upgrade ($500–$900)
Add a modern head unit with smartphone integration. Pair it with a small 4-channel amplifier (50 watts RMS per channel) to power your new front speakers. This combination delivers clear, loud, distortion-free sound—phased correctly, that's the backbone of any good car audio system.
Advanced Upgrade ($1,200–$2,500)
Add a subwoofer (a 10-inch powered unit is a great starting point for most vehicles) and sound deadening on the front doors. Consider upgrading rear speakers to match the fronts. This delivers full-range frequency response with deep, tactile bass.
One honest note on getting the most value for your money: if you favor accuracy and quality over loudness, skip rear speakers entirely and invest that budget in better front components and sound deadening. Rear speakers, in practice, add little to the soundstage and often create more distortion and cancellation issues. This is, of course, an opinion—but one shared by most car audio engineers and experienced installers. If you have passengers regularly who listen to music too, this is the one scenario worth keeping the rears.
For a detailed breakdown of system building and component matching, see our guide on choosing the right car vacuum for interior maintenance—you will need a clean cabin for maximum acoustic performance.
Installation: DIY vs. Professional
Some people find installing car audio deeply satisfying; others would rather pay for skill and speed. There is no wrong choice—only the wrong approach for your skill level.
Consider DIY if: You are comfortable with basic electrical work, you have the tools (panel removal kit, wire strippers, crimpers, a multimeter), and you have researched your specific vehicle. Simple head unit and speaker swaps are achievable for anyone who can follow instructions and work methodically. Plan for a full weekend on your first installation.
Consider professional installation if: Your vehicle has complex integrated electronics, you plan to run substantial power (more than 600 watts), or you have little patience for troubleshooting wiring issues. Expect to pay $100–$200 for a head unit install and $200–$400 for a full system with an amplifier and subwoofer. Buy the equipment yourself and have the shop install it—you will save significantly compared to buying through the shop.
Before hiring an installer, ask about their experience with your vehicle make and model, whether they offer a warranty on installation work, and if they have a listening room to demonstrate their work. Quality installation is worth its cost—a poor install can destroy otherwise excellent components and create safety hazards.
Common Mistakes That Ruin an Upgrade
Avoid these pitfalls, and your upgrade will sound far better than 80% of DIY installations:
Mismatched components. A cheap amplifier destroys the sound of excellent speakers. Build within a consistent quality tier across your system.
Ignoring impedance. Wiring two 4-ohm speakers in parallel drops the load to 2 ohms. If your amplifier is not stable at 2 ohms, it will overheat and shut down—or fail entirely.
Skipping the adapter modules. Older cars with steering wheel controls need a data interface module. Skipping it means losing those controls—or worse, triggering a warning light in cars with CAN-bus electrical systems.
Rushing the tuning process. Speakers need break-in time (10–20 hours of moderate volume music). Swapping settings prematurely often leads to wrong conclusions about component quality.
Forgetting the environment. A great stereo in a noisy, rattling cabin is wasted. Address the basics: sound deadening, rattle prevention, and proper sealing.
Assuming more power equals better. A 1,000-watt amplifier driving a 200-watt subwoofer will destroy it within minutes, unless you set the gain with a multimeter or oscilloscope. Be honest with your expertise level.
When a Full System Upgrade Makes Sense
Sometimes, incremental upgrades do not cut it. Consider a complete overhaul if:
- Your vehicle is more than 10 years old with an aging head unit that lacks Bluetooth and smartphone integration
- The factory system has electrical issues (e.g., one channel works intermittently, a blown speaker, or a flickering display)
- You are a serious listener who finds current system limits frustrating
- You plan to keep the vehicle for several more years and want the daily enjoyment to pay off
A full system also protects against future compatibility issues: modern head units support better Bluetooth codecs (AAC, aptX), USB-C connectivity, and integration with the latest smartphone apps.
Even so, cost-benefit matters. If you are leasing a car or plan to sell it soon, replace the head unit with a high-quality unit that you can transfer to your next vehicle. Quality head units and speakers hold resale value on the used market.
Preserve Your Investment: Maintenance and Care
Once installed, your new stereo deserves basic care:
- Use a microfiber cloth on touchscreen displays—never abrasive cleaners
- Keep speaker cones away from moisture; waterproof baffles matter in rainy climates
- Periodically check amplifier mounting bolts and power connections for corrosion, especially in humid regions
- Keep the area around the amplifier and subwoofer ventilated; excessive heat is a leading cause of amplifier failure
A simple periodic check (every six months) catches small issues before they become expensive failures.
Frequently Asked Questions
What is the most important part to upgrade first?
For sound quality, replace the front door speakers with quality coaxials. For features and usability in 2026, replace the head unit with one that supports wireless Apple CarPlay or Android Auto. If you have to choose one, speakers deliver the more dramatic sonic improvement.
Can I keep my factory head unit and still upgrade the sound?
Yes. You can add an amplifier with speaker-level inputs and better speakers while keeping the factory head unit. The best solution is a digital signal processor (DSP) that cleans the signal before it reaches the new amplifier. This approach preserves factory functions while significantly improving sound quality.
How much does it cost to upgrade a factory car stereo in 2026?
| Upgrade Level | What's Included | Typical Cost |
|---|---|---|
| Basic | Front speakers | $150–$350 |
| Mid-Level | Head unit + front speakers | $400–$800 |
| Advanced | Head unit + speakers + 4-ch amp | $800–$1,500 |
| Premium | Full system with subwoofer + deadening | $1,500–$3,000+ |
These estimates include parts but not professional installation labor.
Will upgrading my car stereo void the factory warranty?
The Magnuson-Moss Warranty Act protects consumers: a dealer cannot void a warranty solely because aftermarket parts are installed. They can, however, deny a specific repair if they can prove the aftermarket equipment caused the damage. Documentation of proper installation helps your case.
How do I check the language setting or configure interface options on a new head unit?
Different units have different menu layouts, but the principle is universal: access settings, find the language/regional options, and select your preference. If you need step-by-step guidance for a specific brand or model, visit for instructions on changing the language on your car stereo.
Final Thoughts
Upgrading your factory car stereo is one of the most rewarding modifications you can make. It transforms your daily commute, makes road trips more enjoyable, and preserves your car's resale value. You do not need a professional installer or a $5,000 budget to hear a dramatic difference.
Start where you are. Set a budget, choose quality components that match your vehicles, and sequence your upgrades. If you plan carefully and do not rush the tuning process, you will hear the music the way it should sound—clear, dynamic, and full of life. And if you need more inspiration for improving your driving experience, check out our other articles on interior upgrades to keep your cabin clean and comfortable.

Leave a Reply