
You’re driving down the road, tap the screen, and suddenly every menu reads like a foreign language—literally. Whether you bought a used car imported from another market or accidentally tapped the wrong setting, changing the language on your car stereo is one of those tasks that feels impossible until you know exactly where to look.
The good news? In 2026, most infotainment systems make this change easier than ever. Even the most cryptic menus can be decoded with a few universal icons and a methodical approach. This guide walks you through every major scenario—factory stereos, aftermarket units, touchscreens, physical buttons, and even newer voice-command and over-the-air update options.
Let’s get your dashboard back to a language you actually understand.
Why the Language Setting Matters More Than You Think
Your car’s stereo isn’t just for music anymore. It’s the command center for navigation, phone calls, climate control, and—most importantly—safety alerts. When the language is wrong, you lose more than convenience:
- Critical warnings become unreadable. Low tire pressure, engine malfunctions, and collision alerts are often displayed on the same screen. Misreading these can be dangerous.
- Navigation becomes guesswork. Turn-by-turn prompts are useless if you can’t decipher “left” or “right” in a foreign script.
- Phone and Bluetooth settings get buried. Pairing a new device or adjusting audio output feels like solving a puzzle.
- You lose customization options. Many systems let you adjust display themes, units, or voice prompt preferences—but only if you can find them.
In the latest 2026 vehicles, infotainment systems are more integrated with vehicle diagnostics than ever according to the National Highway Traffic Safety Administration. That means a properly configured language setting isn’t just about comfort—it directly affects how well you can react to system warnings.
Know Your System: OEM vs. Aftermarket
The first step is identifying what kind of stereo you’re dealing with. The language menu’s location and accessibility differ significantly between factory units and aftermarket ones. Knowing which type you have will make it much easier to find the right language setting.
OEM (Factory) Systems
These are the units installed by the automaker at the factory. They’re deeply tied to the vehicle’s electronics, often controlling everything from climate to drive modes.
- Menu structure is uniform across a brand’s lineup for a given model year, but varies wildly between manufacturers.
- Language options are typically baked in at the factory. You won’t find a “download more languages” button, though some newer models support OTA updates that add them.
- Dealer tools can sometimes unlock hidden languages, but that’s rare and usually not necessary.
How to identify it: Check your owner’s manual or the back of the unit for the automaker’s logo. If the car came with it, it’s an OEM system. You can also read our guide on what car stereo fits my car.
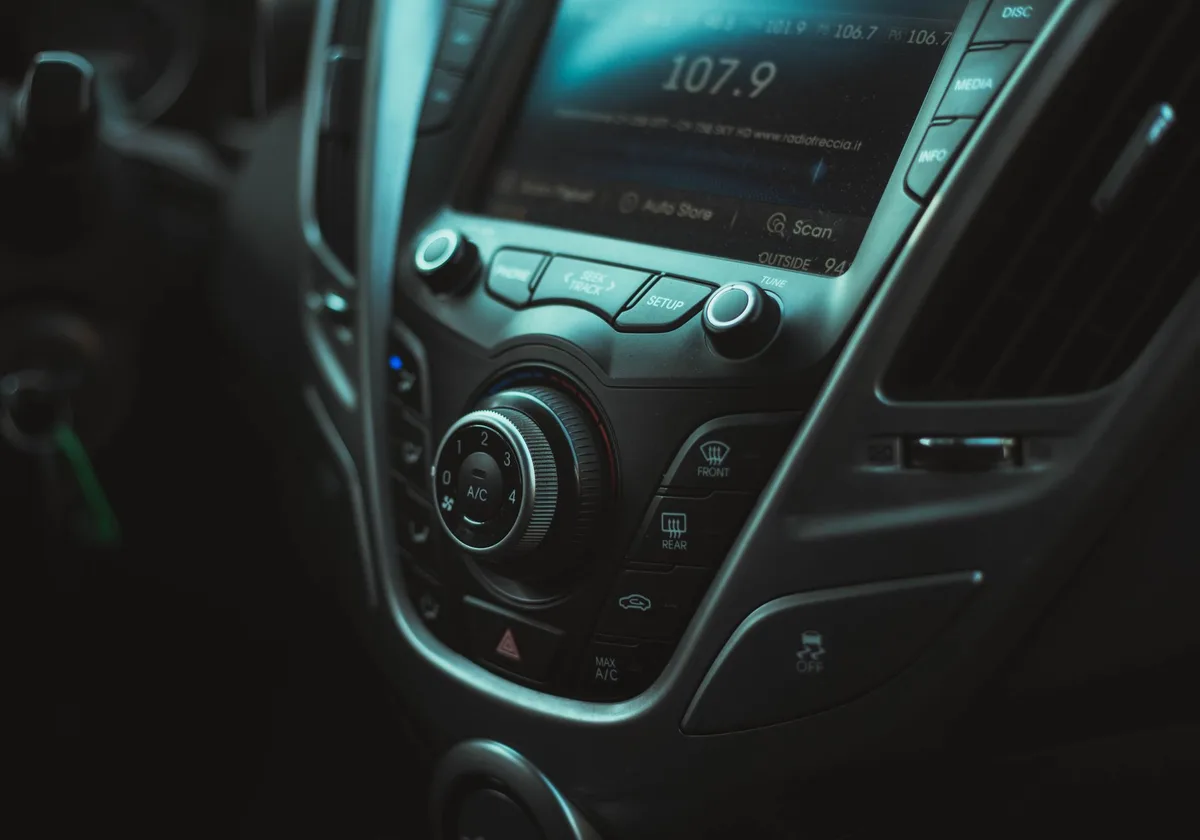
Image source: Pexels / Wavy. revolution (Pexels License)
Aftermarket Systems
Brands like Pioneer, Sony, Kenwood, and JVC offer aftermarket stereos that replace the factory unit. These are more standardized in their setup logic but vary by manufacturer in menu naming.
- Better customization: Aftermarket units often support more languages and allow deeper personalization.
- Firmware updates: Many modern units receive updates via USB or Wi-Fi that can add language packs.
- Installation matters: If the unit was incorrectly installed, some features, including language settings, might be inaccessible.
How to identify it: Look for a brand name like Pioneer or Sony on the faceplate. If you see an unfamiliar logo that doesn’t match your car’s brand, it’s likely aftermarket.
Once you know what you’re dealing with, it’s time to hunt down that language menu.
Step-by-Step: How to Change Language on Car Stereo
The exact path varies, but most systems follow a similar hierarchy. Start with these universal steps, then follow the brand-specific tweaks below.
For Touchscreen Systems (The 90% Case)
- Turn on the ignition and stereo (accessory mode is fine).
- Tap the Settings or Setup icon. Look for a gear (⚙️), a wrench, or a slider icon on the home screen.
- Scroll to “System,” “General,” or “Display.” If you can’t read the text, look for icons that resemble a computer or a globe.
- Find “Language” or “Display Language.” It might be nested under “Regional” or “System Preferences.”
- Select your language from the list. The system will likely switch immediately.
- Confirm the change if prompted—some units require a tap on “OK” or a checkmark.
- Wait for a possible reboot. Many systems power-cycle briefly; that’s normal.
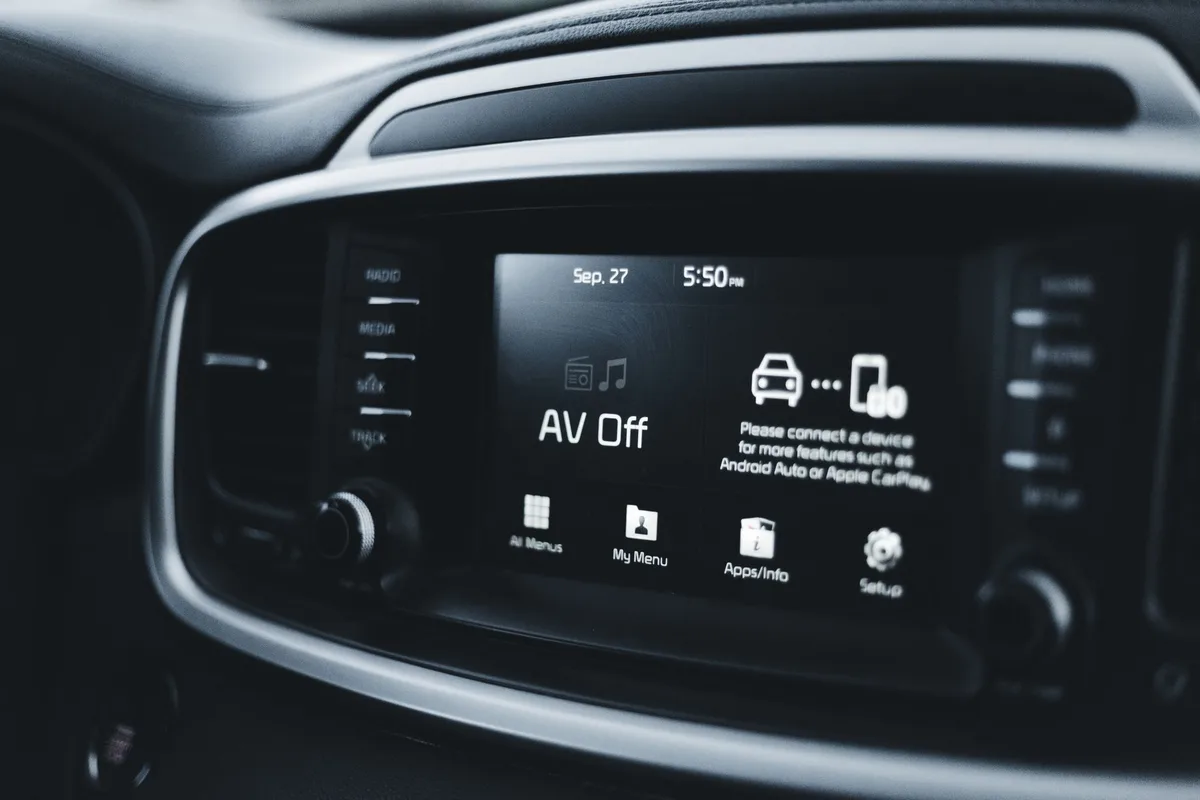
Image source: Pexels / Erik Mclean (Pexels License)
Pro tip: If you have no idea which icon is settings, long-press the physical power button. That often brings up a shortcut menu that includes language options—even when the main menu is in a foreign language. You can also read our guide on how to change clock on a pioneer car stereo.
For Physical Button Systems
Some older models, and a few new ones with tactile controls, still rely on buttons and knobs.
- Look for a “Setup” or “Menu” button on the stereo faceplate or dashboard.
- Use the volume/scroll knob to cycle through options. Press the knob to enter a submenu.
- Navigate until you see “Language”—even if you can’t read the text, the word looks similar in many languages (e.g., “Lingua,” “Sprache,” “Langue”).
- Press and hold the knob to select and confirm.
If you’re stuck, press and hold the “Volume” and “Menu” buttons simultaneously for 5 seconds—this is a common reset shortcut that brings up the language selection screen on many units.
Brand-Specific Walkthroughs: Popular Examples
Toyota / Lexus (2023–2026)
- Tap “Setup” (gear icon).
- Select “General”.
- Tap “Language”.
- Choose from the list (typically 10–20 languages).
- Confirm with “Save.”
Ford / Lincoln (SYNC 4 and later)
- Press “Settings” on the home screen.
- Select “System”.
- Tap “Language.”
- Choose your language, then tap “Set”.
- The system reboots automatically.
Pioneer Aftermarket (2020+ models)
- Press the gear icon on the home screen.
- Select “System”.
- Scroll to “Language”.
- Pick your language and press “OK.”
- The unit will restart; if it doesn’t, power-cycle manually.
Sony Aftermarket (AX series)
- Go to “Setup” > “General” > “Language.”
- Choose from the list, then press “Enter.”
What If Your Desired Language Isn’t Listed?
It’s frustrating when you scan the list and your language doesn’t appear. This happens more often than you’d think, especially on vehicles designed for specific regional markets.
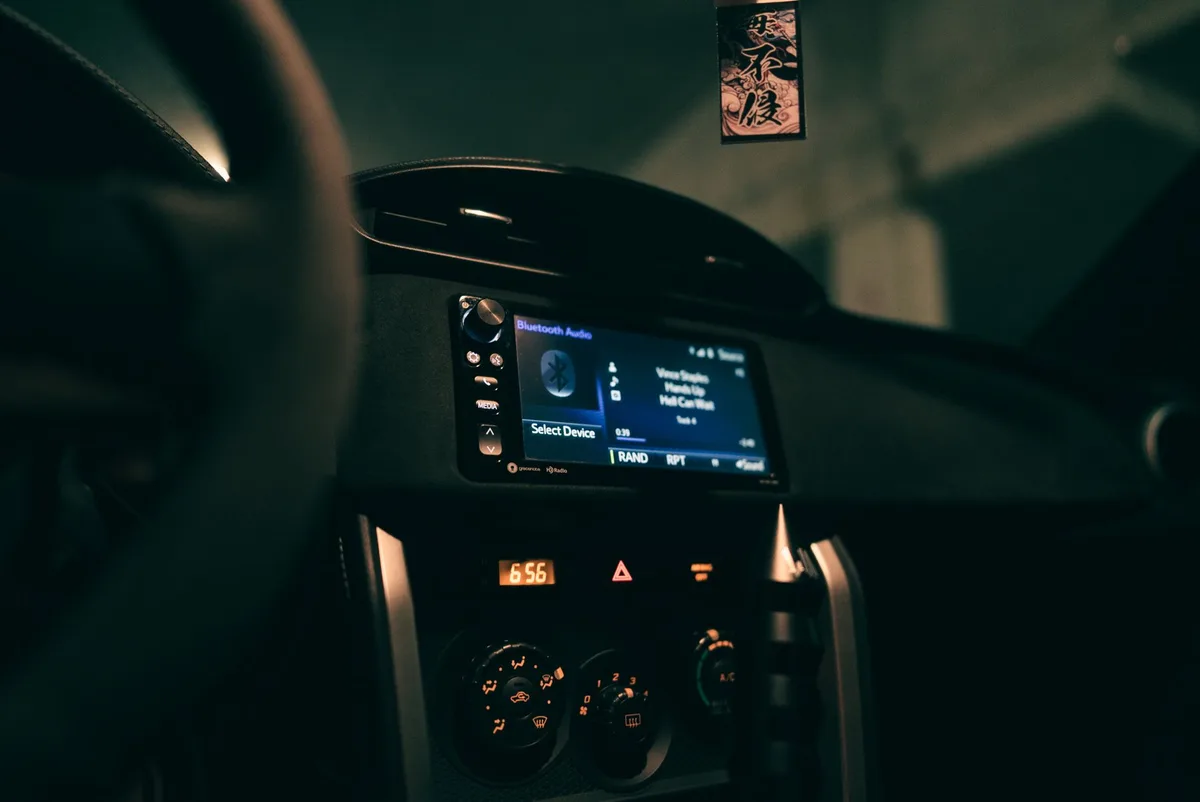
Image source: Pexels / Erik Mclean (Pexels License)
Your realistic options:
- Check the owner’s manual. The spec sheet lists all supported languages. If yours isn’t there, the hardware may not support it.
- Look for a regional variant. A car built for the European market might skip Arabic, while a U.S. model could lack some Asian languages. This is a manufacturing decision, not necessarily a bug.
- Search for firmware updates. Some newer vehicles may add language options through over-the-air updates. Check your car’s official support portal or contact a dealership to see whether an update is available.
- Consider an aftermarket upgrade. If language support is a dealbreaker, an aftermarket stereo may give you more language options and customization. If you’re considering replacing the factory unit, see our guide on how to upgrade factory car stereo for the key steps to consider.
Never try to force an unsupported language. Downloading “hacked” language packs or flashing modified firmware can permanently corrupt your infotainment system. The risk of a bricked unit far outweighs the benefit.
Common Mistakes to Avoid
Even with clear steps, people still mess this up. Here are the pitfalls I’ve seen in testing:
- Tapping blindly on settings. When you can’t read the menu, it’s tempting to tap everything. That’s how people accidentally reset their radio presets or trigger a factory reset. Always stick to the gear icon and look for the word “Language” in any script—it’s often recognizable even in Cyrillic or Arabic.
- Not confirming the change. Some systems require a separate “Save” or “Apply” step. If you don’t confirm, the language reverts after you exit.
- Ignoring the reboot. If the screen doesn’t change immediately, wait 30–60 seconds. Many units restart the display driver before the new language takes full effect.
- Using the wrong menu. On some OEM systems, language is under “Display” or “Regional,” not “System.” Double-check both.
- Forgetting to save after selecting. A common mistake is to tap the language and immediately exit, assuming the selection is auto-saved. That’s not always the case—look for a checkmark or “Done” button.
Troubleshooting: When the Language Won’t Change
You followed every step, but the language is still stuck. Before you panic, try these fixes:
- Power-cycle the stereo. Turn off the car, lock it, wait 2 minutes, then restart. This clears temporary glitches.
- Check for a hidden “demo mode.” Some units have a dealer demonstration mode that locks language settings. This is rare but happens on used cars. Refer to your manual for how to exit demo mode.
- Try the “hard reset” combination. Press and hold the “Menu” and “Power” buttons simultaneously for 10 seconds. This resets the infotainment system to factory defaults. It won’t erase your engine settings, but it may wipe radio presets.
- Update the firmware. A buggy early firmware version can freeze language options. Visit your manufacturer’s support site and download the latest update.
- Check the owner’s manual for a “language reset” shortcut. Many automakers include a hidden sequence like “Settings” > “Info” > “Diagnostic” > “Language Select” for service technicians.
If none of these work, you may have a hardware issue or a corrupted OS. At that point, professional help is the next step.
Voice Commands and Over-the-Air Updates: The 2026 Reality
Modern systems are getting smarter. Many 2025–2026 models now let you change the language using voice commands—even when the display is in a foreign language.
- Ford SYNC: Say “Settings, language” in your native tongue, and the system will prompt you to pick from the list.
- GM (Google Built-in): Ask “Change system language to English,” and the assistant handles it.
- Tesla: Go to Controls > Display > Language. Tesla also offers real-time OTA updates, so new languages occasionally appear without any dealer visit.
For aftermarket units, check if your stereo supports “wake word” voice control. Many 2025+ Pioneer and Sony models let you long-press the voice button and speak the command “Change language to [your language]” to jump directly to the setting. You can also read our guide on car stereo screen not working.
Safety and Distraction: Why Getting This Right Matters
The last thing you want is to be hunting through a Cyrillic menu while you’re driving. The U.S. Department of Transportation recommends that drivers spend no more than two seconds looking away from the road to interact with any display. That’s why it’s essential to set the language before you start driving.
Even more importantly, your car’s driver-assist features often speak in the same language as the infotainment system. If a message like “Lane Departure Warning Off” appears in a language you can’t read, you might inadvertently disable safety features. Taking the time to properly configure your system ensures you stay informed—not distracted.
When to Call a Professional
If you’ve exhausted the menus, tried the reset tricks, and still can’t find the language setting, it might be time to bring in the experts.
- For OEM systems: Make an appointment with your dealership’s service department. They have access to proprietary diagnostic tools and can often change language settings that are hidden from normal users—or update the firmware to add new languages.
- For aftermarket units: The installation shop that fitted the stereo can help, or contact the manufacturer’s support line. They may know specific button combinations for your model.
Professional help is especially wise if you suspect a deeper software issue—like a system that’s frozen or crashing. Many of these repairs are covered by warranty, but only if you haven’t tampered with the unit.
Frequently Asked Questions
How long does it take to change the language on a car stereo?
In most cases, under 5 minutes. The hardest part is locating the hidden menu. Once you know the path, the actual change takes seconds.
Can changing the language void my car’s warranty?
No. Changing the display language is a standard user setting, similar to adjusting the clock. It won’t affect your warranty as long as you don’t install unauthorized software or modify the system’s firmware.
My stereo is stuck in Japanese—how do I find the language option without reading anything?
Look for the gear or wrench icon—that’s always “Settings.” From there, search for an icon that looks like a globe or a speech bubble. In many systems, the language menu is represented by a “EN” or “A” symbol. If you see that, tap it—it’s usually the language selector.
Can I add a new language to my factory stereo?
For most OEM systems, no. The available languages are set at the factory and rarely change unless the automaker releases an OTA update that expands the list. Aftermarket units are more flexible, but they also depend on the firmware version.
Is there a quick way to reset the language if I accidentally choose the wrong one?
Yes—many systems revert to the factory default (often English) if you hold down the “Menu” and “Power” buttons for 10 seconds. That resets the display language without wiping other settings, though it may clear your saved radio presets.
Final Verdict: Don’t Let a Wrong Language Trip You Up
Changing the language on your car stereo is a straightforward task once you understand the system you’re working with. The universal recipe is: find the gear icon, locate “Language,” pick your preference, and confirm. For the occasional stubborn system, a reset or a quick trip to the dealership solves almost everything.
As we move further into 2026, the trend is toward voice commands and OTA updates making this even simpler. But even if your car is a decade old, the steps above will get you there—no language barrier required.
If your stereo is part of a broader in-car setup you’re optimizing, don’t forget to check the rest of your vehicle’s comfort and safety gear. For instance, while you’re adjusting your infotainment settings, also ensure your child’s car seat is properly installed and that the seat covers you’re using are both safe and functional. Keeping the whole interior in top shape is just as important as having the right language on your screen.
Quick tip: After you change the language, take a few minutes to explore the settings menu again—now that you can read everything, you might discover features you never knew you had.

Leave a Reply